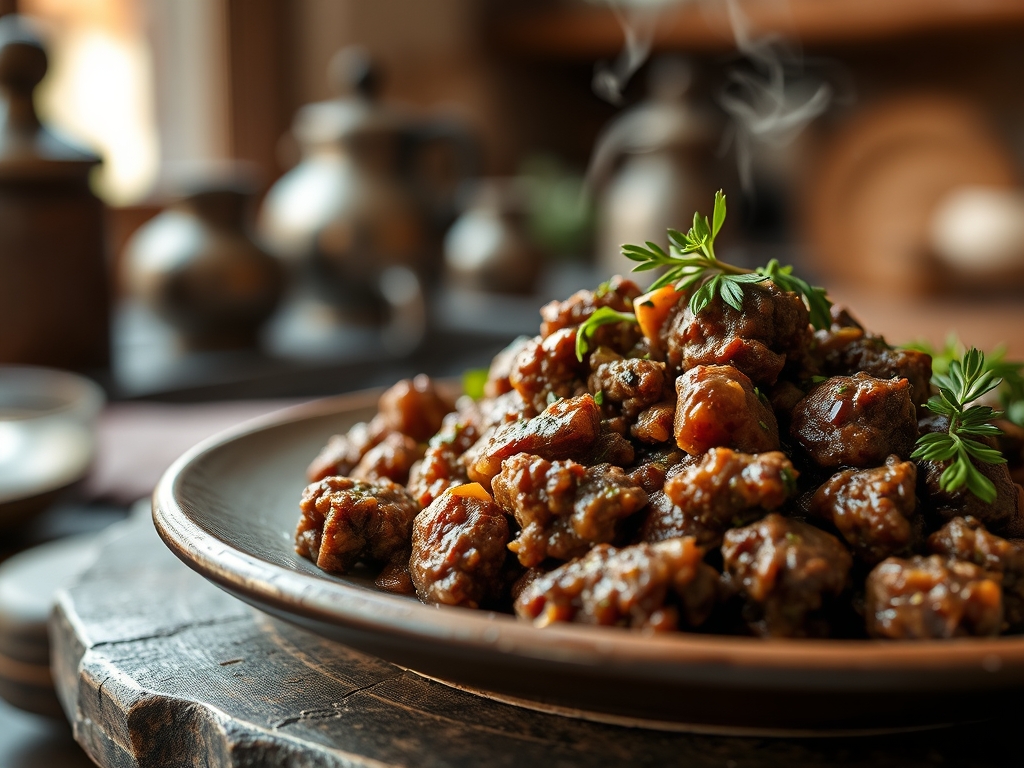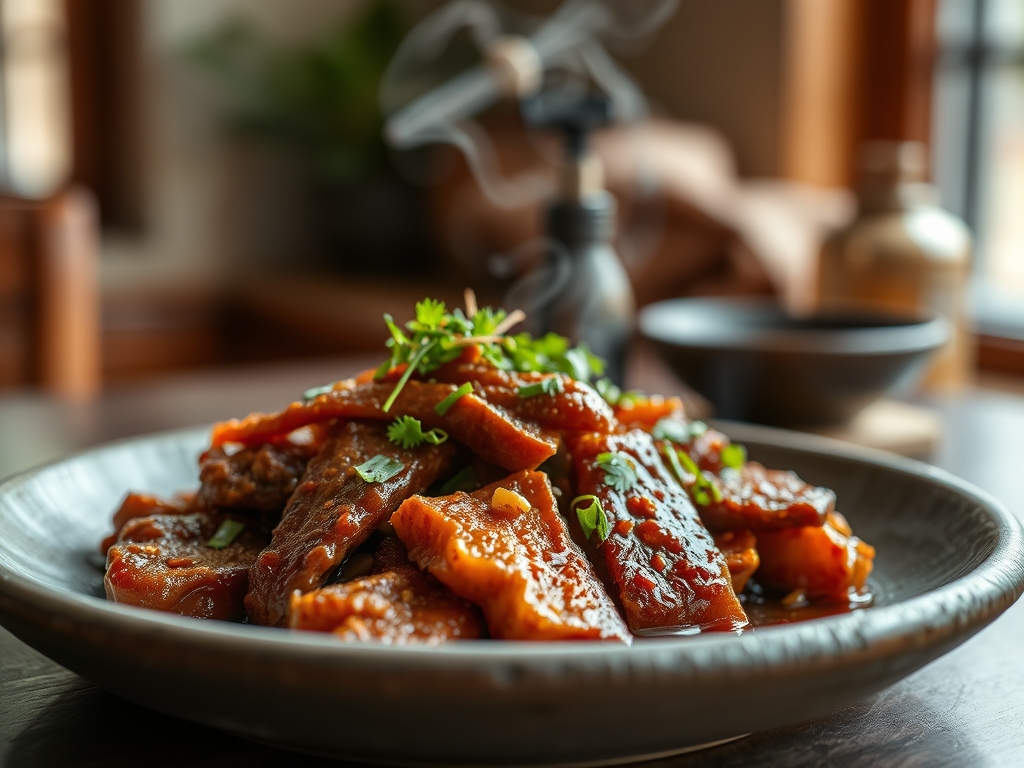
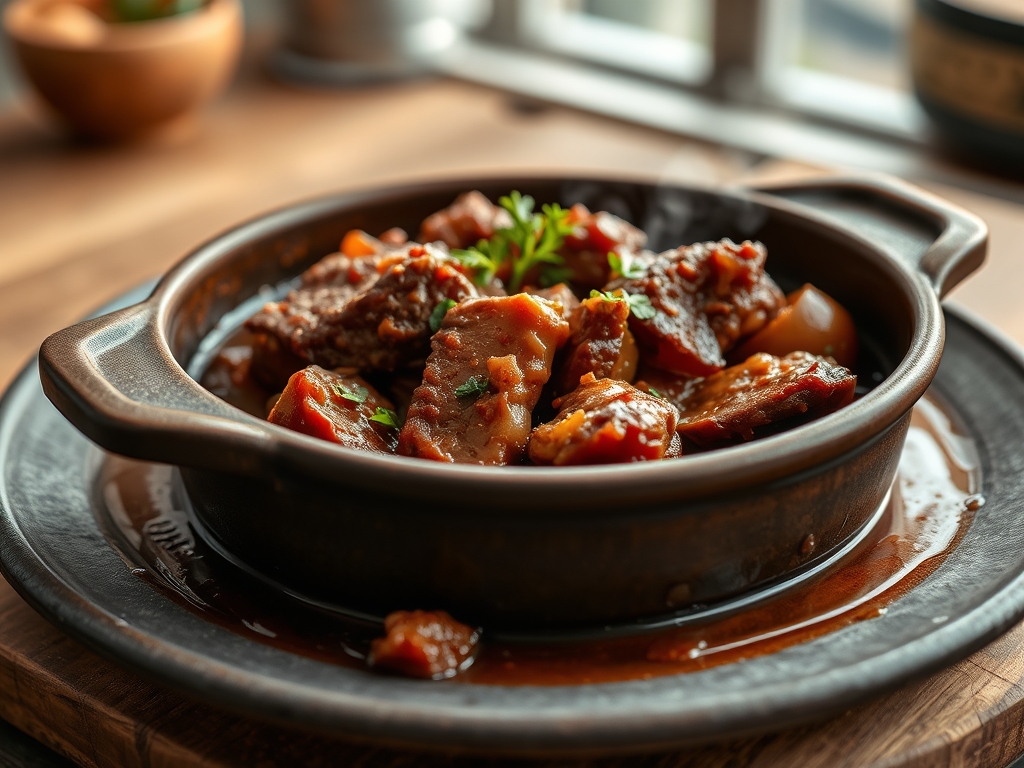
Imagine the scent of slow-simmering onions and red wine wafting through your kitchen on a rainy Sunday afternoon. There is something deeply primal and comforting about the way a heavy lid traps steam to transform tough muscle into velvet. When you dive into the world of braised beef recipes dutch oven style; you are not just cooking dinner; you are conducting a masterclass in molecular breakdown. This isn't about rushing a meal. It is about the slow, rhythmic dance of heat and time that turns simple cubes of chuck into a fork-tender masterpiece dripping with a rich, viscous gravy.
The Dutch oven is the unsung hero of the modern kitchen. Its thick cast-iron walls provide the thermal mass necessary to maintain a steady, unwavering temperature that prevents the meat from seizing. We are aiming for that perfect balance where the fat has fully rendered into the sauce, but the beef still holds its shape until the very moment your fork makes contact. If you have ever wondered why restaurant braises taste deeper and more complex, it comes down to the layering of flavors. We are going to build those layers from the bottom up; starting with a hard sear and ending with a silky, piquant reduction that will make you want to lick the plate clean.
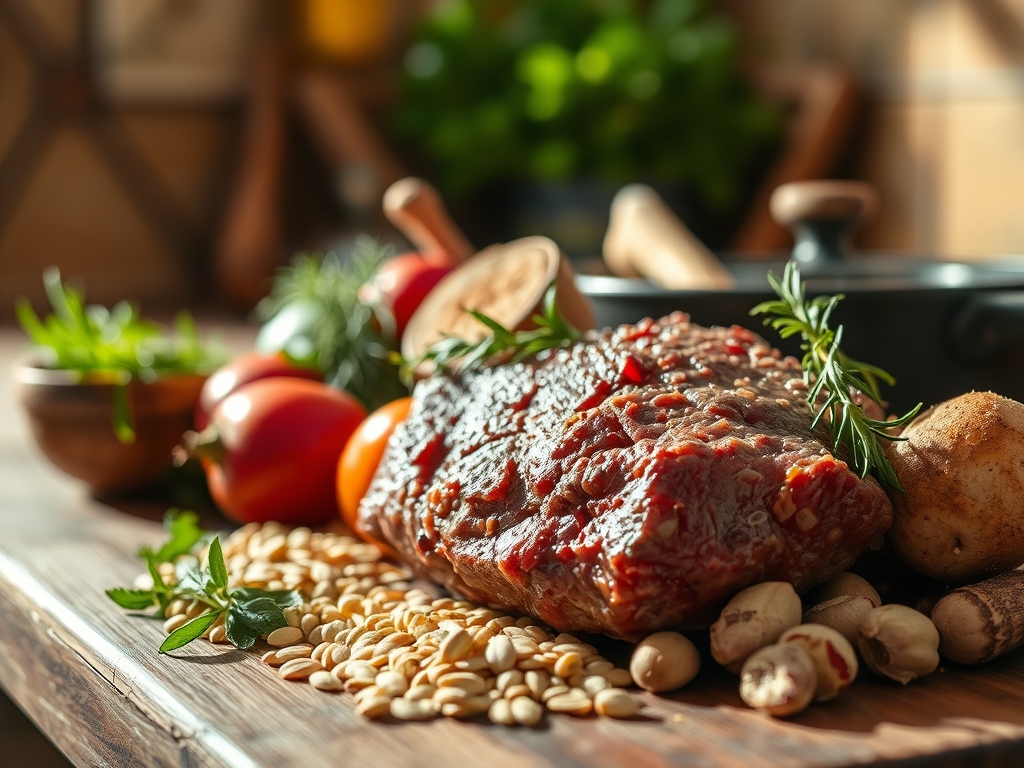
The Gathers:
To achieve a five-star result, your mise-en-place must be precise. Start with three pounds of beef chuck roast, cubed into two-inch pieces. Chuck is non-negotiable here because it contains the high collagen content required for a moist finish. You will also need two large yellow onions, three carrots, and two stalks of celery; the classic mirepoix trinity. For the liquid gold, gather two cups of a dry red wine like Cabernet Sauvignon and two cups of high-quality beef bone broth.
Your pantry staples are just as vital. You will need four cloves of smashed garlic, two tablespoons of tomato paste for umami depth, and a bouquet garni of fresh thyme, rosemary, and bay leaves. For the finishing touch, keep a small bowl of cold butter and a microplane ready for some fresh garlic or horseradish.
Smart Substitutions: If you are avoiding alcohol, swap the wine for an equal amount of beef broth mixed with two tablespoons of balsamic vinegar to mimic the acidity. If you cannot find chuck, beef shanks or short ribs are excellent alternatives, though they may require a slightly longer cook time to fully render the connective tissue. Always use a digital scale to measure your meat if you are doubling the recipe to ensure your liquid ratios remain perfect.
The Clock
Efficiency in the kitchen is all about the Chef's Flow. You should expect about 30 minutes of active prep time and 3 hours of passive cooking time.
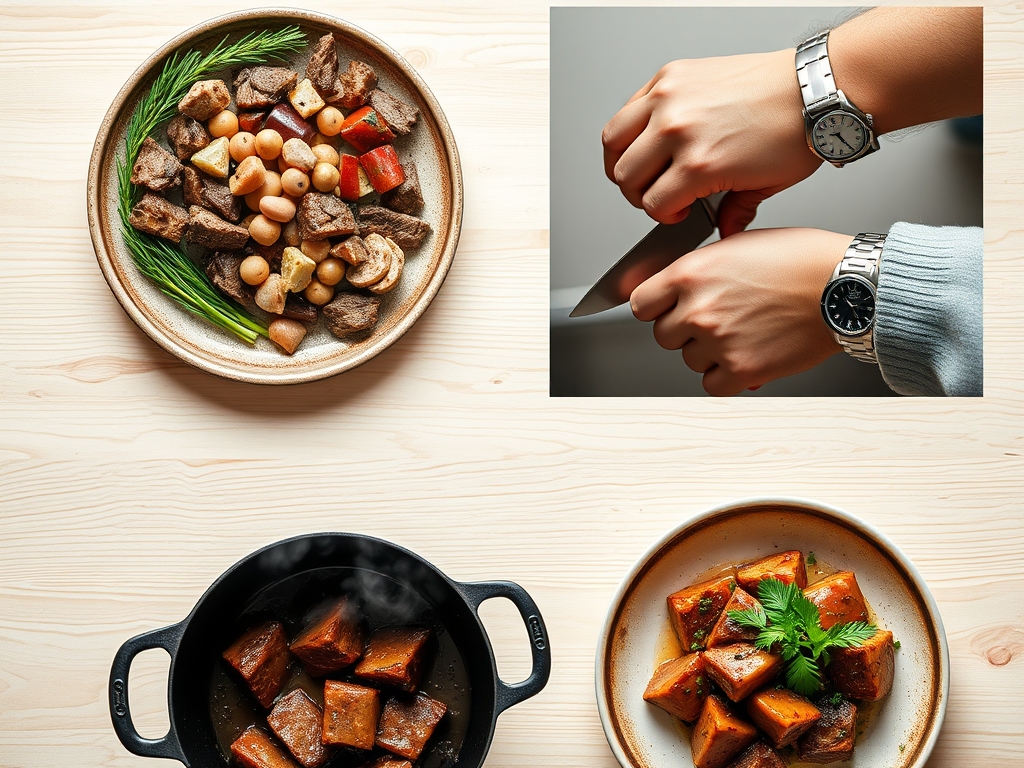
- Prep (30 Minutes): This includes dicing your aromatics with a sharp chef's knife and patting the beef bone-dry. Moisture is the enemy of the sear.
- The Sear (15 Minutes): Working in batches is essential. If you crowd the pot, the temperature drops and the meat boils in its own juices instead of browning.
- The Braise (2.5 to 3 Hours): This is the "low and slow" phase where the magic happens inside the oven at 325 degrees Fahrenheit.
- The Rest (10 Minutes): Never skip the rest. It allows the fibers to relax and reabsorb the flavorful liquid.
The Masterclass
1. The Strategic Sear
Dry your beef cubes thoroughly with paper towels and season aggressively with kosher salt. Heat two tablespoons of neutral oil in your Dutch oven over medium-high heat until it shimmers. Brown the beef in batches using tongs to turn each piece until a deep, dark crust forms on all sides.
Pro Tip: This stage relies on the Maillard Reaction. This chemical reaction between amino acids and reducing sugars creates hundreds of different flavor compounds that cannot be replicated by simmering alone. If the bottom of the pot looks burnt, don't panic; that is "fond," and it is the foundation of your sauce.
2. Sautéing the Aromatics
Remove the beef and set it aside on a plate. Lower the heat and add your onions, carrots, and celery to the rendered fat. Use a bench scraper or wooden spoon to stir frequently until the vegetables are translucent and softened.
Pro Tip: Sautéing the vegetables in the beef fat allows the fat-soluble flavor compounds in the onions and carrots to infuse throughout the entire dish. This creates a cohesive flavor profile rather than having disjointed ingredients.
3. The Tomato Paste Bloom
Clear a small space in the center of the pot and add your tomato paste. Cook it for two minutes until it turns from bright red to a deep rust color.
Pro Tip: This is called "pincing." Cooking the tomato paste caramelizes the natural sugars and removes the raw, metallic tin taste. It adds a concentrated savory "umami" punch that acts as a natural flavor enhancer.
4. Deglazing the Fond
Pour in the red wine and use your wooden spoon to scrape every single brown bit off the bottom of the pot. Let the liquid reduce by half.
Pro Tip: Deglazing is a mechanical and chemical process. The acidity in the wine helps dissolve the caramelized proteins (fond) back into the liquid. Reducing the wine also burns off the harsh ethanol, leaving behind only the fruity, complex notes of the grapes.
5. The Low and Slow Submersion
Return the beef and any accumulated juices to the pot. Add the beef broth and the bouquet garni. The liquid should come about three-quarters of the way up the meat; do not fully submerge it. Bring to a simmer, cover with a tight-fitting lid, and slide it into a 325-degree oven.
Pro Tip: This partial submersion creates a "steam-convection" environment. The submerged portion breaks down via hydrolysis, while the exposed tops undergo further browning. This prevents the meat from becoming "gray" and tasteless.
6. The Final Reduction
Once the beef is tender, remove the pot from the oven. Transfer the meat to a warm platter. Strain the liquid through a fine-mesh sieve into a saucier if you want a refined finish, or keep the veggies for a rustic feel. Simmer the liquid on the stovetop until it coats the back of a spoon.
Pro Tip: To achieve a professional sheen, whisk in a knob of cold butter at the very end. This process, called monter au beurre, creates a temporary emulsion that gives the sauce a luxurious, velvety mouthfeel and a glossy appearance.
The Deep Dive
Macro Nutrition: A standard serving of these beef tips provides approximately 35 grams of protein and 22 grams of fat. Because we are using a long braise, much of the saturated fat renders out into the sauce; which you can skim off if you prefer a leaner meal.
Dietary Swaps:
- Keto: Replace the carrots with radishes (which lose their peppery bite and mimic potatoes when braised) and thicken the sauce with a pinch of xanthan gum instead of a flour roux.
- Vegan: Swap the beef for large chunks of portobello mushrooms or seitan and use a rich vegetable stock with a splash of soy sauce for depth.
- Gluten-Free: This recipe is naturally GF as long as you ensure your beef broth is certified gluten-free and you avoid using flour to thicken the sauce.
The Fix-It:
- Tough Meat: If the beef is still chewy, it simply hasn't cooked long enough. Put the lid back on and give it another 30 minutes. The collagen needs time to turn into gelatin.
- Salty Sauce: If you over-reduced the sauce and it is too salty, add a splash of water or a squeeze of lemon juice. The acid helps mask the perception of salt.
- Greasy Texture: If there is a layer of oil on top, use a wide spoon to skim it off, or drop in a few ice cubes. The fat will cling to the cold ice, allowing you to lift it right out.
Meal Prep: Braised beef is actually better on day two. As the dish cools, the meat fibers relax further and soak up the sauce like a sponge. To reheat, do so gently on the stovetop over low heat with a splash of water to loosen the gravy. Avoid the microwave, which can cause the proteins to tighten and become rubbery.
The Wrap-Up
Mastering braised beef recipes dutch oven style is a rite of passage for any home cook. It is a lesson in patience, temperature control, and the beauty of simple ingredients. When you pull that heavy pot out of the oven and lift the lid to reveal glistening, dark mahogany beef, you will realize that the three-hour wait was the best investment you made all week. Serve this over a bed of creamy polenta or buttery mashed potatoes, and don't forget a crusty piece of bread to mop up every last drop of that liquid gold.
The Kitchen Table
Can I cook this on the stovetop instead of the oven?
Yes; however, the oven provides more even, indirect heat. If using the stovetop, keep the flame at the lowest possible setting and stir occasionally to prevent the bottom from scorching. The results will be very similar.
What is the best cut of meat for Dutch oven braising?
Beef chuck roast is the gold standard. It is marbled with fat and connective tissue that melts during the long cooking process. Avoid lean cuts like sirloin or round, as they will become dry and stringy.
Why is my braised beef dry even though it's in liquid?
If the heat is too high, the muscle fibers contract violently and squeeze out all their moisture. Ensure your liquid is at a gentle simmer, not a rolling boil, to keep the meat succulent and tender.
Do I have to brown the meat first?
Technically no, but you will lose significant flavor. Searing creates the Maillard reaction, which develops the deep, savory complexity that defines a great braise. Skipping this step results in a much flatter, blander dish.