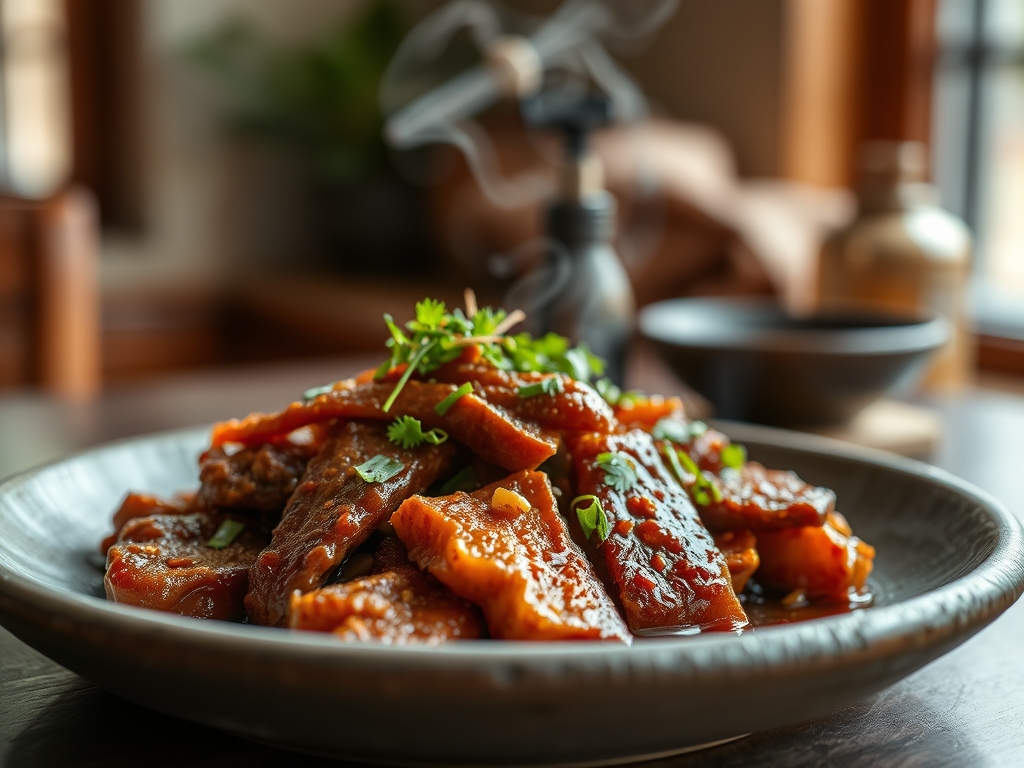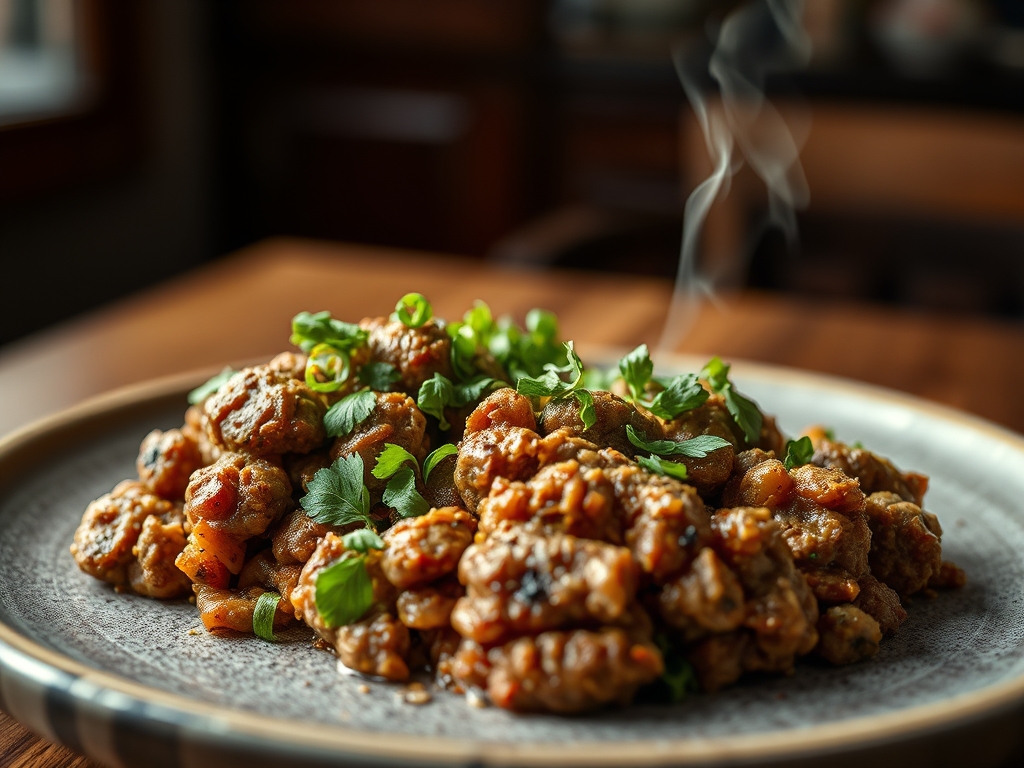
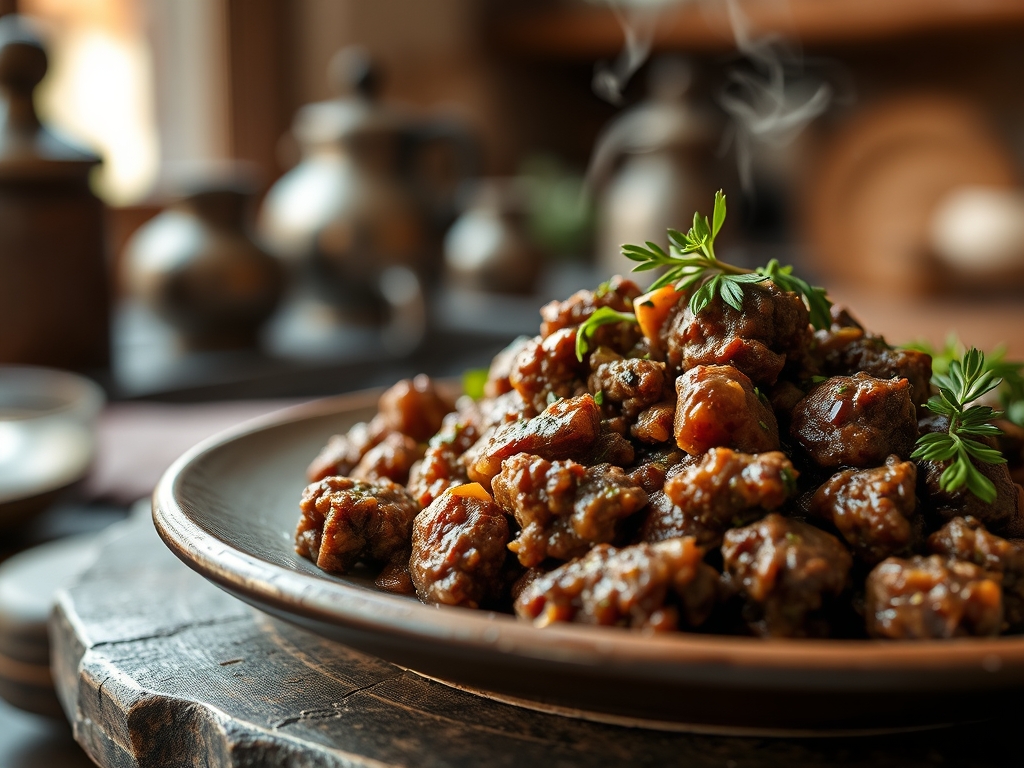
Imagine the sizzle of cold protein hitting a scorching cast iron surface. That rhythmic hiss is the sound of dinner coming together in record time. When life feels chaotic, mastering stovetop ground beef recipes is your ultimate culinary superpower. It is the intersection of efficiency and deep, savory satisfaction that transforms a Tuesday night into a gourmet event.
The beauty of the skillet is its immediacy. You are not waiting forty minutes for an oven to preheat or hours for a slow cooker to tenderize tough fibers. Instead, you are harnessing direct heat to create complex flavors through rapid chemical reactions. Whether you are craving a piquant Korean beef bowl or a viscous, creamy stroganoff, the stovetop is your most versatile stage. It allows for constant adjustment, tasting, and seasoning as the fat renders and the aromatics infuse the air.
In this guide, we are moving beyond basic browning. We are diving into the physics of the perfect sear and the chemistry of emulsified sauces. By the time we are finished, you will handle your heavy-bottomed skillet with the confidence of a line cook and the soul of a storyteller. Let us turn that pound of beef into something truly extraordinary.
The Gathers:
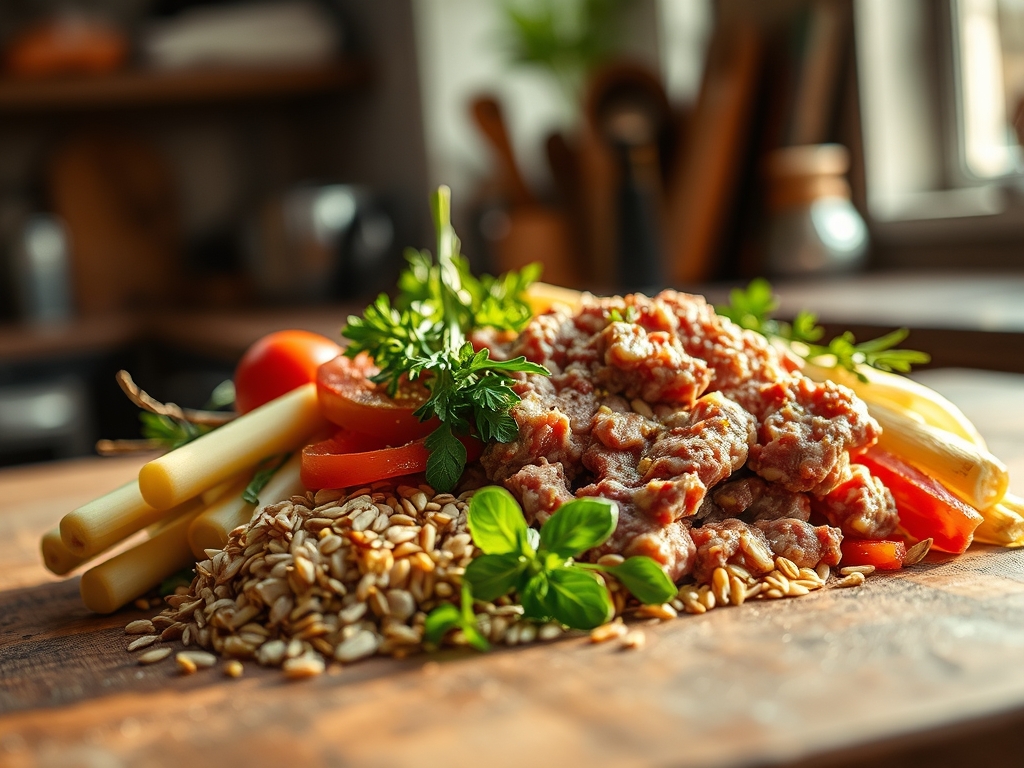
To execute these stovetop ground beef recipes with precision, your mise-en-place must be impeccable. Start with your protein. For the best results, look for an 80/20 lean-to-fat ratio. This specific balance ensures enough lipid content to render out and fry the meat in its own juices, creating those coveted crispy edges. If you use 90/10, you risk a dry, granular texture that lacks mouthfeel.
Your aromatics are the backbone of flavor. Grab a microplane for your garlic and ginger; this tool breaks down the cell walls more effectively than a knife, creating a paste that integrates seamlessly into sauces. You will also need a high-quality sea salt and freshly cracked black pepper. The coarse grains of kosher salt are essential for physical abrasion, helping to break down the meat as it browns.
Smart Substitutions:
If you are looking to lighten the profile, ground turkey or chicken can be swapped in, but you must add a teaspoon of Worcestershire sauce or mushroom powder to replace the lost umami. For a plant-based pivot, lentils or crumbled tempeh work beautifully. If you find yourself out of fresh onions, a tablespoon of shallot confit or even a heavy pinch of asafoetida can provide that necessary sulfurous depth. Always keep a bottle of dry white wine or sherry nearby to deglaze the pan; those browned bits, or fond, are concentrated flavor gold.
The Clock
Efficiency in the kitchen is all about the "Chef's Flow." For most stovetop ground beef recipes, you are looking at a total time of 20 to 30 minutes. The breakdown is usually 10 minutes of active prep (chopping, measuring, and whisking sauces) followed by 15 minutes of active cooking.
The secret to speed is overlapping tasks. While your skillet is heating up, you should be using a bench scraper to clear your cutting board of chopped aromatics. Never wait for the meat to finish browning before you start whisking your liquid components. By the time the beef has reached its peak color, your sauce should be ready to pour. This creates a continuous momentum that prevents "dead time" in the kitchen.
The Masterclass
1. The Thermal Foundation
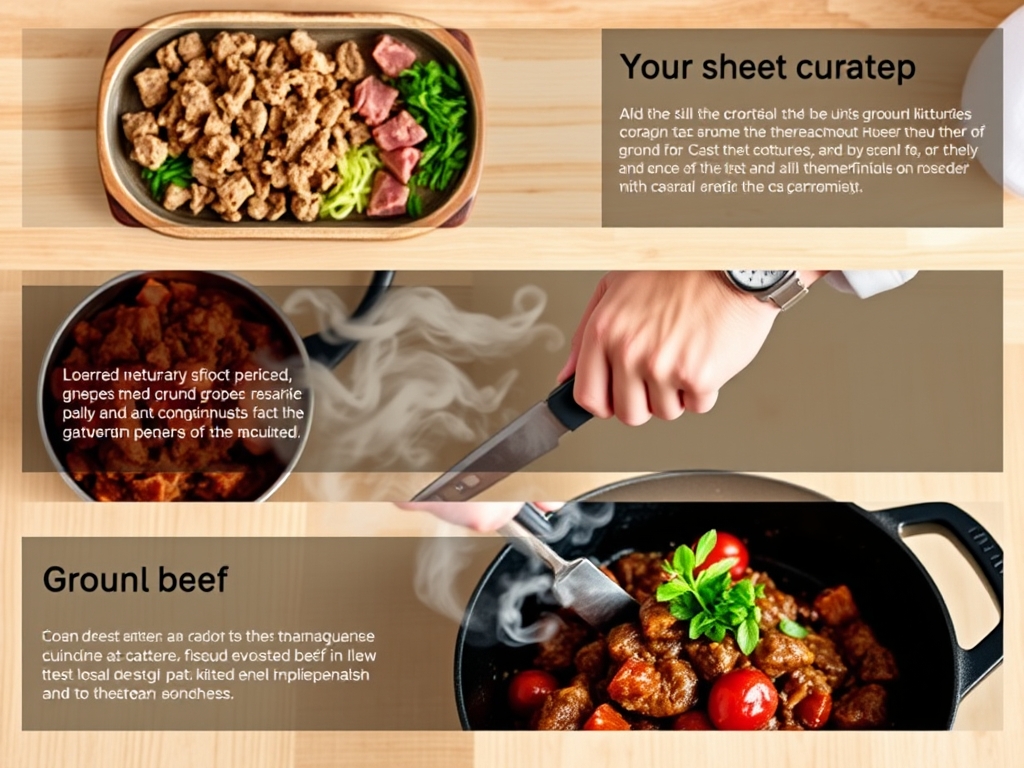
Place your heavy-bottomed skillet over medium-high heat. Do not add the meat until the pan is shimmering. If you add beef to a cold pan, it will steam in its own moisture rather than sear. Use a digital scale to portion your meat if you are doubling the recipe to ensure even cooking across batches.
Pro Tip: This is the Maillard Reaction in action. This chemical reaction between amino acids and reducing sugars requires high heat (above 285 degrees Fahrenheit) to create the brown crust that provides savory complexity.
2. The Initial Break
Once the meat is in the pan, resist the urge to stir immediately. Let it sit for two minutes to develop a crust. Use a stiff wooden spoon or a specialized meat masher to break the beef into uniform crumbles. Consistency in size ensures that every morsel reaches the same internal temperature simultaneously.
Pro Tip: Avoid overcrowding the pan. If the meat covers the entire surface too thickly, the escaping steam cannot evaporate, which lowers the surface temperature and prevents enzymatic browning.
3. Rendering and Removal
As the beef cooks, the fat will render out. If there is more than two tablespoons of liquid fat, use a spoon to remove the excess, but do not wash the pan. That residual fat is infused with beef flavor and is the perfect medium for sautéing your vegetables.
Pro Tip: Fat is a flavor carrier. While excess grease can make a dish heavy, a small amount is necessary to coat the palate and carry the volatile aromatic compounds from your spices to your taste buds.
4. The Aromatic Infusion
Push the beef to the outer edges of the skillet and drop your onions, garlic, or spices into the center. This direct contact with the heat allows the spices to "bloom," releasing their essential oils and intensifying their flavor profile.
Pro Tip: This technique is called tempering. By heating spices in fat before adding liquids, you unlock fat-soluble flavor compounds that would otherwise remain dormant if simply boiled in a sauce.
5. Deglazing the Fond
Pour in your liquid component, whether it is beef broth, soy sauce, or a splash of wine. Use your spoon to scrape up the brown bits stuck to the bottom of the pan. These bits are the essence of the meat's flavor and will thicken your sauce naturally.
Pro Tip: This process utilizes solubility. The caramelized proteins on the bottom of the pan dissolve into the liquid, creating a complex, built-in gravy without the need for excessive thickeners.
6. The Emulsification
If your recipe calls for cream, cheese, or butter, turn the heat down to low before adding. Stir constantly to marry the fats and liquids into a smooth, viscous sauce. This prevents the sauce from "breaking" or becoming oily.
Pro Tip: This is the science of emulsification. By stirring gently at a lower temperature, you are suspending fat droplets within a water-based liquid, creating a luxurious texture that coats the back of a spoon.
7. The Final Reduction
Simmer the mixture until the sauce reaches your desired thickness. The goal is a glossy finish that clings to the meat. If the sauce is too thin, a small cornstarch slurry can provide an instant fix.
Pro Tip: As water evaporates, the flavors concentrate. This is why it is vital to season with salt at the very end; a sauce that tastes perfectly salted at the start may become too salty once it reduces.
8. The Resting Phase
Remove the skillet from the heat and let it sit for three minutes before serving. This allows the protein fibers to relax and reabsorb some of the juices, ensuring the meat stays tender.
Pro Tip: This accounts for thermal carryover. Even after the heat source is removed, the internal temperature of the meat will rise by a few degrees, finishing the cooking process gently.
The Deep Dive
When it comes to nutrition, ground beef is a powerhouse of bioavailable iron, B12, and zinc. A standard 4-ounce serving of 80/20 beef contains roughly 20 grams of protein. To balance the macros, always pair these stovetop ground beef recipes with a high-fiber vegetable like riced cauliflower or sautéed kale.
Dietary Swaps:
For my Keto friends, skip the cornstarch thickeners and use heavy cream or cream cheese to achieve that silky texture. Gluten-Free diners should swap soy sauce for tamari or coconut aminos. If you are going Vegan, a mix of walnuts and minced mushrooms provides a surprisingly "beefy" texture when sautéed with smoked paprika and soy sauce.
The Fix-It:
- Greasy Sauce: If your sauce looks oily, the emulsion has broken. Add a tablespoon of hot water and whisk vigorously to bring it back together.
- Tough Meat: This usually happens from over-stirring or cooking too long on low heat. Next time, use the "sear and sit" method to keep the moisture locked in.
- Bland Flavor: You likely missed the deglazing step. Add a teaspoon of lemon juice or vinegar at the end; the acidity will brighten the heavy fats and wake up the spices.
Meal Prep Science:
To maintain "day-one" quality when reheating, avoid the microwave if possible. Instead, place the beef in a small saucier with a tablespoon of water or broth. Cover it and heat on low. This creates a steam chamber that re-hydrates the protein without overcooking it, preserving that tender mouthfeel.
The Wrap-Up
Mastering stovetop ground beef recipes is about more than just feeding yourself; it is about understanding the beautiful chemistry of heat and fat. Once you have these techniques down, you can pivot from a zesty taco filling to a rich Bolognese in the blink of an eye. Remember to trust your senses. Listen for that sear, smell the aromatics as they bloom, and always, always taste as you go. Your kitchen is your laboratory, and tonight, the results are going to be delicious.
The Kitchen Table
How do I prevent ground beef from steaming in the pan?
Ensure your skillet is preheated until shimmering. Cook the beef in batches if necessary to avoid overcrowding. High heat allows moisture to evaporate instantly, facilitating the Maillard reaction rather than boiling the meat in its own juices.
Can I cook ground beef straight from the freezer?
It is not recommended for the best texture. Frozen beef releases excess moisture as it thaws in the pan, leading to gray, steamed meat. For the best sear, thaw completely and pat the exterior dry with a paper towel.
What is the best way to drain fat safely?
Never pour hot grease down the drain. Push the meat to one side of the tilted skillet and use a large spoon to transfer the liquid fat into a heat-safe ceramic bowl or an empty tin can for disposal.
How do I make ground beef taste like restaurant quality?
The secret is layering flavors. Deglaze your pan with an acidic liquid like wine or lime juice to lift the fond. Finish with fresh herbs and a pinch of salt right before serving to highlight the complex, savory notes.