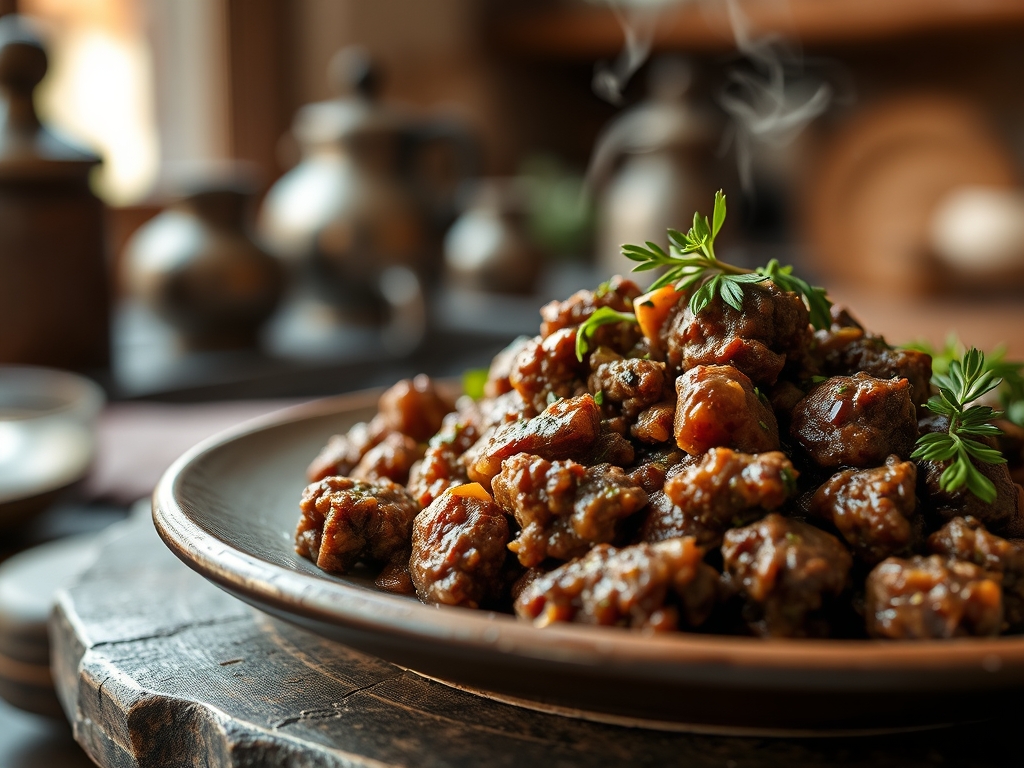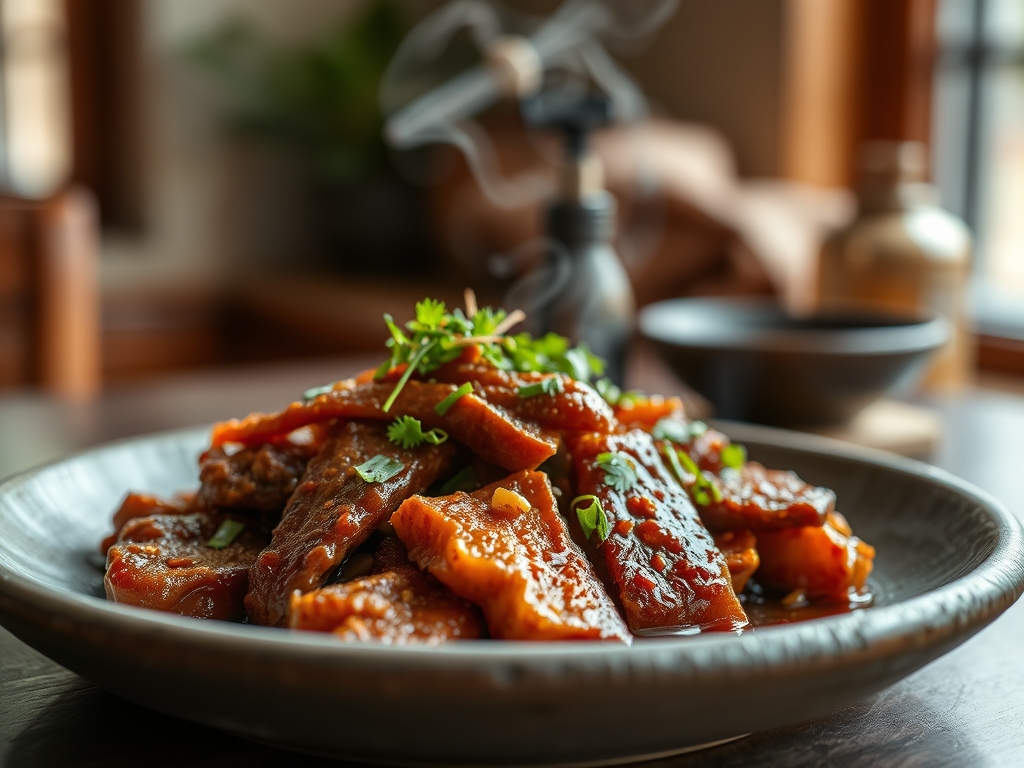
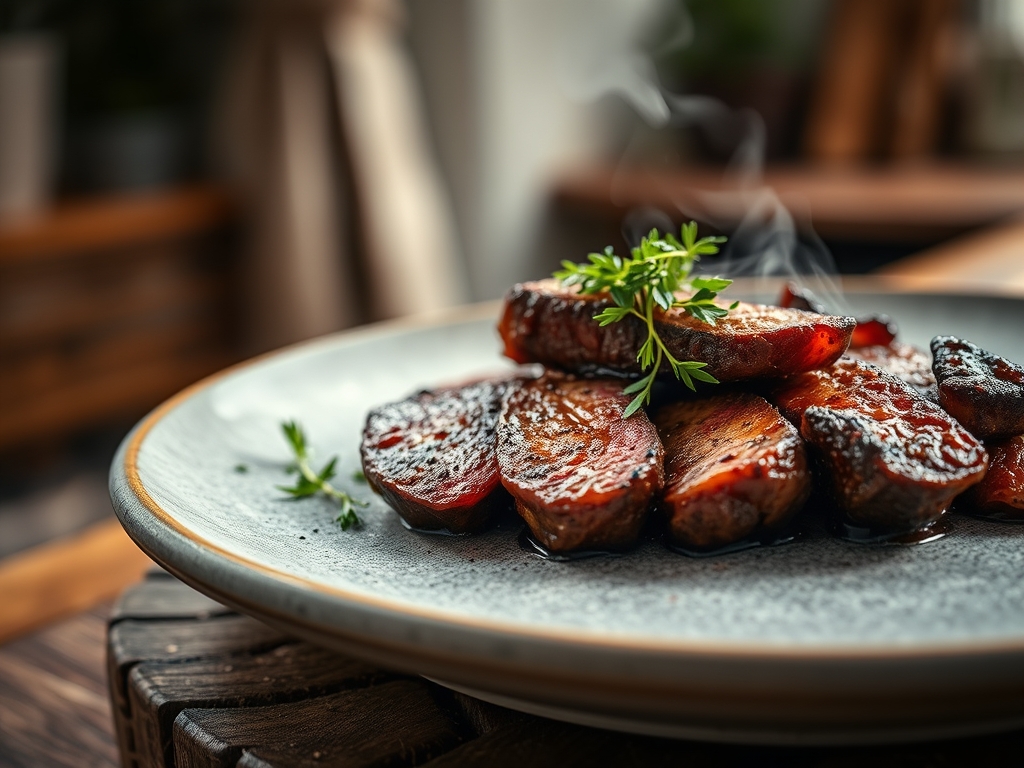
Close your eyes and listen for that distinctive, aggressive hiss as cold protein hits a searing hot surface. That sound is the symphony of the Maillard reaction, the chemical cornerstone of all elite carnivore beef recipes. We are not just tossing meat into a pan; we are orchestrating a complex transformation of amino acids and reducing sugars into a crust so savory it borders on primal. When you commit to a pure carnivore lifestyle, the margin for error vanishes because there are no sauces or garnishes to hide a subpar sear. You need to master the physics of heat transfer and the chemistry of fat rendering to turn a simple cut of muscle into a masterpiece. Forget everything you know about gentle browning. We are going for a deep, mahogany crust that shatters under the knife. This is the art of high-density nutrition, where the quality of your salt and the precision of your temperature control determine whether you are eating a meal or an experience. Let's dive into the molecular secrets of the perfect steak.
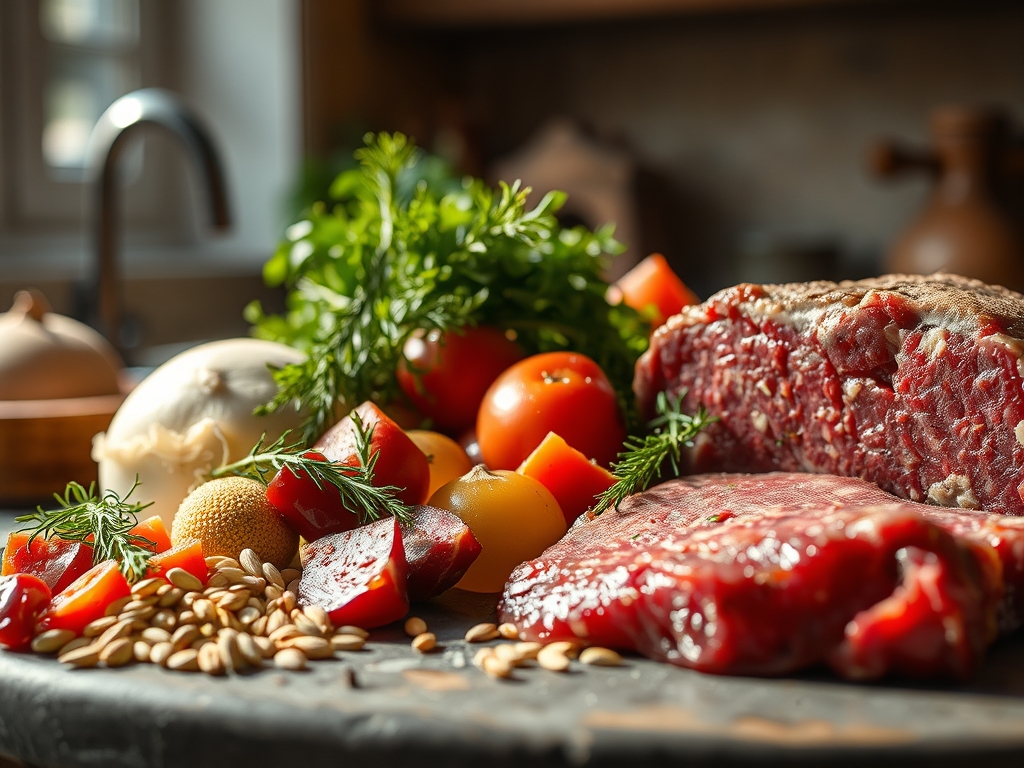
The Gathers:
To execute these carnivore beef recipes with professional precision, your mise-en-place must be flawless. Start with a three-pound prime ribeye or a thick-cut New York strip, ideally dry-aged for twenty-one days to ensure the enzymes have already begun breaking down the connective tissue. You will need high-quality flake sea salt; the jagged surface area of the crystals allows for better adhesion to the protein fibers. For your cooking medium, reach for tallow or clarified butter (ghee). These fats have smoke points exceeding 450 degrees Fahrenheit, which is essential for preventing the acrid, bitter notes of burnt lipids.
Smart Substitutions: If you find yourself without rendered beef tallow, use duck fat for a more viscous, velvety mouthfeel. For those who are dairy-sensitive, skip the ghee and use a microplane to shave frozen suet directly over the hot steak during the final resting phase. This creates a self-basting effect that mimics the richness of a traditional butter baste without the lactose. Always have your digital scale ready to measure your salt-to-weight ratio; a standard 1.5 percent salinity is the "golden zone" for flavor enhancement without overwhelming the palate.
The Clock:
Mastering the "Chef's Flow" is about understanding the difference between active work and passive chemical reactions. Your total prep time is only ten minutes, but the "dry brine" phase requires at least twenty-four hours in the refrigerator. This isn't just waiting; it is a critical period of osmosis where salt draws moisture out, dissolves into a brine, and is then reabsorbed into the muscle, seasoning the meat to the core.
The actual cook time is a brisk twelve to fifteen minutes, depending on the thickness of your cut. However, the most overlooked segment of the clock is the tempering period. You must pull your beef from the fridge at least sixty minutes before it touches the heat. If the core is too cold, the exterior will overcook and become fibrous before the center reaches a perfect medium-rare. Finally, factor in a ten-minute rest. This allows the muscle fibers, which tighten during the heat application, to relax and reabsorb the internal juices.
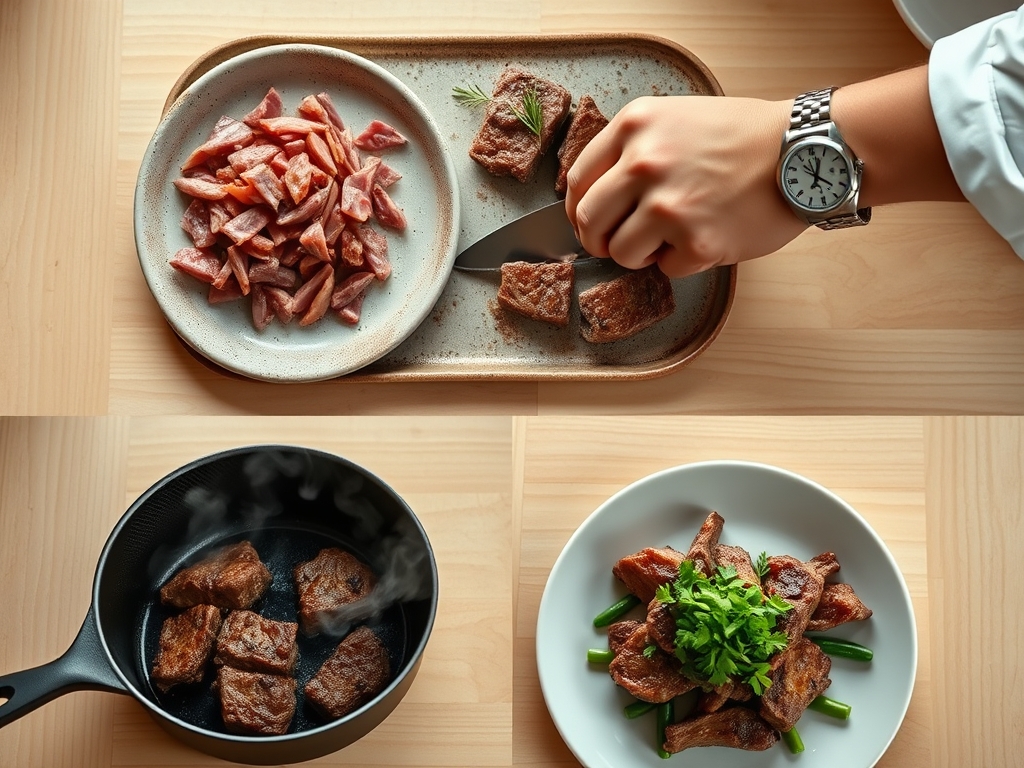
The Masterclass:
1. The Desiccation Phase
Pat the surface of your beef with surgical precision using heavy-duty paper towels. Any residual moisture on the surface will turn to steam the moment it hits the pan, preventing the Maillard reaction and leaving you with a gray, boiled texture.
Pro Tip: This is known as evaporative cooling. If moisture is present, the surface temperature cannot rise above 212 degrees Fahrenheit (the boiling point of water) until that water is gone. By starting dry, you jump straight to the 300-degree threshold required for browning.
2. The Tempering Ritual
Place your seasoned beef on a wire rack set over a baking sheet. This allows for 360-degree air circulation. Use a bench scraper to clean your board thoroughly between steps to maintain a sterile environment.
Pro Tip: Tempering reduces the thermal gradient between the pan and the meat. A smaller temperature gap ensures a more even cook from edge to center, eliminating that unsightly "gray ring" of overcooked protein.
3. The High-Conductivity Sear
Heat a heavy-bottomed skillet (cast iron or carbon steel) until it reaches 500 degrees. Add your tallow and wait for the first wisps of blue smoke. Lay the beef away from you to avoid hot fat splashes.
Pro Tip: Use tongs to press the meat firmly against the metal. This maximizes "conductive heat transfer," ensuring every millimeter of the surface undergoes enzymatic browning simultaneously.
4. The Saucier Baste
Once you flip the steak, add a knob of cold fat or ghee to the pan. Tilt the skillet and use a large spoon to continuously bathe the top of the meat in the foaming fat.
Pro Tip: This is called convection basting. The hot fat finds its way into the nooks and crannies of the crust, intensifying the flavor and ensuring the rendered fat stays viscous and rich rather than oily.
5. The Thermal Pivot
Remove the beef when it is five degrees below your target temperature. Place it on a warm plate, not a cold one, to prevent thermal shock.
Pro Tip: Thermal carryover is a real physical phenomenon. The residual heat on the exterior continues to move toward the center even after the meat is off the flame, raising the internal temp by about five degrees.
6. The Rest and Reabsorb
Do not touch the meat for at least ten minutes. This is the hardest part of any carnivore beef recipes, but it is the most vital for texture.
Pro Tip: During cooking, proteins denature and squeeze out water. Resting allows the gelatinous connective tissues to cool slightly and thicken, trapping the juices inside the muscle fibers so they don't spill out when sliced.
7. The Final Flourish
Just before serving, use your microplane to zest a tiny bit of chilled, high-fat bone marrow over the top or a final sprinkle of Maldon salt for crunch.
Pro Tip: This adds a "top note" of salinity and fat that hits the tongue first, triggering a dopamine response before the deep, savory flavors of the beef take over.
The Deep Dive:
Macro Nutrition: A standard 12-ounce ribeye prepared this way delivers approximately 800 calories, 60 grams of protein, and 65 grams of healthy animal fats. It is a zero-carb powerhouse rich in Vitamin B12, Zinc, and Heme-iron, which boasts a much higher bioavailability than plant-based iron sources.
Dietary Swaps: While this is a pure carnivore guide, those on Keto can add a side of fermented butter. For the Gluten-Free crowd, this recipe is naturally safe as it relies on animal fats rather than flour-based thickeners. If you are cooking for a vegan guest, your best "swap" is to use the same high-heat techniques on thick-cut cauliflower steaks, though the molecular results will lack the same depth of umami.
The Fix-It:
- The Gray Sear: If your meat looks gray, your pan wasn't hot enough. Fix it by patting the meat dry again and returning it to a smoking-hot pan for thirty seconds per side.
- The Tough Chew: This usually means you skipped the rest. If you already cut it, let the slices sit in the warm pan juices for two minutes to rehydrate.
- The Acrid Taste: You burnt the fat. Wipe the pan, deglaze with a tablespoon of water to lift the burnt bits, discard, and start the basting process fresh with new fat.
Meal Prep: To reheat and maintain "day-one" quality, avoid the microwave at all costs; it vibrates water molecules and turns beef into rubber. Instead, use a low oven (250 degrees) until the internal temp reaches 110, then flash-sear in a pan for thirty seconds to crisp the crust.
The Wrap-Up:
Mastering these carnivore beef recipes is about more than just satisfying hunger; it is about reclaiming the foundational skills of human cookery. By focusing on the science of heat and the purity of the ingredients, you turn a daily meal into a high-performance fuel source that tastes like a luxury. Remember, the key is in the details: the dryness of the surface, the heat of the steel, and the patience of the rest. Now, grab those tongs and go create something magnificent!
The Kitchen Table:
How do I get a crust without burning the meat?
The secret is a high-smoke-point fat like tallow and a bone-dry surface. Moisture creates steam, which prevents the Maillard reaction. Use high heat for the sear, then drop the temperature or use a butter baste to finish the interior gently.
Is it necessary to dry-brine the beef?
Yes. Dry-brining for 24 hours allows salt to penetrate deep into the muscle fibers via osmosis. This seasons the meat internally and denatures proteins, resulting in a more tender texture and a much more flavorful, juicy finished product.
What is the best pan for carnivore beef recipes?
Cast iron or carbon steel are the gold standards. These materials have high thermal mass, meaning they do not drop in temperature when the cold meat hits the surface. This consistency is vital for a professional-grade, mahogany-colored crust.
How can I tell if the steak is done without a thermometer?
While a digital thermometer is best, you can use the "finger test" on the fleshy part of your palm. However, for consistent results in carnivore cooking, investing in an instant-read probe is the only way to ensure perfect internal temperature every time.