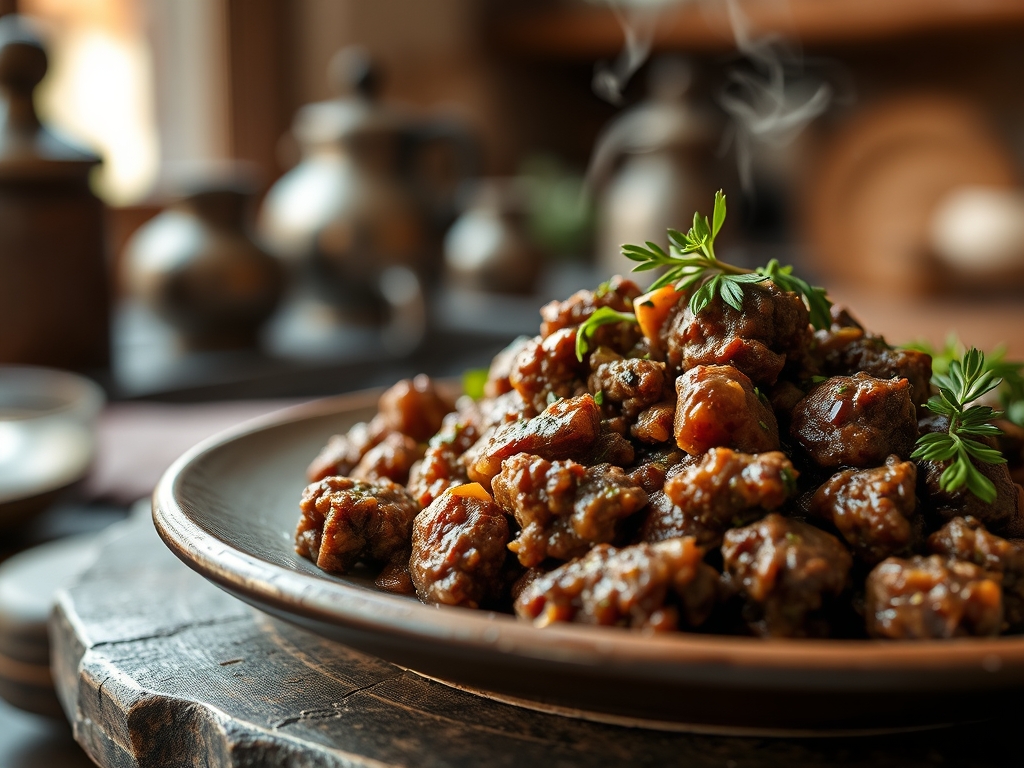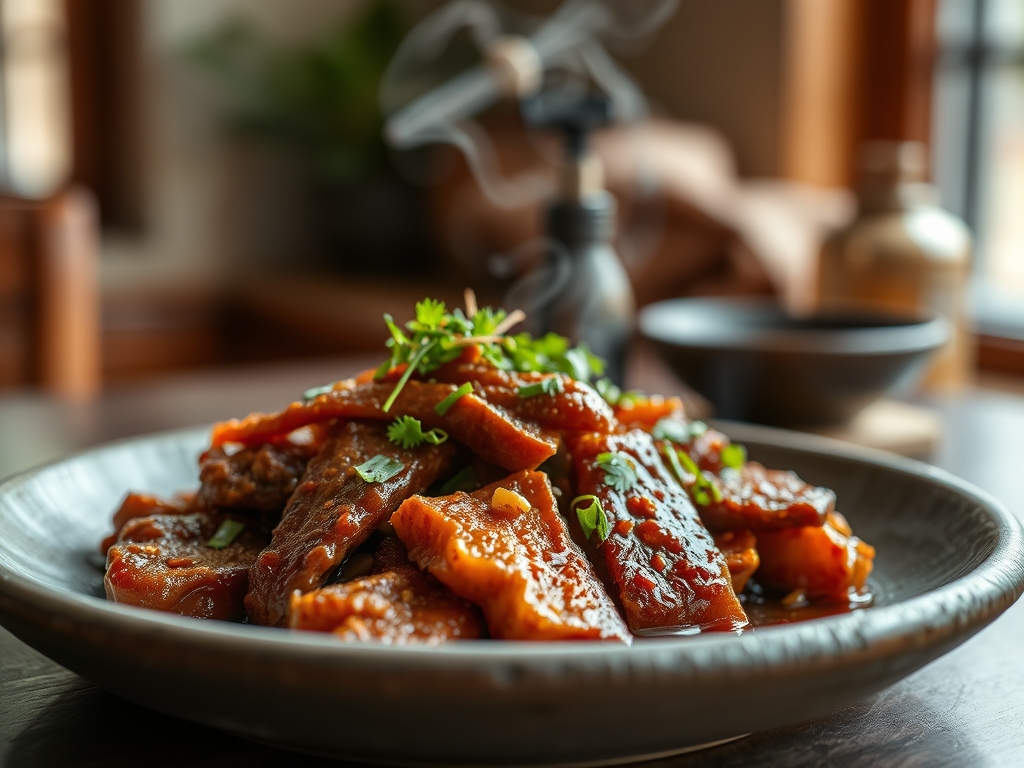
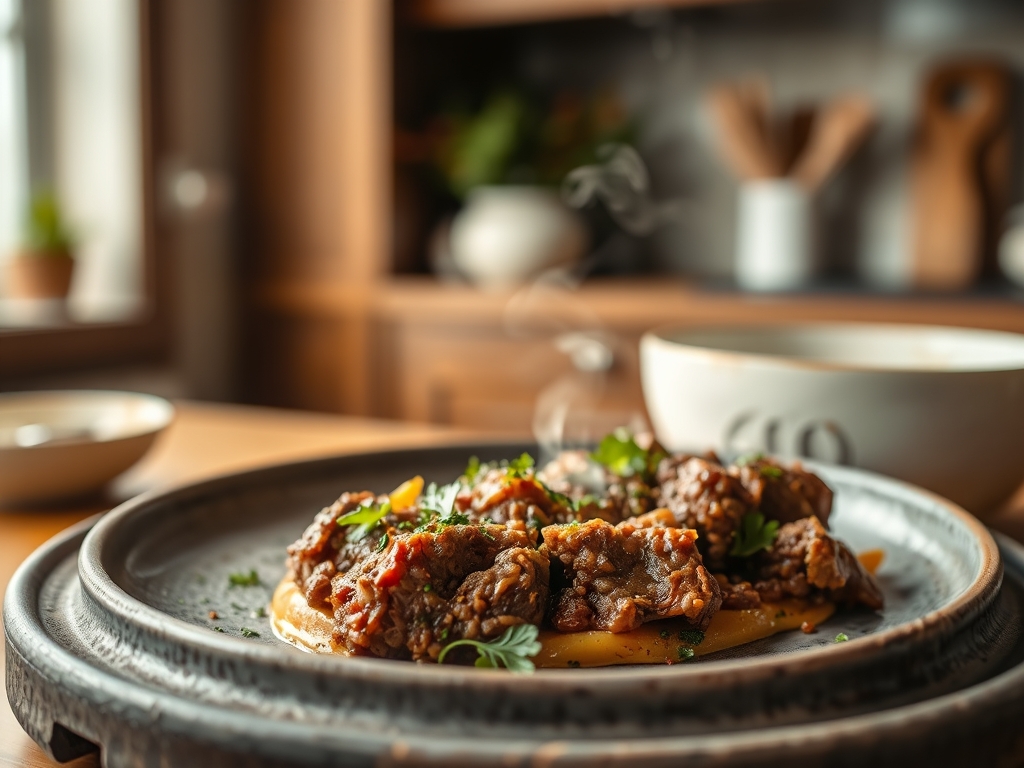
Imagine the sound of high velocity air colliding with cold fat. It is a rhythmic, sizzling percussion that signals the beginning of the most efficient meal of your week. When you master ground beef recipes air fryer style, you are not just cooking; you are harnessing the power of a miniature convection oven to achieve a level of crust that a standard frying pan simply cannot touch. We are talking about that deep, mahogany exterior and a center that remains incredibly succulent. Ground beef is the ultimate culinary chameleon, but it is often relegated to the soggy depths of a slow cooker or the uneven heat of a skillet. By utilizing the concentrated heat of an air fryer, we are maximizing the surface area exposed to thermal radiation. This ensures that every cranny of the meat undergoes the Maillard reaction simultaneously. Whether you are craving a charred burger or crispy taco crumbles, this method is the fastest path to flavor. Forget the grease splatter on your backsplash and the lingering smell of tallow in your curtains. We are diving into a world of precision, speed, and scientific deliciousness.
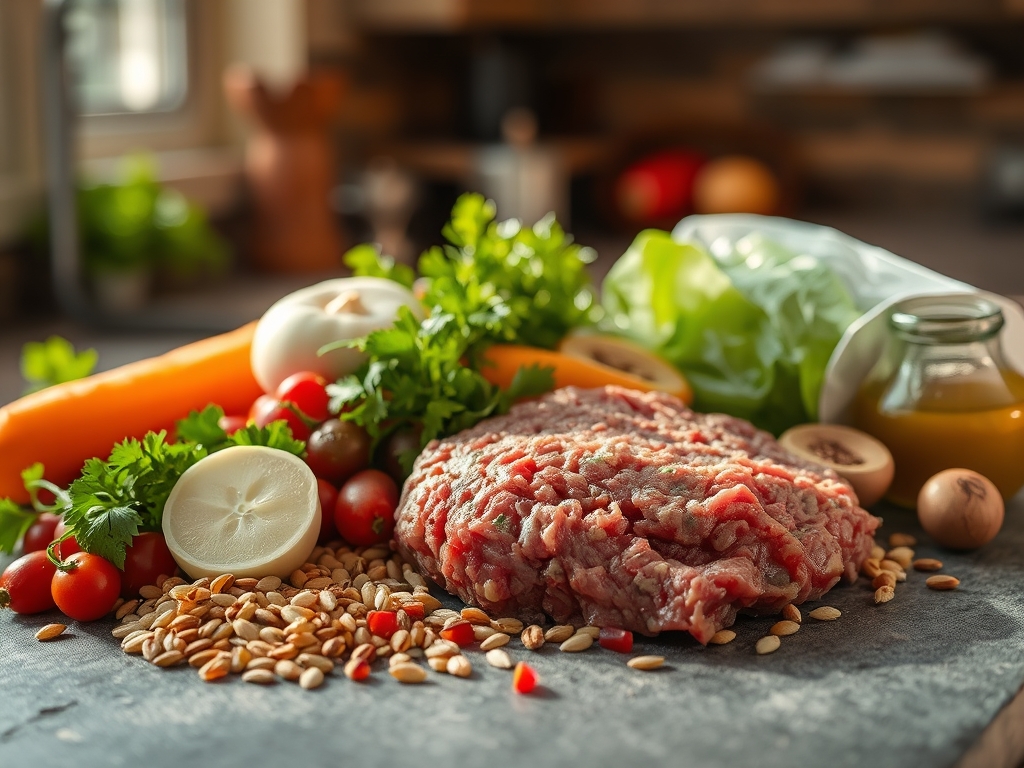
The Gathers:
To execute these ground beef recipes air fryer hacks with precision, you must treat your mise-en-place like a laboratory setup. Start with high quality beef; an 80/20 blend is the gold standard because the fat provides the viscous mouthfeel and prevents the protein fibers from tightening into a dry brick. You will need a digital scale to ensure your portions are uniform, which is the secret to synchronized cooking times. Gather your aromatics: freshly grated garlic via a microplane for maximum surface area and piquant intensity; smoked paprika for an earthy depth; and kosher salt, which has jagged crystals that adhere better to the meat than fine table salt.
For the "Smart Substitutions," consider using ground bison if you want a leaner profile with a sweeter finish, but remember to pull it two minutes early as it lacks the insulating fat of beef. If you are looking for a binder that adds more than just bulk, swap traditional breadcrumbs for crushed pork rinds or almond flour to keep the dish keto friendly. To add a hit of umami without extra moisture, a teaspoon of tomato paste or a splash of Worcestershire sauce will infuse the meat with a savory backbone that mimics a long braise.
The Clock: Chef's Flow
Efficiency in the kitchen is about "Chef's Flow," which is the art of overlapping tasks to minimize downtime.
- Prep Time: 10 Minutes. This involves weighing your meat, seasoning, and shaping. Use a bench scraper to portion the meat quickly without over-handling it; warm hands will melt the fat, ruining the final texture.
- Cook Time: 8 to 12 Minutes. This varies based on whether you are doing "loose crumbles" or "formed patties."
- Total Time: 22 Minutes.
While the air fryer preheats (which is non-negotiable for a proper sear), use that four-minute window to prep your garnishes or a quick sauce in a saucier. This ensures that by the time the timer dings, you are ready to plate.
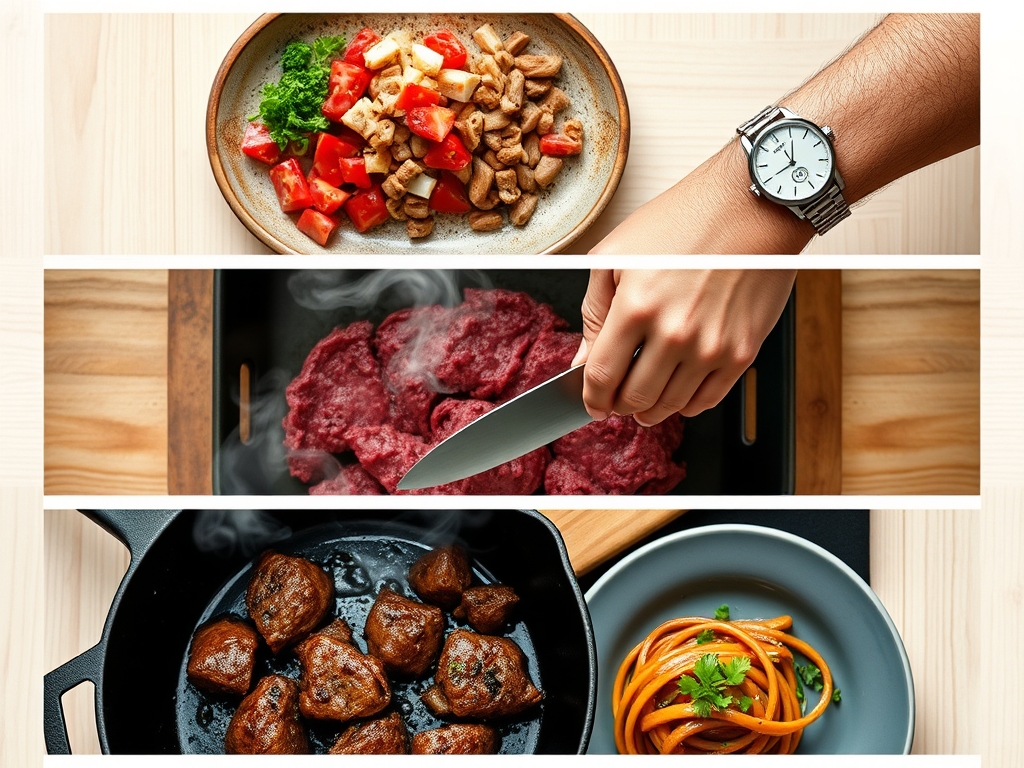
The Masterclass:
1. The Pre-Heat Protocol
Never place cold meat into a cold basket. Set your air fryer to 400 degrees Fahrenheit and let it run for at least 5 minutes. This creates an immediate thermal shock when the beef hits the tray, locking in juices.
Pro Tip: This rapid temperature spike triggers enzymatic browning immediately, preventing the meat from "steaming" in its own moisture.
2. The Aerated Crumble
For taco meat or pasta sauce, break the beef into large chunks rather than a flat sheet. Place them in the basket with space between each piece.
Pro Tip: You want to aerate the cooking chamber; if the basket is too crowded, the air cannot circulate, and you will lose that signature "fried" texture.
3. The Mid-Cycle Agitation
At the halfway mark, use tongs to shake the basket or flip your patties. This redistributes the rendered fat, essentially deep-frying the meat in its own oils.
Pro Tip: This agitation ensures even heat distribution and prevents "cold spots" where bacteria could survive.
4. The Dimple Technique
If you are making burgers, use your thumb to create a small indentation in the center of each patty.
Pro Tip: This accounts for protein contraction. As the meat cooks, the fibers tighten and the center puffs up; the dimple ensures your burger stays flat rather than turning into a golf ball.
5. The Infusion Phase
In the last two minutes of cooking, add your dry spices or cheese. Adding spices too early can cause them to burn in the high-velocity air.
Pro Tip: The residual heat is enough to bloom the spices and infuse the oils without scorching the delicate volatile compounds in the herbs.
6. The Carryover Rest
Remove the meat when it is 5 degrees below your target internal temperature. Place it on a warm plate and tent loosely with foil.
Pro Tip: This utilizes thermal carryover. The exterior heat continues to move toward the center, finishing the cook perfectly without drying out the edges.
7. The Deglaze Trick
Once the meat is out, don't scrub the basket immediately. If you have a solid-bottom tray, add a tablespoon of water or broth to the hot drippings.
Pro Tip: This allows you to deglaze the flavorful "fond" (the brown bits), which can be drizzled back over the meat for an intense flavor boost.
The Deep Dive:
From a macro nutrition perspective, air frying is a win because it allows excess fat to drain away from the meat through the basket perforations, reducing the caloric density while maintaining high protein levels. For a 4-ounce serving of 80/20 beef, you are looking at roughly 250 calories and 20 grams of protein.
Dietary Swaps: For a vegan alternative, use a plant-based crumble but reduce the cook time by 30 percent, as these "meats" lack the connective tissue of beef and can turn rubbery. For Keto enthusiasts, keep the fat! Use the drippings to wilt spinach for a high-fat, low-carb side.
The Fix-It:
- Issue: Meat is grey and soggy. Fix: You overcrowded the basket. Cook in smaller batches to allow airflow.
- Issue: The "Smoke Alarm" special. Fix: High-fat beef can smoke. Place a slice of bread or a tablespoon of water in the bottom drawer (under the basket) to catch and cool the grease.
- Issue: Dry, crumbly texture. Fix: You over-mixed the meat. Use a light touch to keep the protein strands loose.
Meal Prep Science: To reheat, do not use the microwave. Put the beef back in the air fryer at 350 degrees for 3 minutes. This recirculates the fats and crisps the exterior, returning it to "day-one" quality.
The Wrap-Up:
Mastering ground beef recipes air fryer style is the ultimate kitchen power move. It combines the speed of modern technology with the timeless chemistry of a perfect sear. By understanding how air flow interacts with protein and fat, you have moved beyond "just cooking" and into the realm of culinary artistry. Now, grab those tongs and go create something spectacular!
The Kitchen Table:
How do I stop ground beef from smoking?
Place a piece of bread or a small amount of water in the bottom of the air fryer drawer. This absorbs or cools the rendered fat, preventing it from hitting its smoke point and filling your kitchen with haze.
Can I cook frozen ground beef in the air fryer?
Yes, but you must increase the time by 50 percent. Start at a lower temperature (350F) to thaw the exterior without burning it, then crank it to 400F for the final three minutes to achieve a proper crust.
Why is my air fryer ground beef dry?
You likely over-handled the meat or skipped the rest period. Over-mixing creates a dense, rubbery texture. Always allow the meat to rest for three minutes after cooking to let the juices redistribute through the protein fibers.
Do I need to use oil for air fryer beef?
Generally, no. Ground beef has enough internal fat to facilitate the Maillard reaction. Adding extra oil is redundant and can actually lead to more smoking issues during the high-heat convection process. Just let the beef cook in its own tallow.