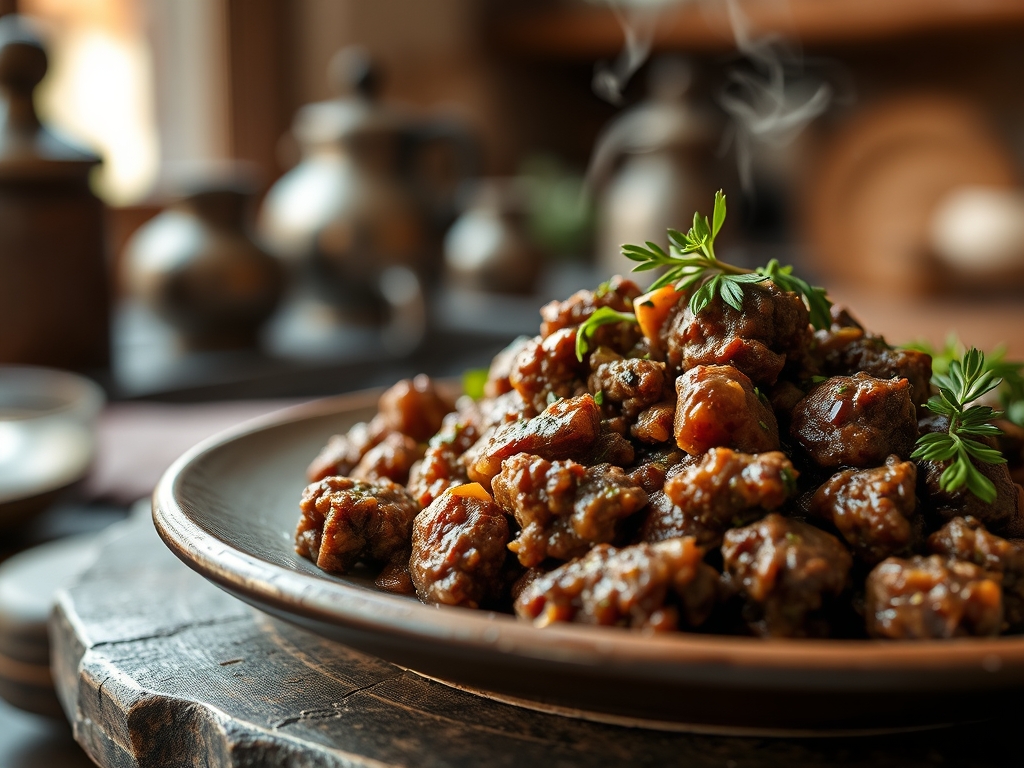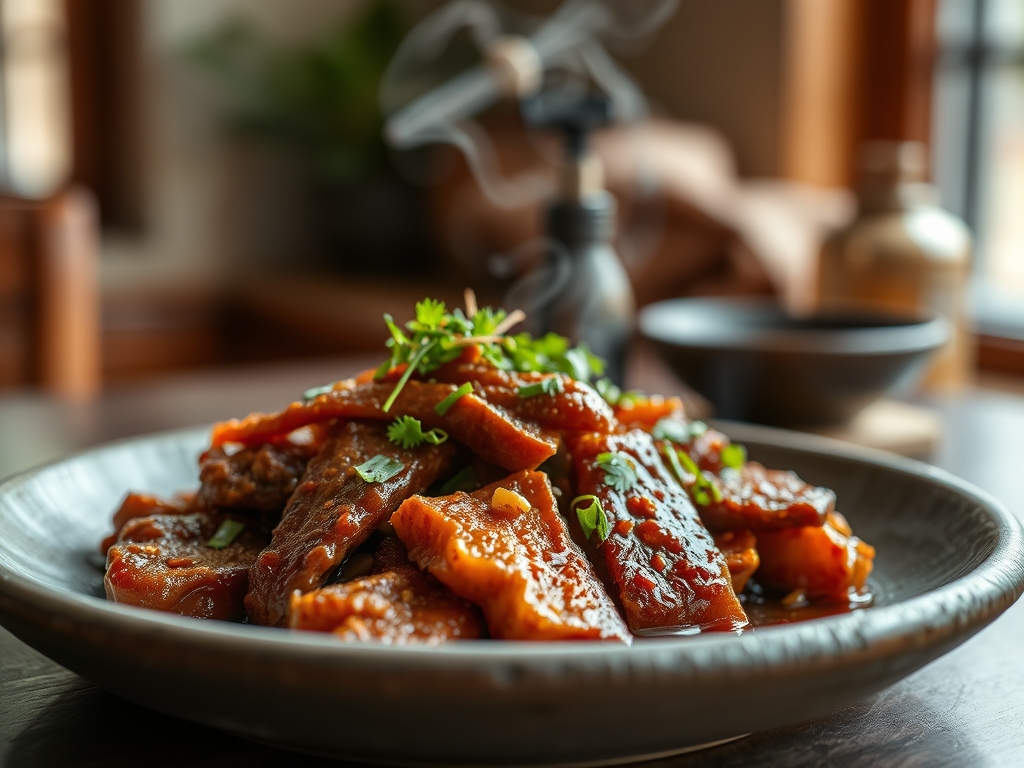
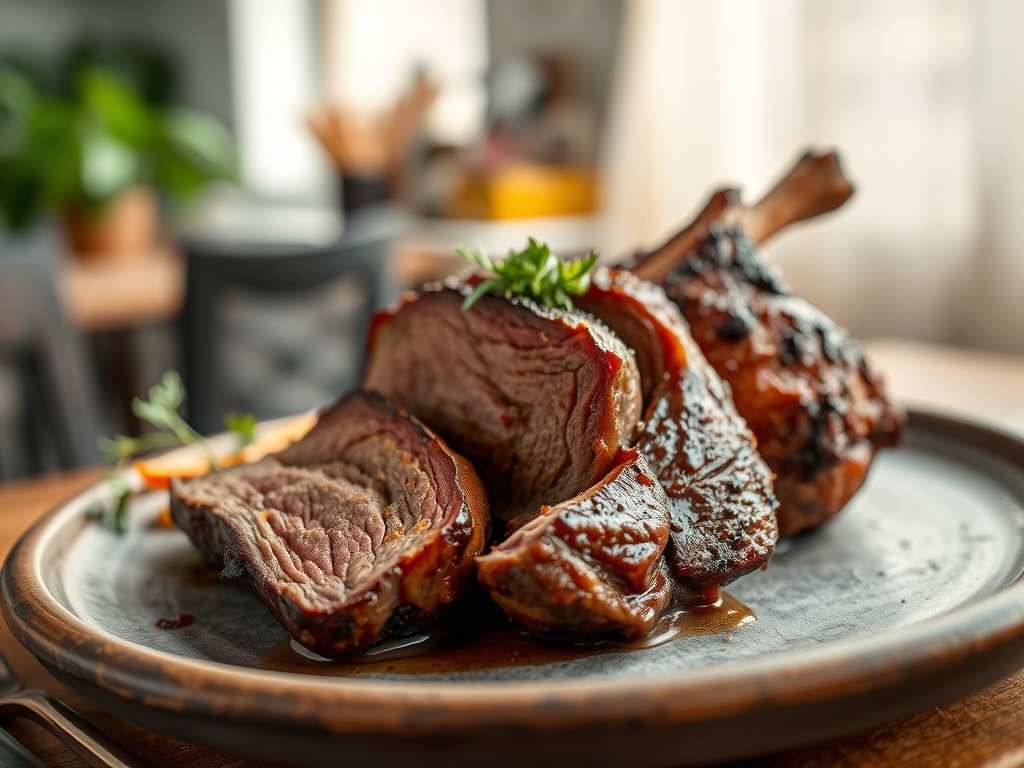
Imagine the scent of woodsmoke mingling with the heavy, iron-rich aroma of searing protein as a massive cut of beef rotates slowly over an open flame. This is the pinnacle of outdoor cooking, and mastering spit roast beef recipes requires more than just a fire; it demands an understanding of heat transfer and fat rendering. When you get it right, the exterior transforms into a salty, mahogany crust while the interior remains a shimmering, ruby-red masterpiece of tenderness. It is visceral, primal, and arguably the most rewarding way to feed a crowd.
The secret to a legendary roast lies in the tension between the direct infrared heat of the coals and the gentle, ambient air surrounding the meat. Unlike a stationary oven, the rotisserie action creates a self-basting loop. As the fat begins to render, it does not simply drip away; it clings to the surface, coating the muscle fibers in a viscous layer of liquid gold that prevents dehydration. This constant motion ensures that the juices stay locked within the cellular structure of the beef rather than pooling at the bottom of a roasting pan. We are not just cooking dinner; we are engineering a texture that is impossible to achieve through any other method.
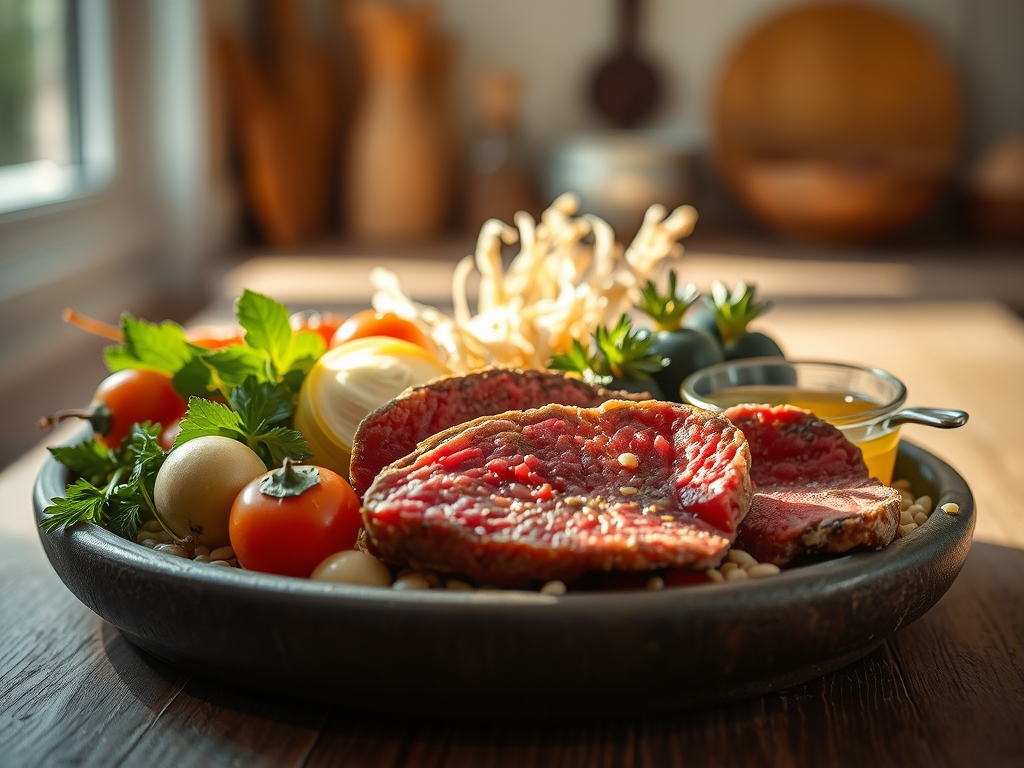
The Gathers:
To execute this properly, your mise-en-place must be precise. You will need a high-quality, whole muscle cut like a top sirloin butt or a prime rib roast. Use a digital scale to measure your dry rub ingredients to ensure the salinity levels are perfectly balanced for the weight of the meat. You will need coarse kosher salt, cracked black tellicherry peppercorns, and aromatics like rosemary and garlic. For the basting liquid, gather high-smoke-point oils, apple cider vinegar to provide a piquant acidity, and a splash of Worcestershire sauce to deepen the umami profile.
Smart Substitutions: If you cannot find a traditional prime rib, a tri-tip is a fantastic alternative for smaller rotisseries. For those looking to avoid refined sugars in their rubs, use dehydrated onion powder and smoked paprika to provide that "burnt sugar" depth without the risk of scorching. If you are out of fresh rosemary, dried thyme or even a dash of ground cumin can provide an earthy, robust backbone to the crust.
The Clock
Efficiency in the kitchen, or what we call Chef's Flow, is about timing the internal temperature rise against the external crust development. You should allow at least 45 minutes for the meat to come to room temperature before it ever touches the spit; this prevents the "cold core" syndrome where the outside overcooks before the center is safe to eat.
Prep time usually takes 30 minutes for trimming and trussing. The cook time varies by weight, but a standard 5-pound roast typically requires 20 to 25 minutes per pound for medium-rare. However, the most critical phase is the 30-minute rest period after the meat leaves the heat. During this time, the internal pressure of the muscle fibers stabilizes, allowing the juices to redistribute rather than flooding your cutting board.
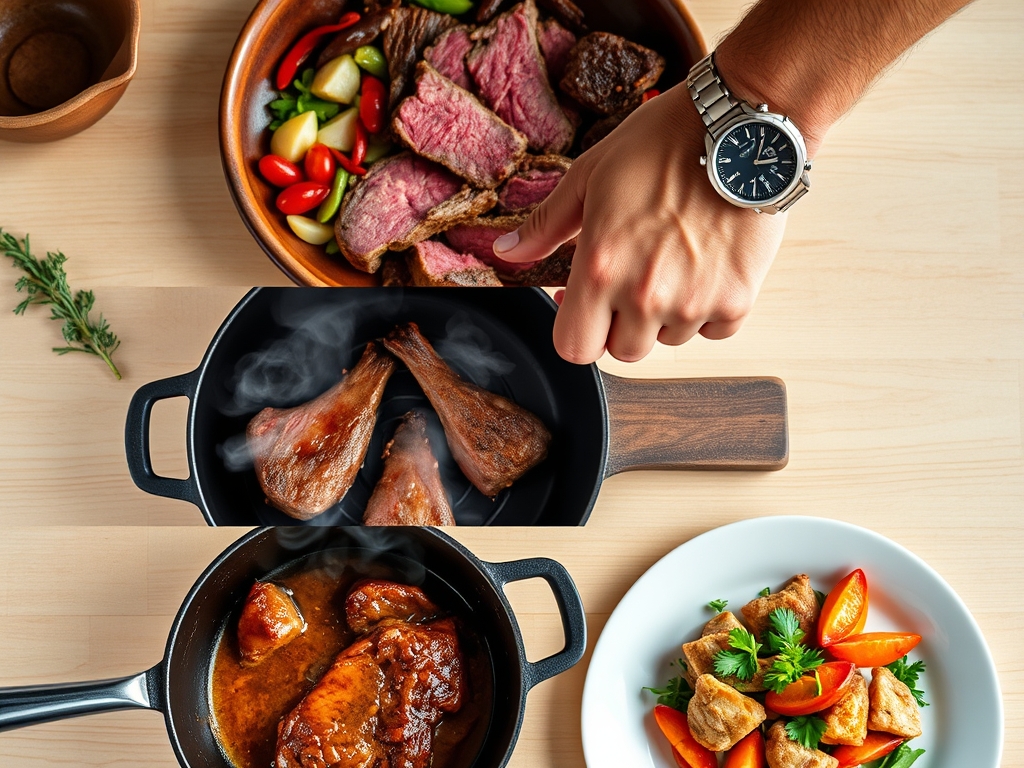
The Masterclass
1. The Strategic Trim and Truss
Use a sharp boning knife to remove any excess silverskin, but leave a thin, uniform layer of fat. Use butcher's twine to tie the roast into a tight, symmetrical cylinder. This ensures the meat rotates evenly on the spit without wobbling, which would cause uneven cooking.
Pro Tip: Symmetry is the key to thermal equilibrium. An unevenly shaped roast creates "hot spots" where thinner sections overcook, while thicker sections remain raw. Trussing forces the meat into a uniform density.
2. The Dry Brine Application
Generously coat the beef in your salt-heavy rub at least four hours before cooking. Use a bench scraper to clean your station as you work. The salt will initially draw moisture out, but through the process of osmosis, it will eventually reabsorb, seasoning the meat deep within the fibers.
Pro Tip: This process triggers denaturation, where the salt breaks down the tightly wound proteins. This makes the finished beef significantly more tender and improves its ability to retain moisture during the high-heat rotisserie process.
3. Securing the Spit
Slide the meat onto the spit rod, ensuring it is perfectly centered between the forks. Tighten the screws with tongs or a small wrench to ensure the meat does not slip. A slipping roast will stall the motor and result in a ruined, one-sided sear.
Pro Tip: Proper weighting prevents mechanical failure. If the roast is off-center, the motor must work harder on the "up" swing, leading to an inconsistent rotation speed that disrupts the Maillard reaction.
4. Managing the Fire Zone
Prepare your coals in a split-bank configuration. This means placing the heat on either side of the meat rather than directly underneath it. This creates a convection effect, where the heat circles the beef rather than scorching the bottom.
Pro Tip: This setup utilizes indirect radiant heat. By avoiding direct flames, you prevent flare-ups caused by dripping fat, which can produce acrid, soot-flavored smoke that ruins the delicate flavor of the beef.
5. The Aerated Basting Technique
Every 20 minutes, use a silicone brush or a bundle of fresh herbs to apply your basting liquid. Do not just "paint" it on; splash it slightly to aerate the fats and acids. This keeps the surface cool enough to prevent burning while building layers of flavor.
Pro Tip: Basting facilitates evaporative cooling. This slows down the exterior cooking process just enough to allow the interior temperature to catch up, resulting in an edge-to-edge pink center.
6. Monitoring the Internal Gradient
Use a high-quality digital meat thermometer to check the temperature in the thickest part of the roast. For medium-rare, you want to pull the beef off the heat when it hits 125 degrees Fahrenheit.
Pro Tip: You must account for thermal carryover. The internal temperature will continue to rise by 5 to 10 degrees after the meat is removed from the spit as the heat from the exterior migrates inward.
7. The Rest and Recovery
Place the roast on a warm platter and tent it loosely with foil. Do not wrap it tightly, or you will steam the crust you worked so hard to build. Let it sit for at least 20 to 30 minutes.
Pro Tip: Resting allows the viscosity of the internal juices to increase as they cool slightly. This ensures the moisture stays trapped within the protein matrix when you finally slice into it.
8. The Final Carve
Use a long, serrated slicing knife or a very sharp chef's knife to cut against the grain. Slicing against the grain shortens the muscle fibers, making every bite feel incredibly tender on the palate.
Pro Tip: Cutting against the grain is a mechanical way to enhance palatability. By pre-cutting the tough connective tissues, you reduce the amount of work the teeth have to do, creating a "melt-in-your-mouth" sensation.
The Deep Dive
From a nutritional standpoint, spit-roasted beef is a powerhouse of bioavailable protein, B-vitamins, and zinc. Because the fat renders off and drips away during the rotation, it is often leaner than pan-seared steaks. For those on a Keto or Paleo diet, this is the ultimate meal. If you are cooking for a Vegan guest, consider rotisserie-roasting a whole cauliflower head using the same basting techniques; the results are surprisingly savory.
The Fix-It:
- The Meat is Slipping: If the roast starts "flopping" on the spit, stop the motor immediately. Use heat-resistant gloves to re-tighten the forks. If necessary, use extra butcher's twine to lash the meat directly to the rod.
- The Exterior is Charring: If the crust is getting too dark too fast, move the coals further away or increase the rotation speed. You can also "shield" the dark spots with a small piece of foil.
- The Motor Stalls: This is usually due to an unbalanced load. Remove the spit, re-center the meat, and check that the weight distribution is even before restarting.
Meal Prep Science: To reheat leftovers without losing that "day-one" quality, avoid the microwave. Instead, use a saucier to gently warm some beef stock, then submerge thin slices of the beef for 30 seconds. This rehydrates the fibers and warms the meat through without overcooking it.
The Wrap-Up
Mastering spit roast beef recipes is a journey into the heart of culinary science. It is about the rhythm of the rotation, the hiss of the fat hitting the coals, and the patience to let the heat do its work. When you pull that mahogany-colored roast off the fire, you aren't just serving a meal; you are presenting a feat of engineering. Grab your tongs, fire up the coals, and get ready to be the hero of your next backyard gathering.
The Kitchen Table
What is the best cut for a spit roast?
The prime rib or top sirloin butt are the gold standards. They have enough intramuscular fat to stay juicy during the long cooking process. Look for heavy marbling to ensure the best flavor and texture after the long render.
How do I keep the meat from drying out?
The rotisserie action itself provides self-basting, but regular applications of an acidic baste help. More importantly, ensure you pull the meat at 125 degrees Fahrenheit to account for carryover cooking, which prevents the protein fibers from tightening and squeezing out moisture.
Can I do this on a gas grill?
Yes, as long as you have a rotisserie attachment. Turn off the burners directly under the meat and use the outer burners to create a convection environment. This mimics the indirect heat of a traditional charcoal spit roast perfectly.
Do I need to soak the wood chips?
No, soaking wood chips is a myth that actually delays the smoke. Use dry hardwood chunks like oak or hickory for a clean, consistent burn. This provides a better flavor profile and more predictable heat levels for your beef.