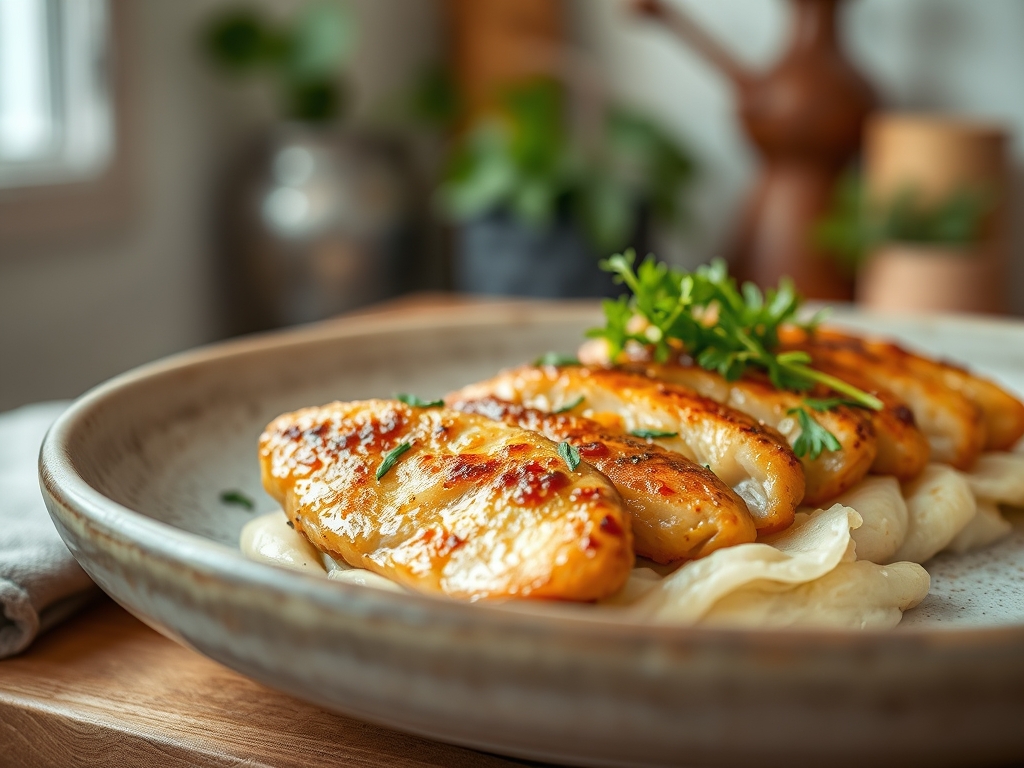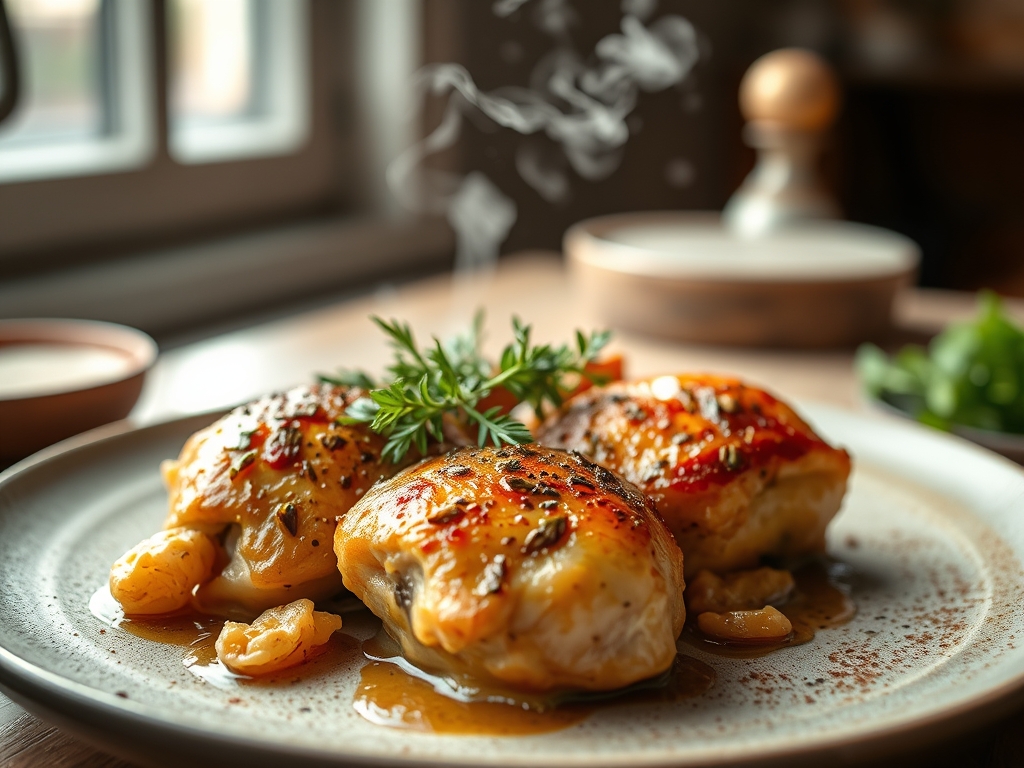
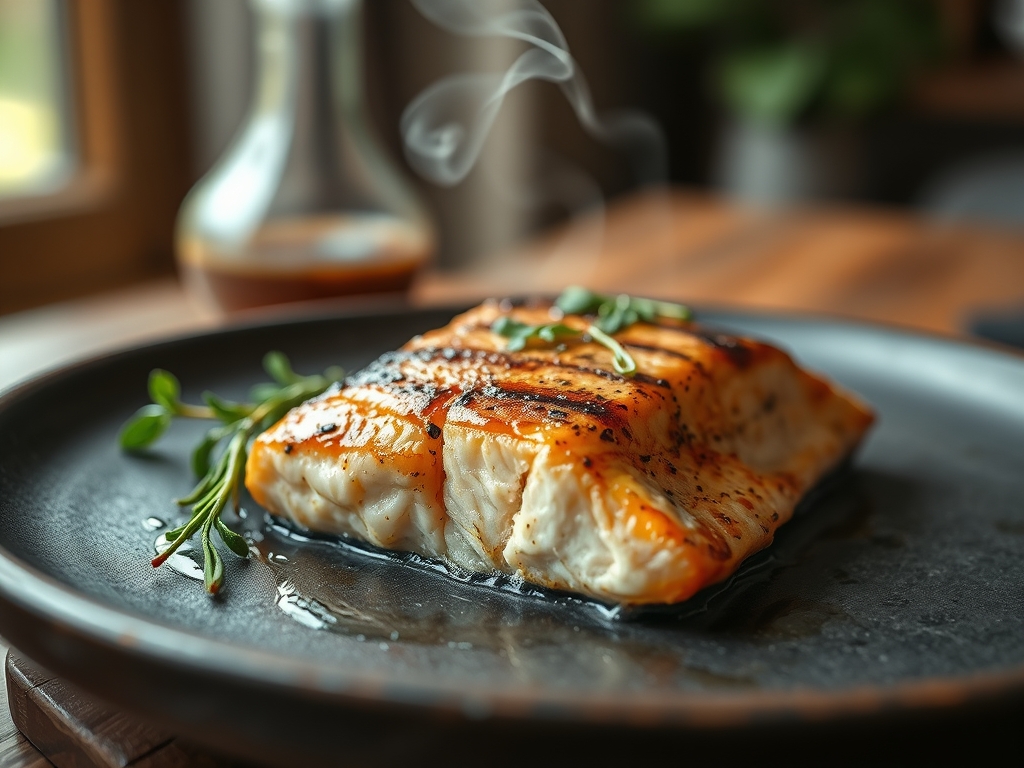
Picture this: the sun is dipping low; the backyard air is thick with the scent of charred cedar and salt; and your flat top is humming with a steady, radiant heat. We are moving beyond basic searing today. When you master blackstone grilled salmon recipes, you are essentially harnessing the power of a massive heat sink to achieve a restaurant-grade crust that home ovens simply cannot replicate. It is the sound that gets you first. That aggressive hiss when cold protein meets seasoned steel is the literal sound of the Maillard reaction beginning its magic. We are looking for that perfect, glass-like skin and a center that flakes with the slightest pressure. This is not just dinner; it is a high-heat performance where you are the lead conductor. We will be manipulating moisture levels and surface tension to ensure your fillets never stick and always shine. Grab your favorite beverage and your heavy-duty spatula; we are about to turn your patio into the best bistro in town.
The Gathers:
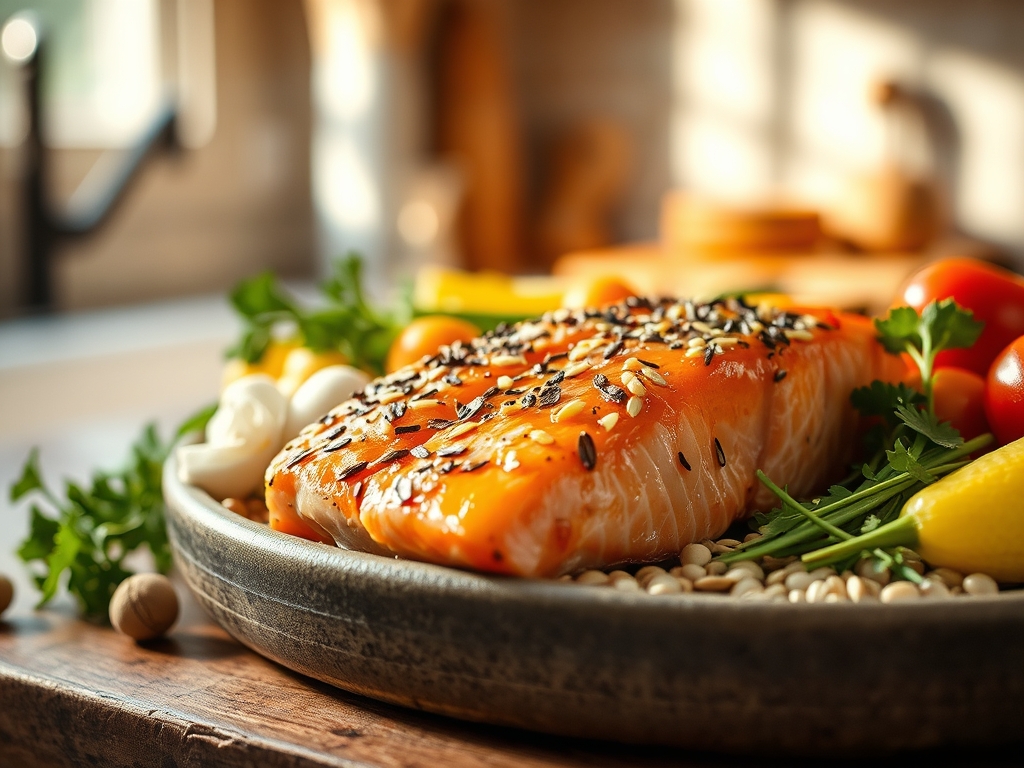
To achieve a flawless result, your mise-en-place must be precise. Start with high-quality, center-cut Atlantic or King salmon fillets. You want pieces that are uniform in thickness to ensure an even thermal gradient across the entire surface. We need a high-smoke-point fat, such as avocado oil or clarified butter, to act as our heat transfer medium. For the flavor profile, gather coarse kosher salt, freshly cracked black pepper, and a piquant element like lemon zest or a dash of smoked paprika.
Your professional toolkit is essential here. You will need a bench scraper to keep your surface pristine between batches; a digital scale to ensure your portions are consistent; and a microplane for that fine, aromatic citrus zest that perfumes the fat.
Smart Substitutions:
If you are looking to pivot the flavor profile, swap the lemon for lime and add a whisper of ground cumin for a Southwestern flair. If you lack avocado oil, grapeseed oil is an excellent alternative due to its neutral flavor and stability at high temperatures. For those avoiding butter, a viscous, cold-pressed olive oil can work, provided you monitor the surface temperature to prevent acridity.
The Clock:
The "Chef's Flow" is all about timing and temperature management.
- Prep Time: 15 minutes. This includes patting the fish bone-dry and allowing it to temper on the counter. Cold fish hits hot steel and causes a massive temperature drop; tempering prevents this.
- Cook Time: 8 to 12 minutes. This depends entirely on the thickness of your fillets and your desired level of doneness.
- Rest Time: 5 minutes. This is non-negotiable.
The flow begins with the preheat. While the Blackstone gets up to temperature, you are seasoning and prepping your tools. Once the first fillet hits the griddle, your focus shifts entirely to the thermal carryover, ensuring you pull the fish just before it hits its final target temperature.
The Masterclass:
1. Surface Preparation and Tempering
Begin by removing your salmon from the refrigerator at least 15 minutes before cooking. Use a paper towel to aggressively dry the surface. Moisture is the enemy of a crisp sear; any residual water will turn to steam and prevent the crust from forming.
Pro Tip: This is about surface tension. By drying the skin thoroughly, you allow the oil to create a microscopic barrier that prevents the proteins from bonding to the metal of the griddle.
2. Calibrating the Heat
Fire up your Blackstone to a medium-high setting. You are looking for a surface temperature of approximately 400 degrees Fahrenheit. Use an infrared thermometer if you have one. Apply a thin, even layer of oil using your bench scraper to spread it across the cooking zone.
Pro Tip: A consistent heat source prevents enzymatic browning from happening too slowly. You want the heat high enough to caramelize the exterior without liquefying the delicate fats inside the fish too quickly.
3. The Initial Sear
Place the salmon skin-side down onto the hot surface. Press down firmly with a wide spatula for the first 30 seconds. This prevents the skin from curling as the collagen fibers contract under sudden heat.
Pro Tip: This initial pressure ensures maximum surface contact, facilitating a rapid Maillard reaction. This chemical reaction between amino acids and reducing sugars is what creates that savory, complex "browned" flavor.
4. Managing the Render
Allow the salmon to cook undisturbed for about 60% of the total cook time on the skin side. You will see the color of the flesh change from translucent pink to an opaque, pale orange starting from the bottom up.
Pro Tip: This process allows the subcutaneous fat to render out. This fat then acts as a secondary frying medium, essentially confitting the skin in its own oils for maximum crunch.
5. The Flip and Finish
Carefully slide your spatula under the fillet. If it resists, give it another minute; it will release naturally when the crust is formed. Flip the fish and cook for the remaining 2 to 3 minutes.
Pro Tip: Use the concept of thermal carryover. Salmon continues to cook after being removed from the heat. Pull the fish when it is 5 degrees below your target internal temperature (125°F for medium-rare) to avoid a dry, chalky texture.
The Deep Dive:
Macro Nutrition:
Salmon is a nutritional powerhouse, rich in Omega-3 fatty acids, which are essential for heart health. A standard 6-ounce fillet provides roughly 34 grams of high-quality protein and zero carbohydrates, making it a staple for various dietary lifestyles.
Dietary Swaps:
- Keto: This recipe is naturally keto-friendly. Increase the healthy fats by finishing with a dollop of herb-infused compound butter.
- Vegan/Plant-Based: While this recipe focuses on salmon, the technique applies to thick-cut "steaks" of cauliflower or lion's mane mushrooms. Use a soy-based glaze to mimic the savory depth.
- Gluten-Free: Ensure any pre-made rubs or glazes are certified GF, as some thickening agents contain wheat.
The Fix-It:
- Sticking: If the fish sticks, your griddle wasn't hot enough or you didn't use enough oil. Next time, wait for the "shimmer" in the oil before placing the fish.
- White Gunk (Albumin): If you see white liquid seeping out, the heat was too high or you overcooked it. This is albumin, a protein that gets pushed out when muscle fibers contract too tightly. Lower the heat slightly.
- Soggy Skin: This usually happens if the fish was moved too early. Let the skin develop a full crust before attempting to flip.
Meal Prep:
To reheat salmon without losing quality, avoid the microwave. Use a heavy-bottomed skillet over low heat with a teaspoon of water and a lid. This creates a gentle steam environment that rehydrates the protein without toughening the fibers.
The Wrap-Up:
Mastering the Blackstone for salmon is a total game changer for your outdoor cooking repertoire. By understanding the physics of heat transfer and the chemistry of the Maillard reaction, you have graduated from a casual griller to a backyard executive chef. The beauty of the flat top is the sheer surface area; you can sear the fish, char some asparagus, and toast lemon halves all at once. It is efficient, it is impressive, and most importantly, it results in a meal that is technically perfect and deeply satisfying. Now, go show that griddle who is boss!
The Kitchen Table:
How do I prevent salmon from sticking to the Blackstone?
Ensure the griddle is preheated to 400°F and the salmon skin is bone-dry. Use a high-smoke-point oil and do not attempt to flip the fish until the crust has naturally released from the metal surface.
What is the best temperature for grilled salmon?
For a moist, flaky texture, aim for an internal temperature of 125°F to 130°F. Remember that thermal carryover will raise the temperature by about 5 degrees while the fish rests off the griddle.
Should I leave the skin on when grilling?
Yes, always. The skin acts as a protective thermal barrier, preventing the delicate flesh from overcooking. It also renders out healthy fats that add incredible flavor and provides a satisfying, crunchy texture to the dish.
How long does salmon last in the fridge?
Fresh, raw salmon should be cooked within 1 to 2 days of purchase. Once grilled, it can be stored in an airtight container for up to 3 days. Reheat gently to maintain the integrity of the fats.