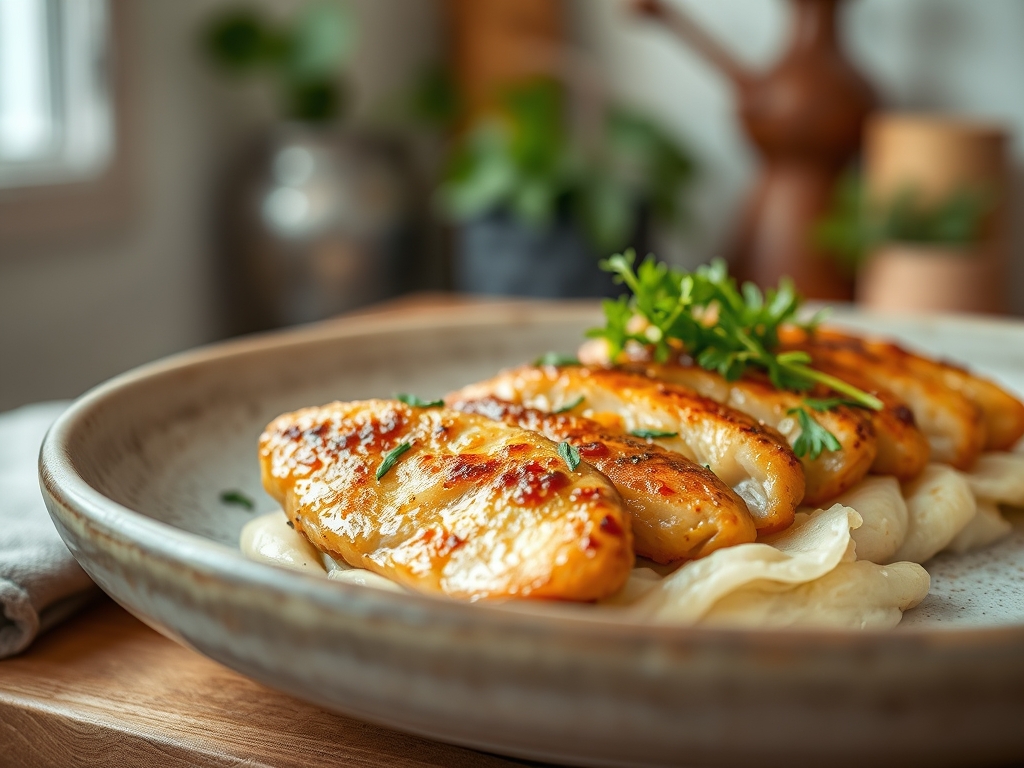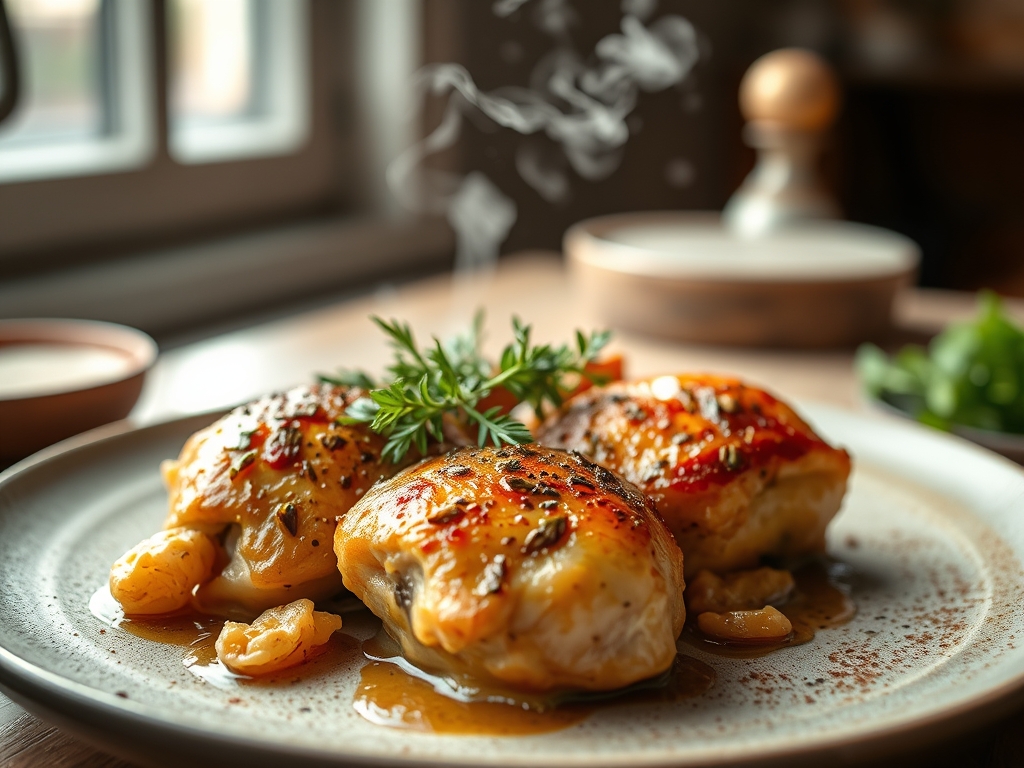
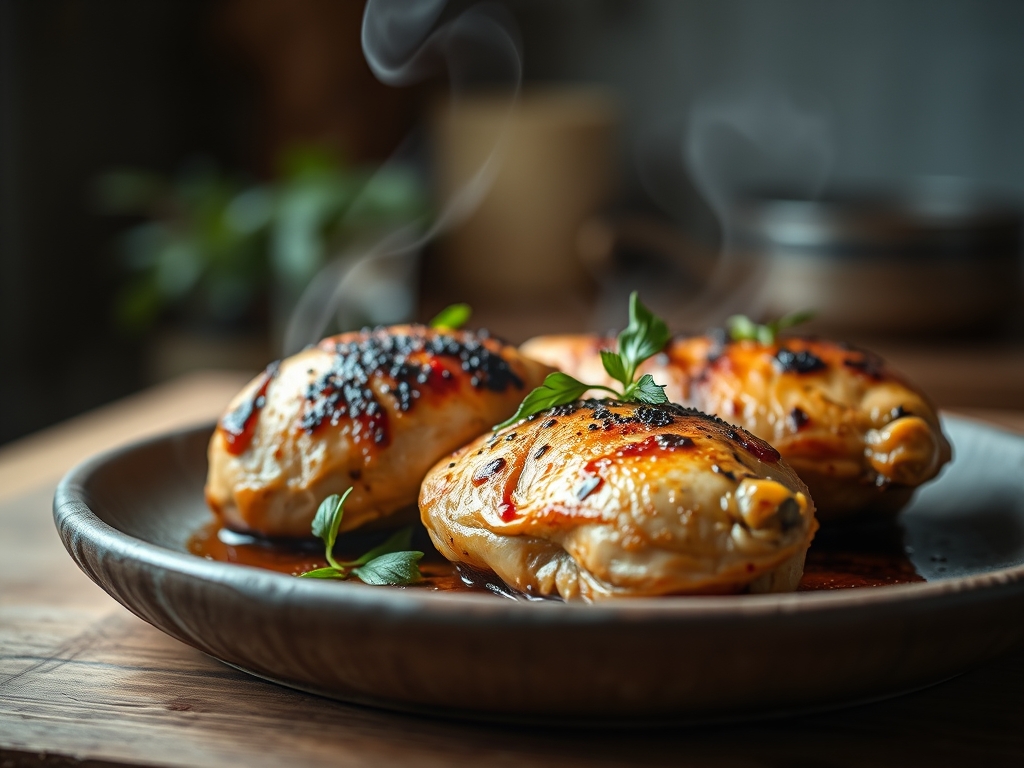
Imagine the scent of molasses and toasted garlic swirling through your kitchen as the heat from the hearth begins to work its magic on a tray of thighs. When we talk about good chicken recipes in the oven, we are really talking about the alchemy of the Maillard reaction. This is where sugar meets protein to create a crust so lacquered and mahogany that it practically shatters under your fork. Brown sugar is not just a sweetener; it is a structural engineer for your dinner. It provides the moisture needed to keep poultry succulent while the dry heat of the oven attempts to draw it out. We are moving beyond basic seasoning and into the realm of professional glaze development. Grab your apron; we are about to turn a humble bird into a masterpiece of caramelization.
The Gathers:
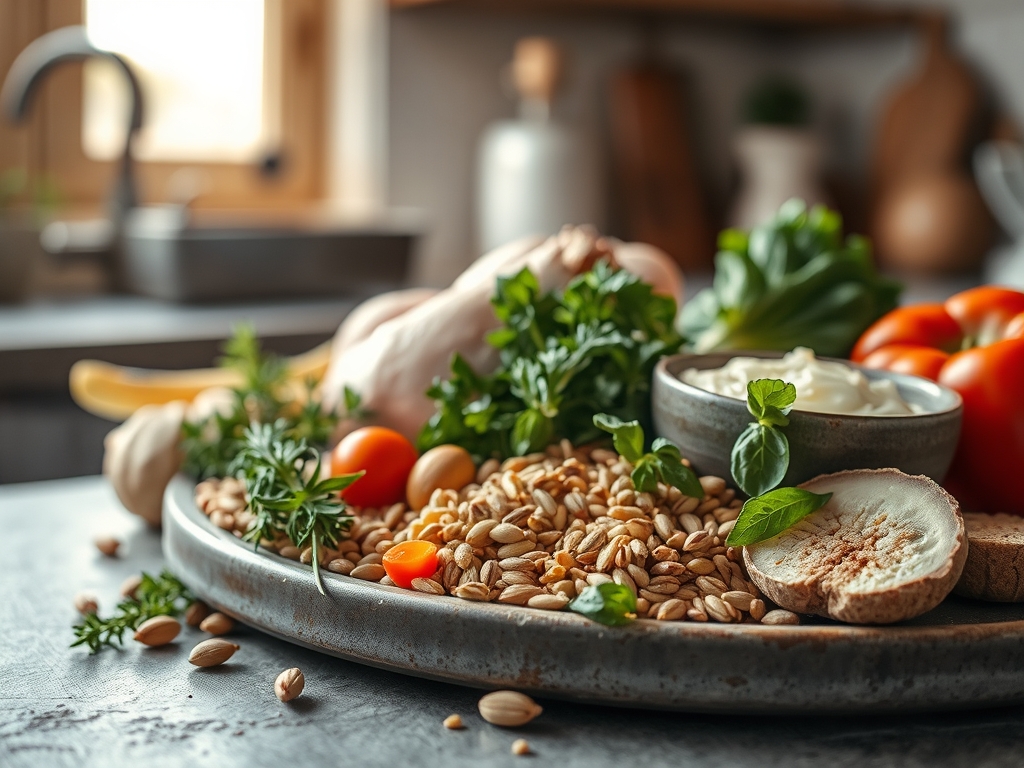
To execute these techniques, your mise-en-place must be precise. We are looking for high-quality dark brown sugar because its higher molasses content provides a deeper, more viscous coating than light brown sugar. You will need a digital scale to ensure your ratios are exact; weight is always more reliable than volume when dealing with compressible sugars. Gather your aromatics: fresh ginger, smashed garlic cloves, and perhaps a sprig of rosemary to infuse the fats as they render.
For the chicken, skin-on, bone-in pieces are superior for oven roasting. The skin acts as a lipid barrier that prevents the meat from drying out during the high-heat phase. You will also need a high-smoke-point oil, such as avocado or grapeseed, to prevent the sugars from scorching before the meat reaches its target internal temperature.
Smart Substitutions:
If you find your pantry lacking, you can mimic the profile of brown sugar by mixing granulated sugar with a tablespoon of maple syrup or honey. For a lower glycemic index, coconut sugar offers a similar earthy depth, though it lacks the moisture-retaining properties of traditional molasses-based sugars. If you want to increase the piquant notes, add a teaspoon of smoked paprika or dry mustard to the rub to balance the sweetness.
The Clock:
The "Chef's Flow" is all about overlapping tasks to maximize efficiency. Total active prep time is approximately 15 minutes, while the oven does the heavy lifting for 35 to 45 minutes.
- The Chill Phase (10 minutes): Let the chicken sit at room temperature. Cold meat in a hot oven causes the muscle fibers to seize, resulting in a tough texture.
- The Infusion (5 minutes): Whisk your brown sugar glaze in a saucier over low heat just until the granules dissolve.
- The Roast (35-45 minutes): This is the hands-off period where the thermal energy penetrates the bone.
- The Rest (10 minutes): Critical for juice redistribution.
The Masterclass:
1. The Dry Brine and Aeration
Pat the chicken skin completely dry with paper towels. Rub a mixture of salt and a small amount of brown sugar over the surface. Let it sit uncovered in the refrigerator for an hour if time permits.
Pro Tip: This process uses osmosis to draw moisture out of the skin and then pull the seasoned brine back into the muscle fibers, ensuring every bite is seasoned to the bone.
2. The Sear and Render
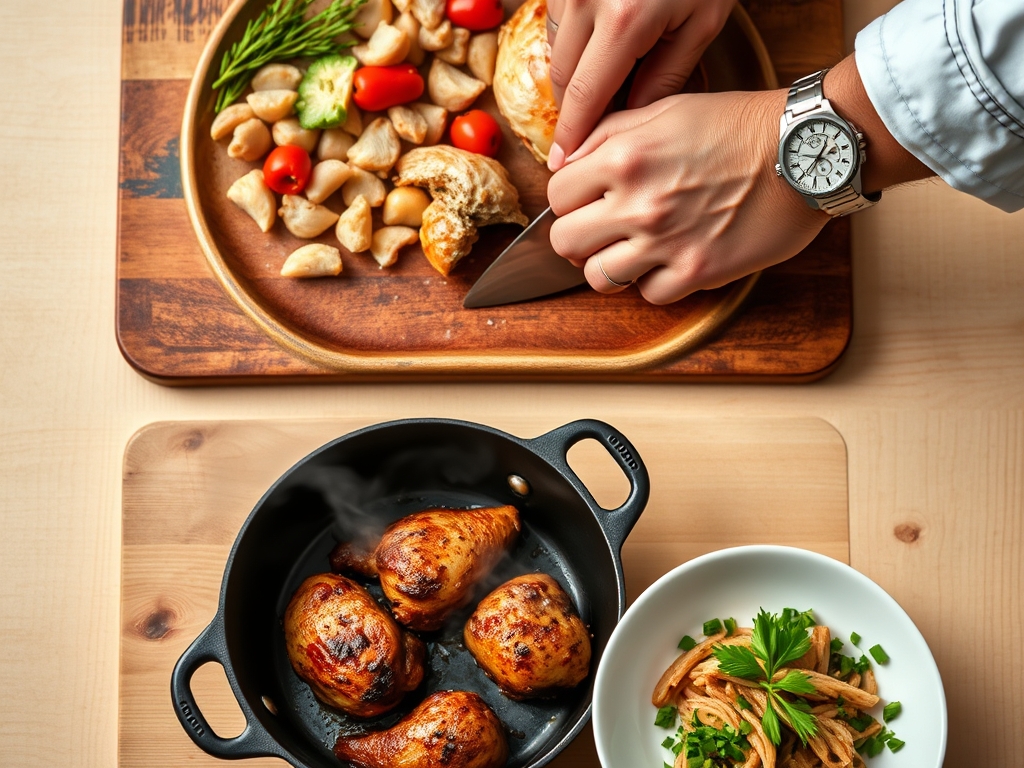
Place your chicken skin-side down in a heavy-bottomed skillet over medium-high heat. Use tongs to press the skin firmly against the metal.
Pro Tip: This initiates enzymatic browning. By rendering the subcutaneous fat early, you ensure the skin becomes crispy rather than flabby once the brown sugar glaze is applied.
3. The Glaze Application
Once the chicken is flipped, use a silicone brush to apply your brown sugar mixture. Ensure the coating is even and thick.
Pro Tip: Brown sugar is hygroscopic, meaning it attracts water. In the oven, it creates a protective shield that traps steam inside the meat while the exterior dehydrates into a candy-like shell.
4. The Oven Transition
Move the skillet directly into a 400 degree Fahrenheit oven. If using a baking sheet, ensure the pieces are not crowded to allow for proper air circulation.
Pro Tip: Proper spacing prevents "crowding the pan," which leads to steaming instead of roasting. You want dry, convective heat to move around each piece of protein.
5. The Deglaze and Baste
Halfway through roasting, use a splash of apple cider vinegar or white wine to deglaze the rendered juices in the pan. Spoon this liquid back over the chicken.
Pro Tip: This introduces acidity to balance the sucrose. It also creates a pan sauce that incorporates the fond (those delicious stuck bits) back into the glaze.
6. The Temperature Check
Use a digital meat thermometer to check the thickest part of the thigh. You are looking for 160 degrees Fahrenheit.
Pro Tip: Thermal carryover will continue to cook the meat after it leaves the oven. Pulling it at 160 degrees ensures it reaches the perfect 165 degrees while resting, preventing overcooked, stringy fibers.
7. The Final Rest
Transfer the chicken to a warm platter. Do not tent it tightly with foil, as the trapped steam will soften the beautiful crust you just built.
Pro Tip: Resting allows the internal pressure to stabilize. If you cut it immediately, the high-pressure steam will push all the juices out onto the board, leaving the meat dry.
The Deep Dive:
Macro Nutrition:
A standard serving of brown sugar glazed chicken (approximately 6 ounces) provides roughly 35 grams of protein and 12 grams of carbohydrates. While the sugar adds calories, the high protein content and healthy fats from the chicken skin provide a satiating profile.
Dietary Swaps:
- Vegan: Use the brown sugar glaze on thick slabs of cauliflower or firm tofu.
- Keto: Substitute brown sugar with a monk fruit or erythritol-based brown sugar alternative.
- GF: Ensure your soy sauce or thickeners are certified gluten-free.
The Fix-It:
- Burnt Glaze: If the sugar is browning too fast, add a tablespoon of water to the pan and tent the chicken loosely with foil.
- Pale Skin: Increase the oven temperature to "Broil" for the last 2 minutes, watching it like a hawk.
- Rubbery Texture: This usually means the fat didn't render. Ensure you start the chicken in a hot pan before it hits the oven.
Meal Prep:
To reheat, avoid the microwave. The waves will turn the sugar into a sticky mess. Instead, use a toaster oven or air fryer at 350 degrees for 5 minutes. This re-activates the fats and recrisps the skin, maintaining that "day-one" quality.
The Wrap-Up:
Mastering good chicken recipes in the oven is a superpower. By understanding how brown sugar interacts with heat and protein, you have graduated from a basic cook to a culinary scientist. The contrast between the salty, savory meat and the sweet, brittle glaze is a classic flavor profile that never fails to impress. Now, go forth and lacquer that chicken with confidence!
The Kitchen Table:
How do I keep brown sugar from burning in the oven?
Add the sugar glaze during the final 15 minutes of roasting. This allows the chicken to cook through without the sugar reaching its smoking point and turning bitter. Always use a middle oven rack for even heat distribution.
Can I use light brown sugar instead of dark?
Yes, but dark brown sugar contains more molasses, which provides a richer flavor and a more viscous texture. If using light sugar, consider adding a teaspoon of molasses or honey to deepen the color and complexity of the glaze.
Why is my chicken skin soggy despite the sugar?
Soggy skin is caused by excess moisture. Ensure you pat the chicken dry with paper towels before seasoning. Also, avoid crowding the pan; if the pieces are too close, they will steam in their own juices rather than roasting.
What is the best way to store leftover glazed chicken?
Store in an airtight container for up to three days. To preserve the texture, place a piece of parchment paper between layers. Reheat in an oven or air fryer to maintain the integrity of the caramelized brown sugar crust.