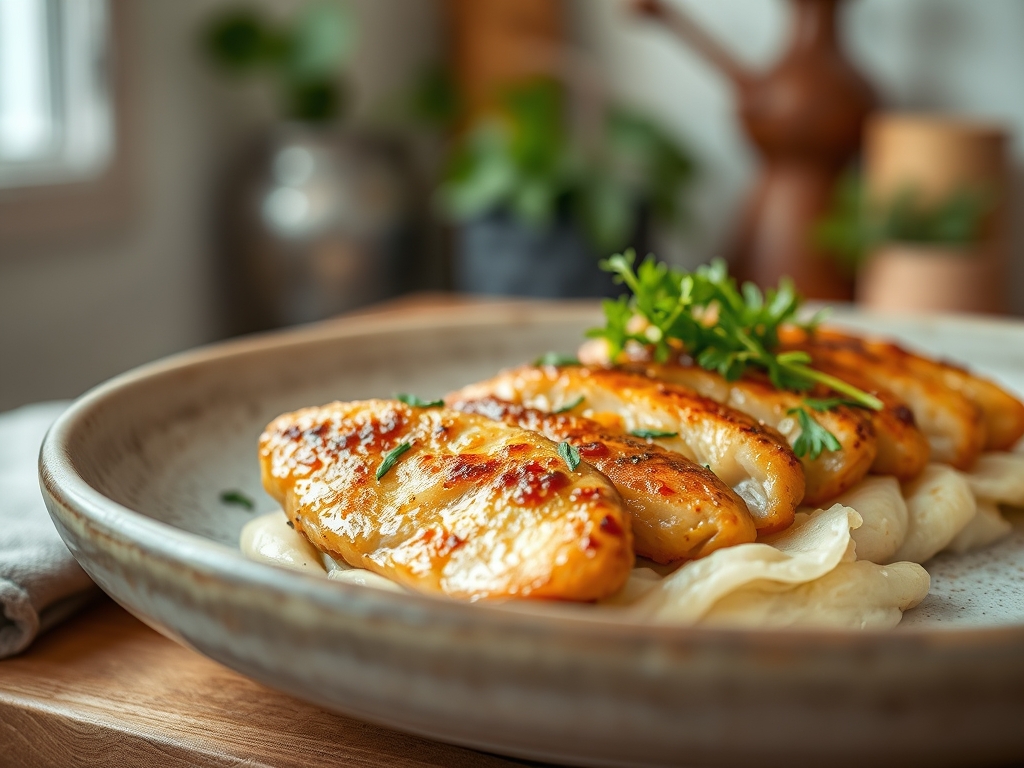
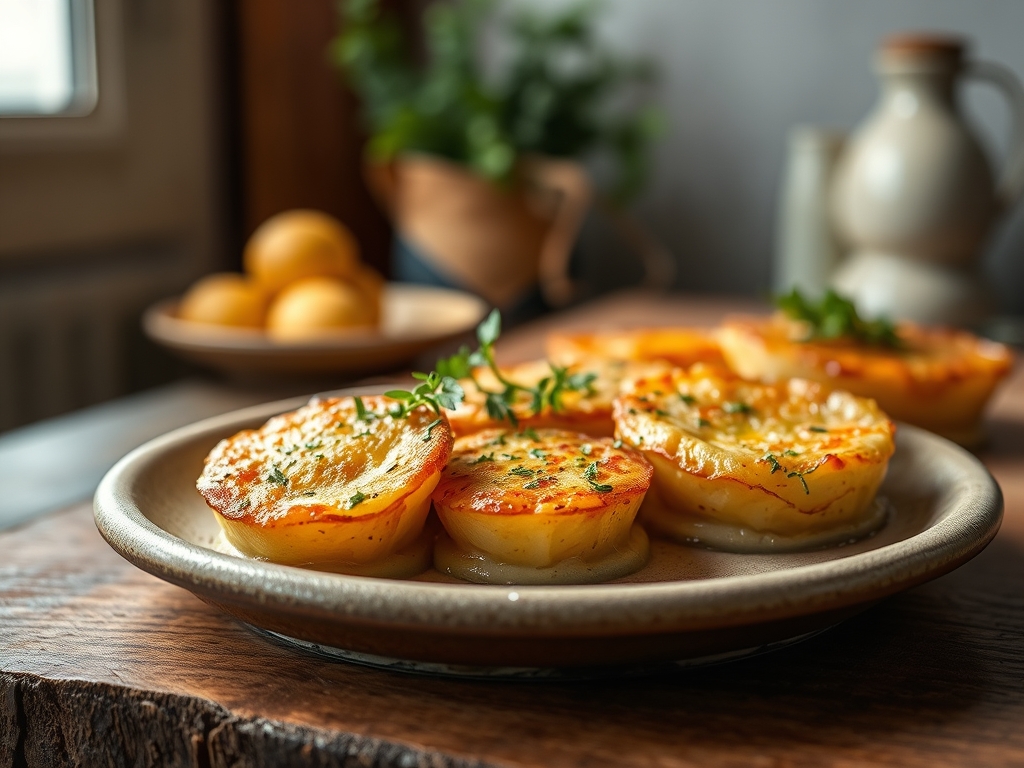
Imagine the scent of bubbling cream and roasted garlic wafting through your kitchen while you sit on the sofa with a glass of wine; your work is already done. This is the magic of mastering make ahead scalloped potato recipes. We are moving past the era of watery, grey tubers and entering a world of structural integrity and golden, Maillard-driven crusts. The secret to a perfect potato gratin lies in the chemistry of the starch and the stability of your emulsion. By prepping in advance, you allow the potatoes to undergo a controlled retrogradation, where the starches crystallize and firm up, ensuring every slice holds its shape when the knife glides through. We are looking for a result that is plush but never mushy; a dish that feels like a warm hug but possesses the technical precision of a high-end bistro. Whether you are hosting a frantic holiday dinner or just want to elevate a Tuesday night, these eight secrets will transform your kitchen into a center of culinary excellence. Let us dive into the physics of the perfect potato.
The Gathers:
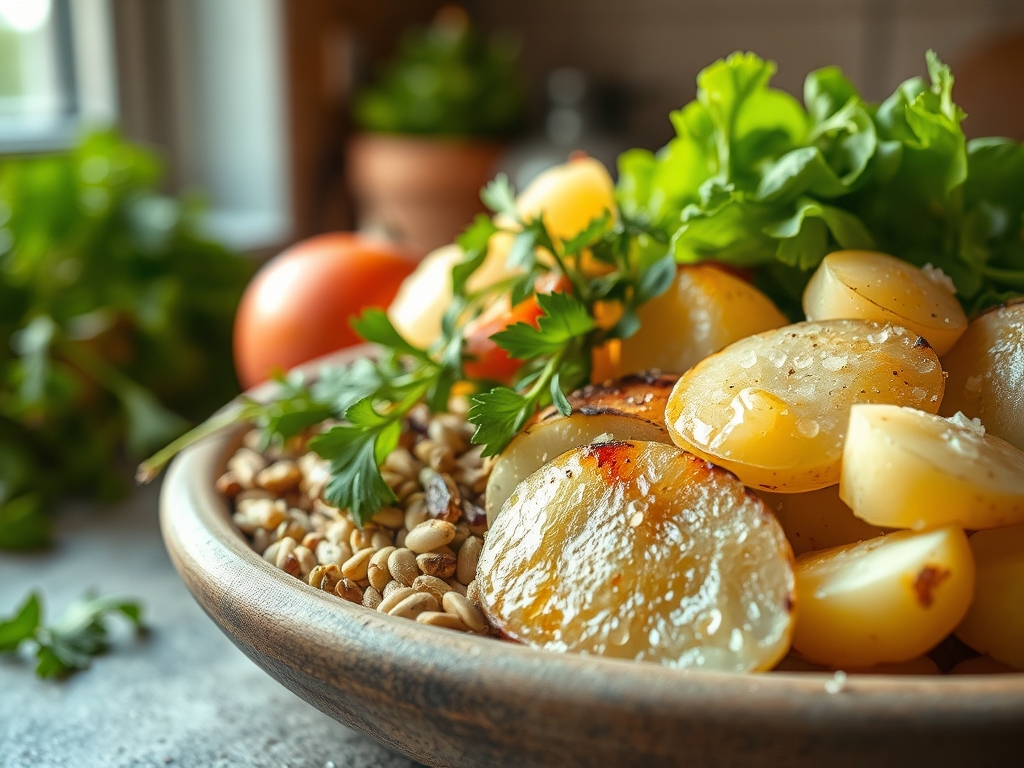
To achieve a professional-grade result, your mise-en-place must be intentional. Start with Russet or Yukon Gold potatoes; the former provides high starch for a viscous sauce, while the latter offers a buttery texture and holds its shape. You will need high-fat heavy cream to prevent curdling during the reheating process. For aromatics, gather fresh thyme, peeled garlic cloves, and a pinch of nutmeg to provide a piquant undertone that cuts through the fat.
Smart Substitutions: If you are looking to lighten the profile without sacrificing the mouthfeel, swap one-third of the heavy cream for a rich chicken bone broth. This introduces gelatin, which aids in the silky texture. For a dairy-free alternative, full-fat coconut milk or cashew cream offers the necessary lipids to maintain a stable emulsion. Use a digital scale to ensure you have exactly three pounds of potatoes; precision prevents the dreaded "dry bake" or "potato soup" scenarios.
The Clock:
The "Chef's Flow" for make ahead scalloped potato recipes is all about managing the thermal load. Total active prep time is approximately 30 minutes, while the initial bake requires 75 minutes. However, the real work happens during the 12 to 24-hour rest period in the refrigerator. This rest allows the flavors to infuse deeply into the cellular structure of the potato. When you are ready to serve, a 30-minute finishing bake at a high temperature will aerate the top layer and create that signature crunch. By splitting the labor, you avoid the "oven logjam" that occurs during large dinner parties.
The Masterclass:
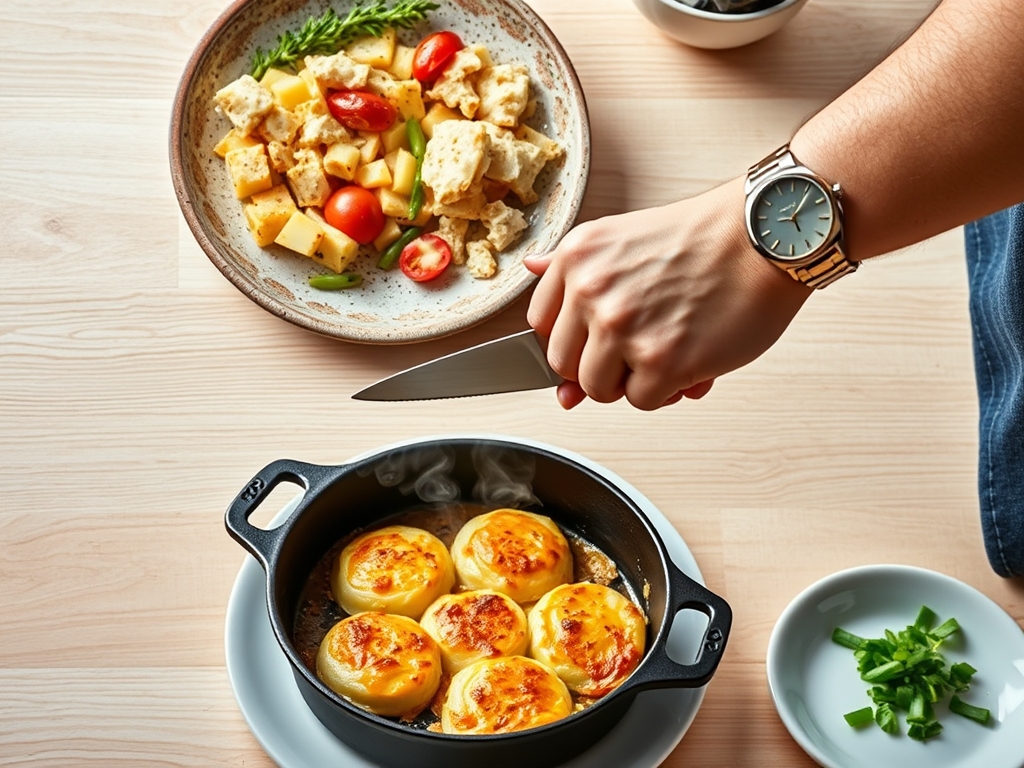
1. Precision Slicing with the Mandoline
Use a professional mandoline to slice your potatoes to a uniform 1/8-inch thickness. Do not soak them in water afterward; you need that surface starch to act as a natural thickener for your sauce.
Pro Tip: Uniformity is not just for aesthetics. Consistent thickness ensures even heat distribution, preventing some slices from becoming translucent mush while others remain al dente.
2. Infusing the Cream Base
In a heavy-bottomed skillet or saucier, heat your cream with smashed garlic and herbs. Bring it to a bare simmer, then remove from heat to steep.
Pro Tip: This is an extraction process. Heating the cream breaks down the volatile oils in the herbs and garlic, distributing the flavor molecules evenly so every bite is seasoned from the inside out.
3. The Vertical Shingle Technique
Instead of laying potatoes flat, try tilting them slightly at an angle in your baking dish. This increases the surface area exposed to the heat.
Pro Tip: Increasing surface area encourages the Maillard reaction. More "peaks" on the surface means more opportunities for amino acids and reducing sugars to brown, creating a complex flavor profile.
4. Controlled Seasoning Layers
Use a microplane to grate fresh nutmeg and Gruyere cheese between every two layers of potatoes. Season with kosher salt from a height to ensure an even "snowfall" of crystals.
Pro Tip: Salt triggers osmosis, drawing moisture out of the potatoes and allowing the seasoned cream to move into the vacated spaces.
5. The Initial Foil-Capped Bake
Cover the dish tightly with foil and bake at 350 degrees Fahrenheit until the potatoes are tender but not falling apart.
Pro Tip: This creates a steam chamber. Steam conducts heat more efficiently than dry air, ensuring the internal temperature reaches the point where pectin breaks down without drying out the edges.
6. The Rapid Chill
Once the dish is out of the oven, let it cool to room temperature before sliding it into the refrigerator.
Pro Tip: This prevents carryover cooking. If you put a hot dish in the fridge, the center stays warm for hours, which can lead to overcooked potatoes and potential bacterial growth.
7. The Final Sear and Bloom
On the day of serving, remove the foil, add a final dusting of Parmesan, and bake at 425 degrees Fahrenheit.
Pro Tip: The high heat causes the fats on the surface to render and fry the top layer of potatoes, creating a structural crust that protects the creamy interior.
8. The Rest Before Service
Allow the dish to sit for 15 minutes after the final bake before slicing with a bench scraper.
Pro Tip: This allows the viscosity of the sauce to increase as it cools slightly. The starches "set," ensuring you get clean, beautiful squares rather than a collapsed pile.
The Deep Dive:
Macro Nutrition: A standard serving provides roughly 320 calories, with a focus on complex carbohydrates and healthy fats. To boost protein, consider folding in shredded rotisserie chicken or diced ham.
Dietary Swaps:
- Vegan: Use a blend of oat milk and nutritional yeast for a "cheesy" umami hit.
- Keto: Swap potatoes for sliced daikon radish or cauliflower florets; use heavy cream and extra cheese to keep the fat macros high.
- GF: This dish is naturally gluten-free, provided you do not use a flour-based roux. Stick to the starch-reduction method mentioned in step one.
The Fix-It:
- Broken Sauce: If the sauce looks oily, it has "split." Fix this by whisking a tablespoon of hot heavy cream into the offending area to re-emulsify.
- Grey Potatoes: This is caused by enzymatic browning. To fix, ensure your potatoes are completely submerged in the cream base before baking.
- Underdone Center: If the edges are bubbling but the center is hard, your dish was too deep. Use a wider, shallower gratin dish next time to improve heat penetration.
Meal Prep & Reheating: To maintain "day-one" quality, reheat individual portions in an air fryer at 320 degrees. This restores the crispness of the top layer while gently warming the center without breaking the emulsion.
The Wrap-Up:
Mastering make ahead scalloped potato recipes is the ultimate "flex" for any home cook. It proves that you understand the delicate balance between chemistry and comfort. By focusing on starch management, temperature control, and the power of the rest period, you can serve a side dish that rivals any five-star steakhouse. Remember, the best food is often the food that has had time to think about itself in the fridge. Now, go forth, grab your mandoline, and prepare to be the hero of your next dinner party!
The Kitchen Table:
Can I freeze scalloped potatoes?
Freezing is not recommended as it destroys the potato's cellular structure. Upon thawing, the starch releases water, leading to a grainy, broken sauce. For best results, stick to refrigeration for up to three days before the final bake.
What are the best potatoes for this dish?
Yukon Golds are the gold standard. They possess a naturally creamy texture and a medium starch content that creates a stable, viscous sauce while maintaining their structural integrity during the long reheating process required for make ahead recipes.
How do I prevent the cream from curdling?
Avoid using low-fat milk or half-and-half. High-fat heavy cream is more stable under high heat. Additionally, avoid adding highly acidic ingredients like lemon juice until after the bake, as acid triggers the proteins in dairy to clump.
Why are my potatoes still hard after baking?
This usually happens if the slices are too thick or if the oven temperature was too high, causing the outside to cook before the heat reached the core. Always use a mandoline for 1/8-inch slices to ensure even thermal penetration.