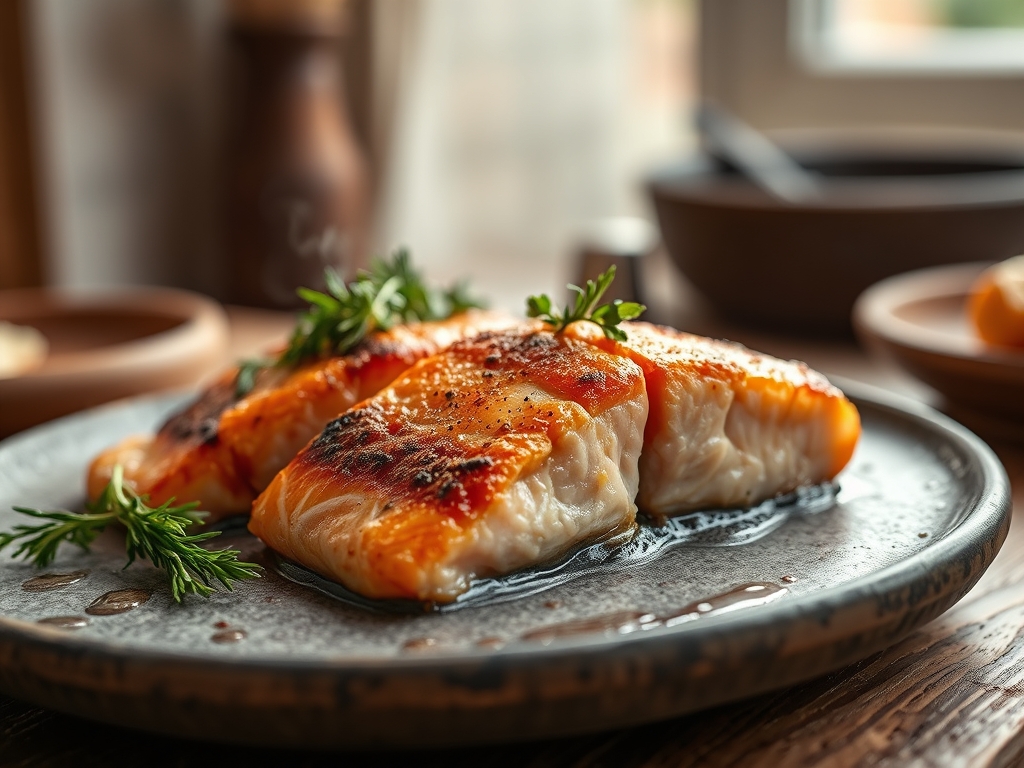
Close your eyes and listen for that distinctive, aggressive sizzle that happens the moment cold protein meets a shimmering, hot pan. That sound is the overture to the perfect meal. When you are hunting for the ultimate center cut salmon recipes, you are looking for that specific, buttery texture that only the thickest part of the fillet can provide. It is the gold standard of seafood; uniform in thickness, marbled with healthy fats, and capable of holding its structural integrity under intense heat.
We are moving past the days of dry, chalky fish. We are aiming for a translucent, medium-rare center and a skin so crisp it shatters like glass. This is not just cooking; it is an exercise in thermodynamics and moisture retention. The center cut is the "filet mignon" of the ocean. Because it is equidistant from the head and the tail, it cooks with a level of predictability that makes it a favorite in professional kitchens. Whether you are hosting a gallery opening or just treating yourself after a long Tuesday, mastering this cut is your new culinary superpower. Let us get into the chemistry of the crust and the velvet of the interior.
The Gathers:
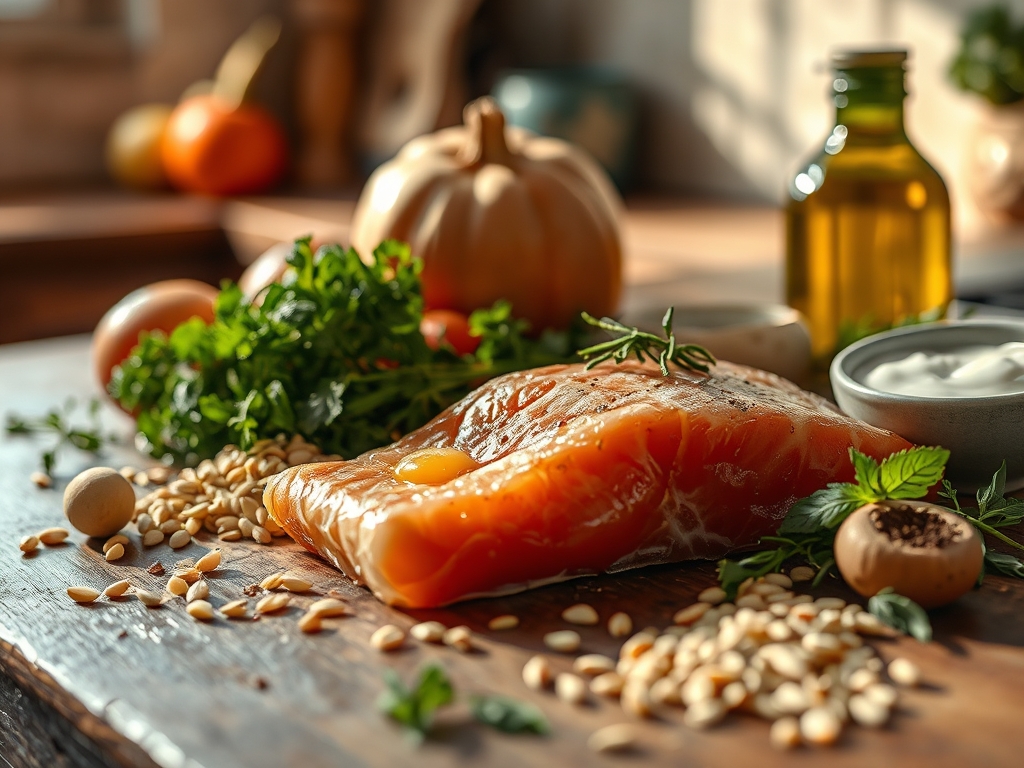
To execute professional center cut salmon recipes, your mise-en-place must be precise. Start with two 6-ounce center-cut fillets, skin-on. The skin acts as a thermal barrier, protecting the delicate flesh from direct heat. You will need high-smoke-point fats; think avocado oil or clarified butter (ghee). Avoid extra virgin olive oil for the initial sear, as its low smoke point will result in bitter, acrid flavors and a face full of smoke.
For your aromatics, gather three cloves of smashed garlic, two sprigs of woody thyme, and a tablespoon of cold, unsalted butter for the final baste. You will also need flaky sea salt and freshly cracked black pepper. If you want to elevate the profile, keep a microplane nearby to zest a lemon directly over the finished plate, releasing volatile oils that provide a bright, citrusy punch without the acidity of the juice curdling any sauces.
Smart Substitutions: If you are avoiding dairy, swap the butter for a high-quality vegan butter alternative that contains lecithin, which helps with browning. If you cannot find fresh thyme, a pinch of dried tarragon offers a sophisticated, licorice-like note that pairs beautifully with the natural sweetness of the fish. Always use a digital scale to ensure your fillets are of equal weight, ensuring they reach the target internal temperature simultaneously.
The Clock
Efficiency in the kitchen is about understanding "Chef's Flow." This is the sequence of operations that ensures nothing sits getting cold while you scramble for a garnish. Your total active time is roughly 10 minutes, with a 15-minute preparation window.
First, the "Dry Brine" phase takes 10 minutes; this is non-negotiable for skin crispness. The actual "Fire Time" is approximately 6 to 8 minutes depending on the thickness of your cut. Finally, the "Rest Phase" requires 3 minutes. During the rest, thermal carryover will raise the internal temperature by about five degrees, moving the fish from a translucent "glassy" state to a perfect, opaque flake. Use this time to plate your sides or aerate a light vinaigrette.
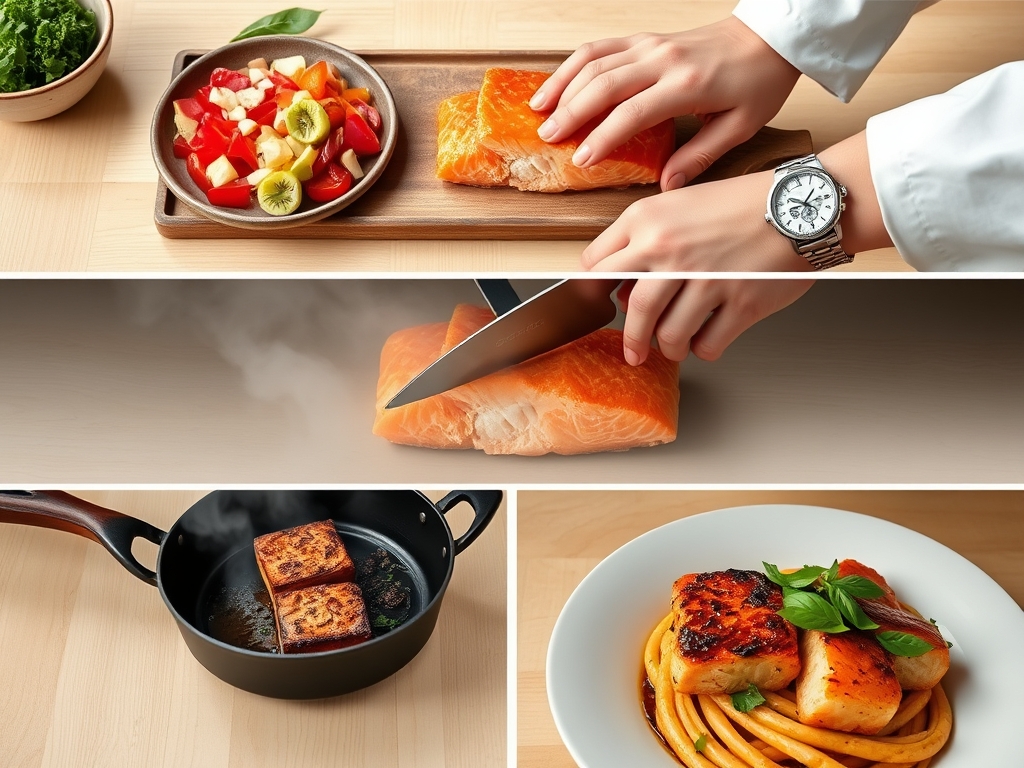
The Masterclass
1. The Desiccation Ritual
Remove your salmon from the refrigerator and pat it excessively dry with paper towels. Use a bench scraper to gently press any remaining moisture out of the skin side. Moisture is the enemy of the Maillard reaction; if the surface is wet, the fish will steam rather than sear.
Pro Tip: This is known as surface evaporation. By removing water, you allow the heat to immediately begin breaking down proteins into amino acids, creating that savory, browned crust.
2. The Cold-Pan Press
Place your heavy-bottomed skillet over medium-high heat. Once the oil is shimmering but not smoking, lay the fish in away from you to avoid splashes. Immediately take a flexible fish spatula and press down firmly on the fillet for 30 seconds.
Pro Tip: Pressing prevents the skin from curling. As the collagen in the skin reaches 140 degrees Fahrenheit, it contracts. Manual pressure ensures the entire surface area stays in contact with the heat for an even, golden render.
3. The Temperature Threshold
Leave the fish alone. Do not poke, prod, or slide it. Watch the side of the fillet; you will see the color change from deep orange to pale pink creeping up from the bottom. When the cooked portion reaches about 70 percent of the way up the side, it is time to flip.
Pro Tip: This utilizes conductive heat transfer. By cooking the majority of the fish on the skin side, you create a heat-shield effect that keeps the top flesh succulent and tender.
4. The Aromatic Baste
Flip the fish gently using tongs or a fish spatula. Immediately drop your butter, garlic, and thyme into the pan. As the butter foams, tilt the pan and use a large spoon to continuously shower the hot, infused fat over the crispy skin.
Pro Tip: This is called "Arrosage." The hot fat enters the nooks and crannies of the seared skin, further crisping it while the aromatics infuse the flesh with deep, savory notes.
5. The Internal Audit
Use a digital meat thermometer to check the thickest part of the center cut. For a perfect medium, pull the fish at 125 degrees Fahrenheit. Transfer it to a warm plate immediately.
Pro Tip: This accounts for thermal carryover. The exterior of the fish is hotter than the interior; once removed from the heat, that energy continues to move inward, finishing the cook perfectly without overshooting into "dry" territory.
The Deep Dive
From a macro perspective, center cut salmon is a nutritional powerhouse. It is exceptionally high in Omega-3 fatty acids (EPA and DHA), which are essential for brain health and reducing inflammation. A standard 6-ounce portion provides roughly 34 grams of high-quality protein and zero carbohydrates, making it a cornerstone for Keto and Paleo lifestyles.
Dietary Swaps: For a vegan "Salmon" experience, many chefs use marinated, scored, and seared blocks of watermelon or firm tofu seasoned with kelp granules to mimic the oceanic salinity. For a Gluten-Free version of this recipe, ensure your seasonings are pure and avoid any flour-based dusting, which is unnecessary for a professional sear anyway.
The Fix-It:
- The Skin is Soggy: You likely flipped too early or your pan temperature dropped. Fix: Ensure the oil is shimmering before the fish hits the pan.
- Albumin Bleed (White Stuff): This is just coagulated protein. It happens when the fish is cooked too fast at too high a temperature. Fix: Lower your heat slightly and pull the fish 5 degrees earlier.
- The Fish is Sticking: You are trying to flip it before the proteins have naturally released from the metal. Fix: Wait. The fish will "tell" you when it is ready by releasing itself once the crust is formed.
Meal Prep Magic: To reheat salmon without it smelling "fishy" or turning into rubber, avoid the microwave. Use a low-temperature oven (275 degrees) with a splash of water in the pan, covered tightly with foil. This creates a gentle steam chamber that rehydrates the fats without denaturing the proteins further.
The Wrap-Up
Mastering center cut salmon recipes is the ultimate bridge between home cooking and professional artistry. It is all about respecting the physics of the pan and the chemistry of the sear. By focusing on moisture control, temperature management, and the final aromatic baste, you transform a simple piece of protein into a restaurant-quality masterpiece. Now, grab your skillet, trust your thermometer, and go make something incredible.
The Kitchen Table
How do I get the skin extra crispy?
The secret is a bone-dry surface. Use a paper towel to remove every drop of moisture, then salt the skin immediately before it hits the hot oil. This prevents the salt from drawing out internal moisture through osmosis.
What is the best oil for searing salmon?
Use oils with high smoke points like avocado, grapeseed, or canola oil. These fats can withstand the 400-degree temperatures required for the Maillard reaction without breaking down into bitter compounds or releasing harmful smoke into your kitchen.
Why does my salmon have white gunk on it?
That white substance is albumin, a harmless protein that squeezes out when the muscle fibers contract too quickly. To minimize this, cook the salmon more gently and avoid overcooking it past medium-rare or medium.
Can I cook center cut salmon from frozen?
It is not recommended for professional results. Thawing allows for even heat distribution. If you must, use the sous-vide method to bring it to temperature, then sear it briefly in a screaming-hot saucier or skillet for texture.
How long does cooked salmon stay fresh?
When stored in an airtight container, cooked salmon maintains peak quality for up to three days. For the best texture, repurpose cold leftovers into a salad or a refined salmon rillette rather than aggressively reheating them.