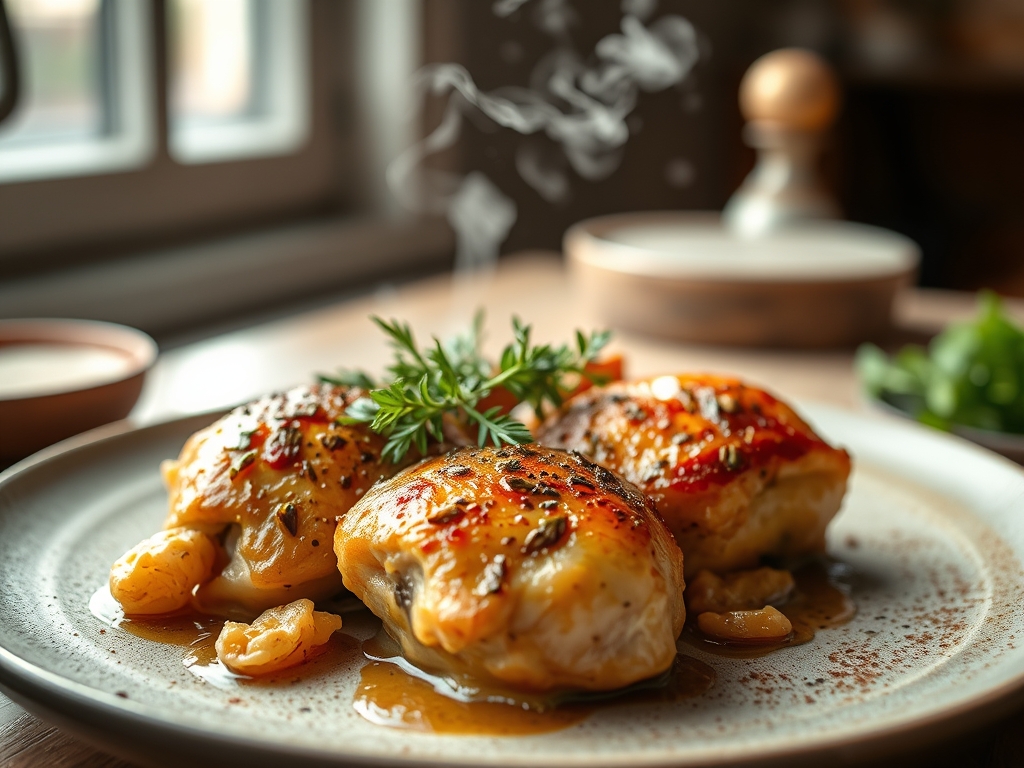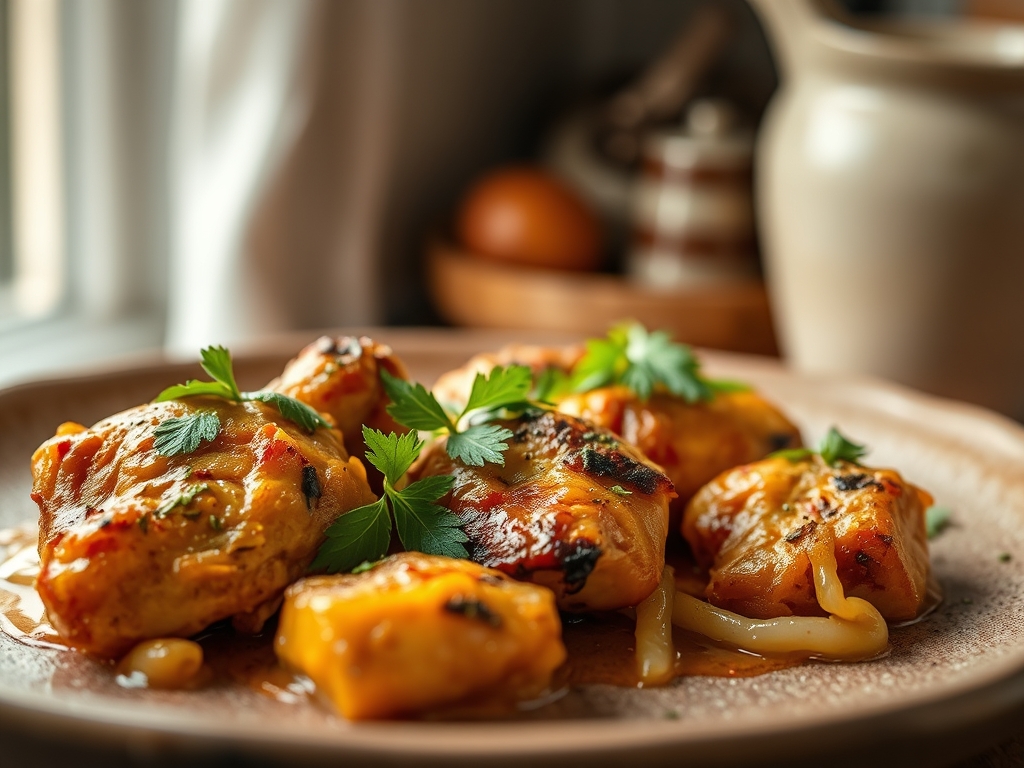
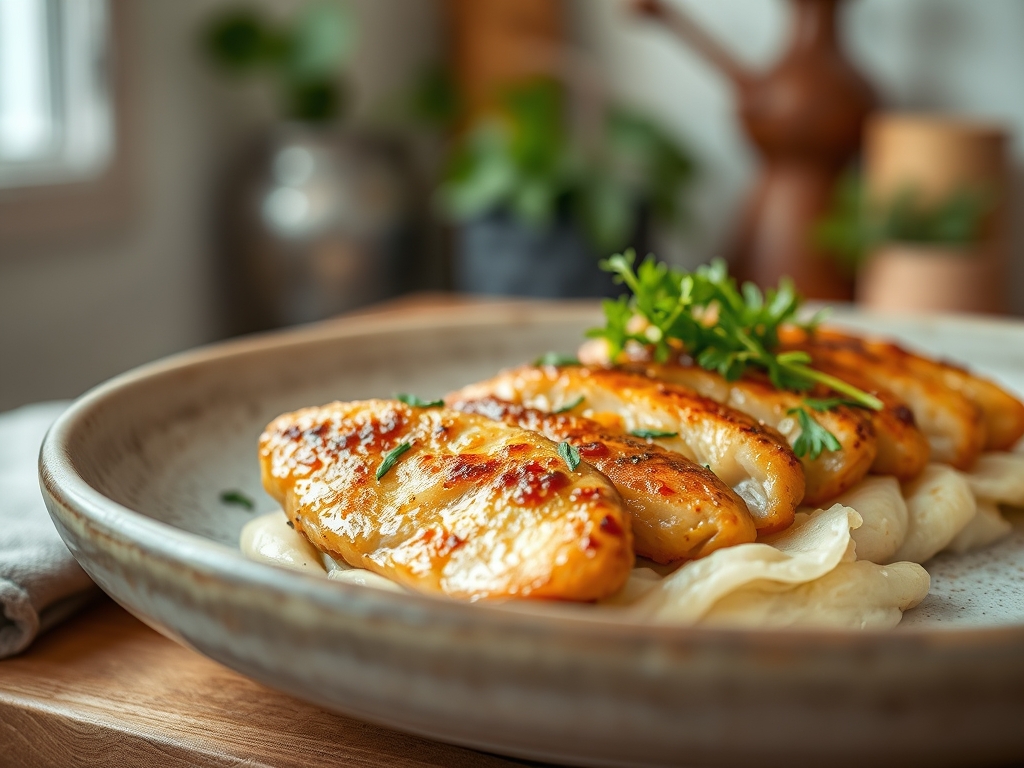
Imagine the sound of a pressurized hiss fading into a fragrant cloud of garlic and ginger. Your kitchen suddenly smells like a high end bistro, yet you have barely broken a sweat. We are moving past the era of dry, stringy poultry and embracing the era of succulent, nutrient dense meals. Finding good chicken recipes healthy enough for your lifestyle shouldn't feel like a chore; it should feel like a scientific victory. By utilizing the intense atmospheric pressure of an Instant Pot, we are not just cooking; we are forcing moisture into the protein fibers while extracting deep collagen for a velvety mouthfeel. This is where efficiency meets gourmet execution. We are about to dive into eight transformative dishes that turn basic breasts and thighs into masterpieces of texture and flavor. Whether you are craving a piquant Thai curry or a classic herb roasted finish, the secret lies in the physics of the pot.
The Gathers:
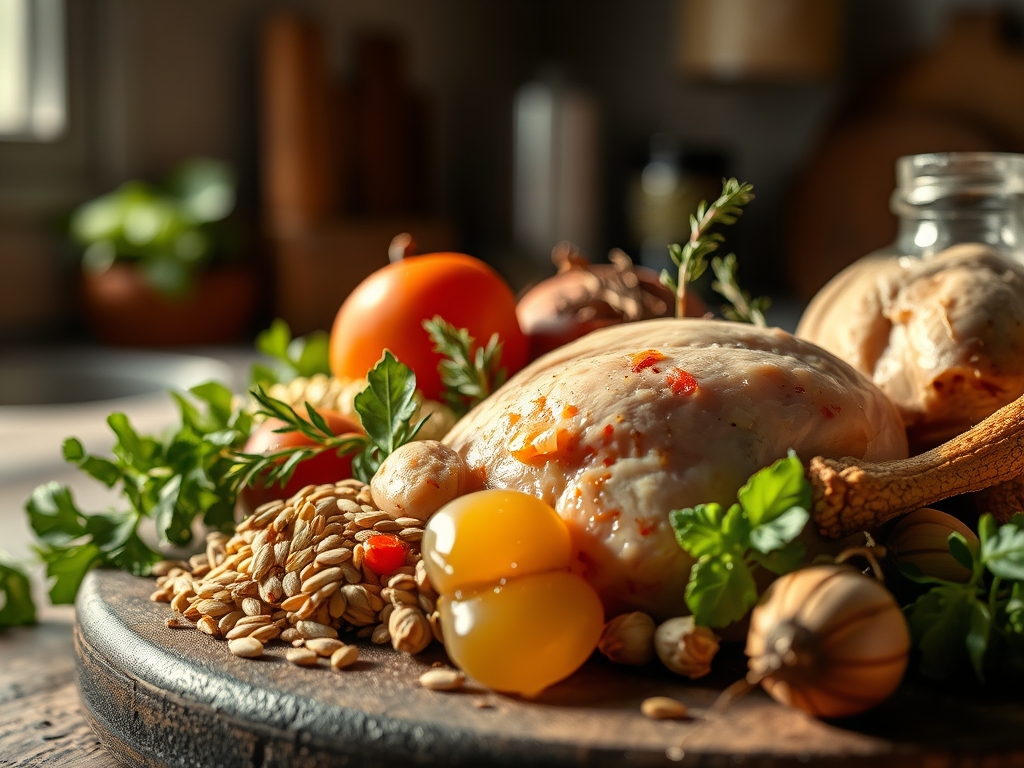
To achieve culinary excellence, your mise en place must be precise. Start with high quality organic poultry. Use a digital scale to ensure your portions are uniform; this prevents some pieces from overcooking while others remain underdone. You will need a microplane for zesting citrus and grating fresh aromatics like turmeric and ginger to maximize surface area for flavor extraction. Gather your liquids: bone broth for a viscous base, coconut milk for healthy fats, or even a splash of dry white wine to deglaze the inner pot after searing.
Smart Substitutions are your secret weapon for keeping things light. Swap heavy cream for blended silken tofu or Greek yogurt to maintain creaminess without the saturated fat. Instead of refined sugar, use a touch of maple syrup or even grated apple to provide a natural sweetness that balances out salty soy or tamari. If you are watching sodium, use nutritional yeast to add a nutty, cheesy depth without the salt shake. Always have a bench scraper handy to quickly transfer your chopped mirepoix into the pot without losing a single drop of precious juice.
The Clock
The beauty of the Instant Pot is the condensed timeline, but you must respect the "Chef's Flow." Total time for these recipes generally spans 30 to 45 minutes, but that includes the crucial build up and release phases.
- The Prep (10 Minutes): Slicing, dicing, and weighing.
- The Sear (5 Minutes): Using the Sauté function to trigger the Maillard reaction.
- The Pressurize (8 to 12 Minutes): The time it takes for the pot to reach the correct atmospheric state.
- The Active Cook (6 to 10 Minutes): The actual high pressure duration.
- The Release (5 to 10 Minutes): Allowing the fibers to relax.
Understanding this flow prevents the "dinner delay." While the pot is pressurized, use that "dead time" to clean your station or prep a crisp side salad. Efficiency is the mark of a true kitchen pro.
The Masterclass
1. The Sear and Sizzle
Before sealing the lid, use the Sauté function and a pair of tongs to brown your chicken in a teaspoon of avocado oil.
Pro Tip: This creates enzymatic browning (the Maillard reaction). This chemical reaction between amino acids and reducing sugars creates hundreds of different flavor compounds that pressure cooking alone cannot replicate.
2. Deglazing the Foundation
After searing, pour in a splash of broth and use a wooden spoon to scrape up the brown bits (the fond) from the bottom.
Pro Tip: This prevents the dreaded "Burn" notice and ensures those concentrated flavor molecules are infused back into your sauce rather than stuck to the metal.
3. Layering the Aromatics
Place your heavier vegetables like carrots or potatoes at the bottom, with the chicken on top, and delicate herbs last.
Pro Tip: Steam rises and circulates; placing delicate items on top prevents them from becoming a mushy paste due to thermal degradation.
4. Sealing the Chamber
Ensure the silicone ring is seated perfectly before locking the lid and setting the valve to "Sealing."
Pro Tip: A poor seal prevents the pot from reaching the necessary 11.6 psi (pounds per square inch), which is required to raise the boiling point of water and cook the meat rapidly.
5. The Natural Release Phase
Once the timer beeps, let the pot sit for at least five minutes before venting the steam manually.
Pro Tip: A sudden drop in pressure causes the moisture inside the chicken to boil and escape instantly. A gradual release allows the proteins to reabsorb liquid, preventing "shocked" dry meat.
6. The Emulsification Finish
If your sauce looks thin, whisk in a slurry of cornstarch or arrowroot powder using a saucier whisk.
Pro Tip: This creates a stable emulsion, suspending fat droplets in the liquid to create a glossy, professional finish that clings to the chicken.
7. The Acidic Brightness
Just before serving, use your microplane to add fresh lemon zest or a squeeze of lime.
Pro Tip: Heat dulls acidity. Adding "bright" notes at the very end balances the heavy, savory umami flavors created during the pressure cycle.
8. The Resting Period
Transfer the chicken to a warm platter and let it sit for three minutes before slicing.
Pro Tip: This accounts for thermal carryover. The internal temperature will continue to rise by about five degrees, ensuring the center is perfectly cooked without overextending the exterior.
The Deep Dive
From a macro perspective, these good chicken recipes healthy focus is on high protein and moderate healthy fats. A standard serving provides roughly 35 grams of protein and less than 400 calories. For dietary swaps, Keto followers should replace root vegetables with cauliflower or zucchini. For a Vegan twist, the same pressure techniques work beautifully with extra firm tofu or seitan; just reduce the pressure time to 3 minutes.
The Fix It: If your chicken is tough, you likely used a "Quick Release" too soon; next time, let it rest longer. If the sauce is bland, you skipped the deglazing step; add a dash of fish sauce or coconut aminos to save it. If the chicken is burnt on one side, your sear was too long; stick to 90 seconds per side.
For meal prep, reheating science is key. To maintain "day one" quality, reheat your chicken in a covered dish with two tablespoons of water. This creates a mini steam chamber in your microwave, preventing the proteins from becoming rubbery and keeping the dish succulent.
The Wrap-Up
You are now officially the master of the pressure chamber! By combining the speed of the Instant Pot with the precision of professional techniques like deglazing and emulsification, you have unlocked the secret to good chicken recipes healthy enough for every day but fancy enough for a dinner party. Remember; cooking is just delicious chemistry. Grab your tongs, trust the science, and enjoy the most tender chicken of your life. You have got this!
The Kitchen Table
How do I prevent dry chicken in the Instant Pot?
Always use a "Natural Release" for at least five to ten minutes. This allows the muscle fibers to relax and reabsorb the cooking juices. A sudden "Quick Release" forces moisture out, leaving the meat tough and stringy.
Can I cook frozen chicken using these recipes?
Yes, the Instant Pot is excellent for frozen poultry. Increase the high pressure cook time by five minutes. Ensure the pieces are separated rather than a frozen block to allow even heat distribution and prevent raw centers.
What is the best way to thicken healthy sauces?
Avoid heavy flours. Instead, use an arrowroot or cornstarch slurry. Alternatively, blend a portion of the cooked vegetables (like carrots or onions) and stir them back into the liquid to create a thick, fiber rich sauce without extra fat.
Why does my Instant Pot say "Burn"?
This usually happens when bits of food are stuck to the bottom. Always deglaze the pot thoroughly after searing. Use a splash of liquid and scrape the bottom with a wooden spoon to release any caramelized proteins before pressure cooking.