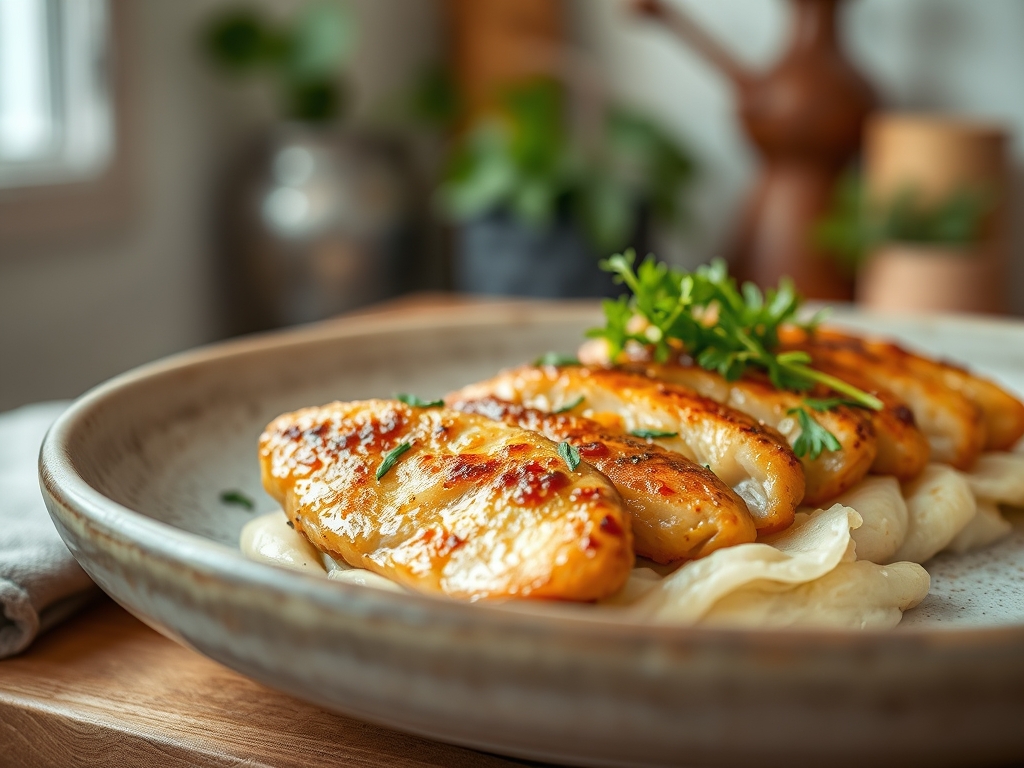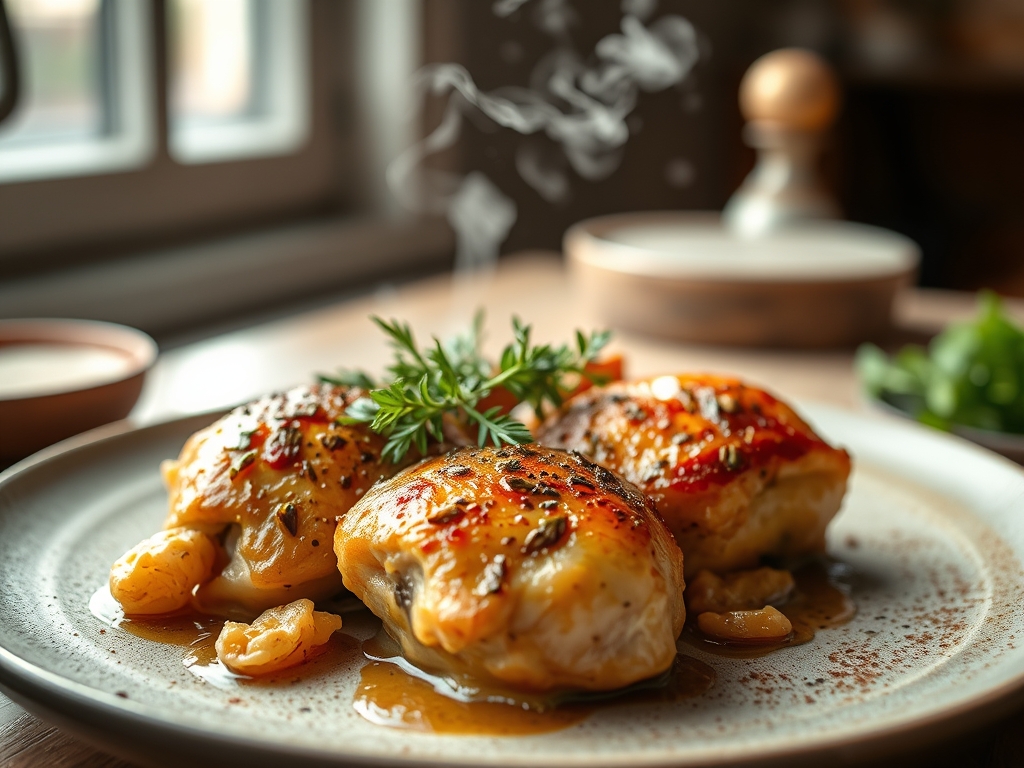
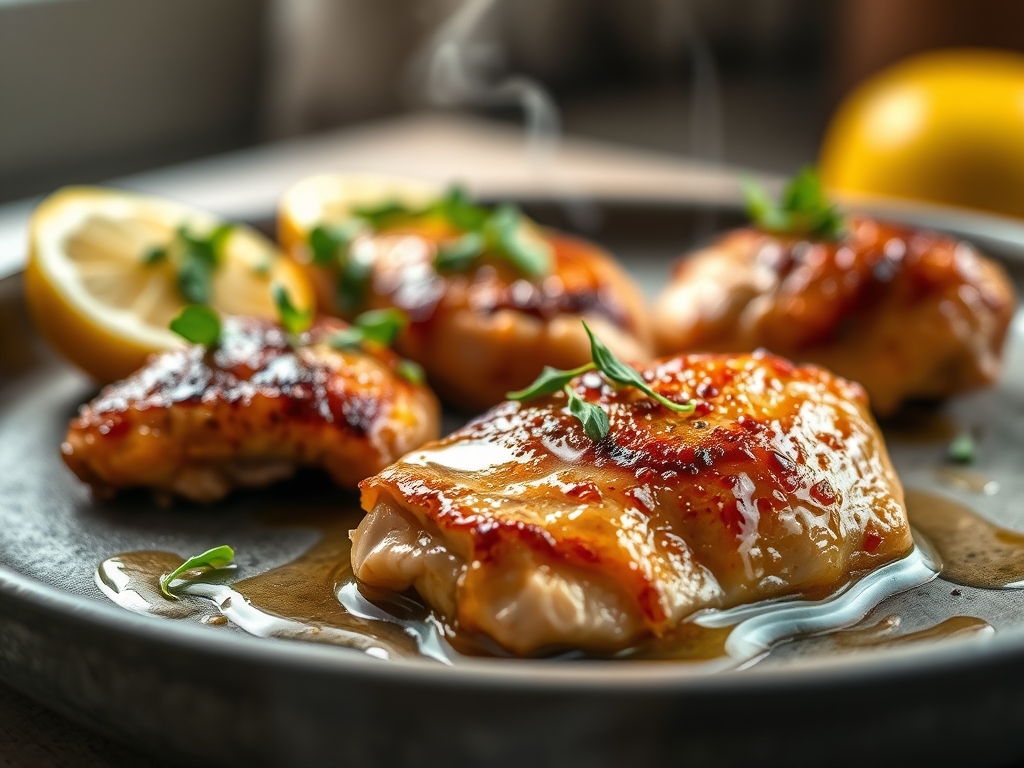
Picture this: you are walking through the grocery store, exhausted, and that golden, shimmering aroma hits you. It is the rotisserie chicken display, the ultimate weeknight savior. But we are not just settling for a plastic container and a prayer tonight. We are elevating that humble bird into a culinary masterpiece. By mastering honey and lemon chicken recipes with a keto twist, you can achieve that perfect balance of piquant citrus and viscous sweetness without the sugar crash. We are going to deconstruct, re-flavor, and resurrect that chicken using molecular shortcuts that make you look like a Michelin-starred chef. Whether you are craving a crisp salad or a warm, pan-seared delight, these seven ideas turn a five-dollar bird into a fifty-dollar experience.
The Gathers:
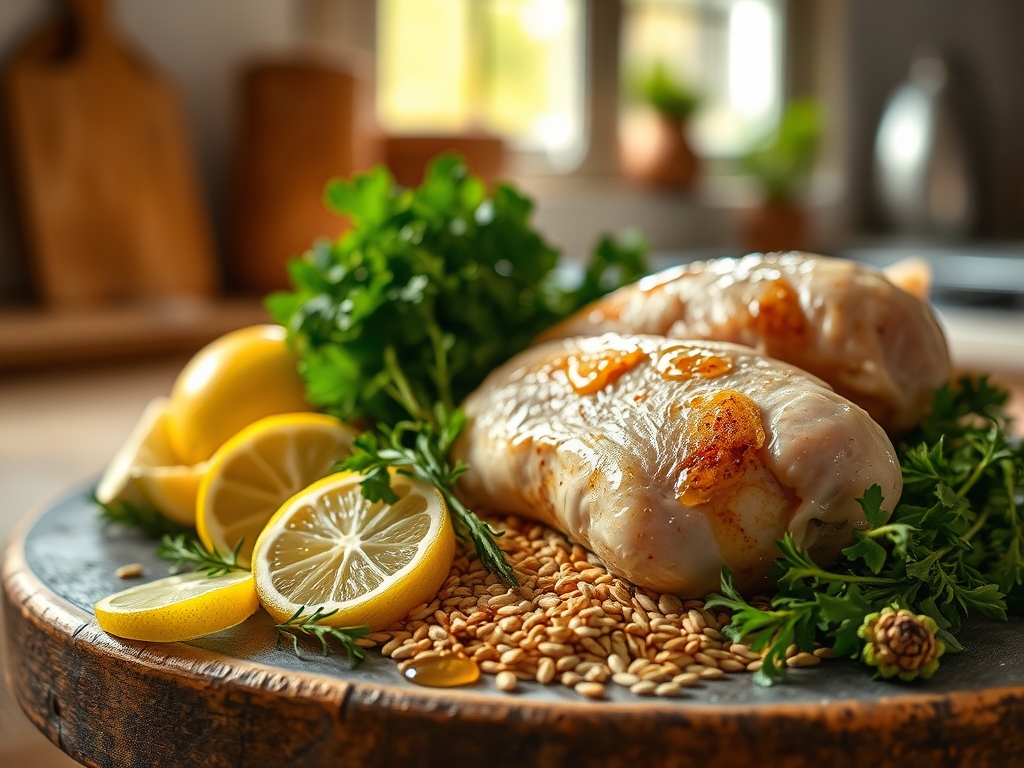
To execute these honey and lemon chicken recipes, your mise-en-place must be precise. Start with a high-quality rotisserie chicken; look for one with intact skin, as this indicates the subcutaneous fat has not fully rendered away. You will need a microplane to harvest the zest of two large lemons. The zest contains essential oils like limonene, which provide a punchy aroma that juice alone cannot replicate. For our keto-friendly "honey," we utilize an allulose-based honey substitute. Allulose is a rare sugar that behaves like sucrose in a heavy-bottomed skillet, allowing for a beautiful caramelization through the Maillard reaction without the glycemic load.
Smart Substitutions are the backbone of a clever kitchen. If you lack allulose, a fiber-based syrup works, though it may not be as viscous. For the fat component, swap standard butter for ghee. Ghee has a higher smoke point because the milk solids have been removed; this allows you to sear your chicken at higher temperatures to crisp up the skin without the bitter taste of burnt proteins. Always keep a digital scale nearby to ensure your ratios of acid to sweetener are balanced; a 1:1 ratio by weight is usually the sweet spot for a glaze that clings rather than drips.
The Clock
Efficiency in the kitchen is about "Chef's Flow," a state where your movements are minimized and your output is maximized. For these seven ideas, your active prep time is a mere fifteen minutes. This involves the "breakdown phase" where you use a bench scraper or sharp shears to segment the bird. The "infusion phase" takes another ten minutes. Because the chicken is already cooked, we are not focusing on internal temperature as much as we are on surface chemistry. Total time from grocery bag to table is twenty-five minutes. By prepping your aromatics while the oven preheats, you ensure that the chicken spends the minimum amount of time under heat, preventing the breast meat from becoming fibrous and dry.
The Masterclass
1. The Precision Breakdown
First, use your hands or a carving knife to separate the drumsticks, thighs, and breasts. Removing the meat from the bone while it is still slightly warm from the store allows for cleaner pulls. Save the carcass; the collagen-rich joints are gold for a future bone broth.
Pro Tip: This is known as mechanical separation. By doing this while the bird is warm, you prevent the fats from congealing, which makes the meat easier to shred without tearing the delicate muscle fibers.
2. Creating the Emulsified Glaze
In a small saucier, whisk together your keto honey, lemon juice, and a splash of amino acids. Heat this over medium-low. You are looking for a reduction. As water evaporates, the solutes become more concentrated, creating a glaze that will coat the back of a spoon.
Pro Tip: This process relies on evaporative concentration. Reducing the liquid increases the viscosity, ensuring the glaze "sticks" to the protein via surface tension rather than sliding off into the pan.
3. The Sear and Caramelize
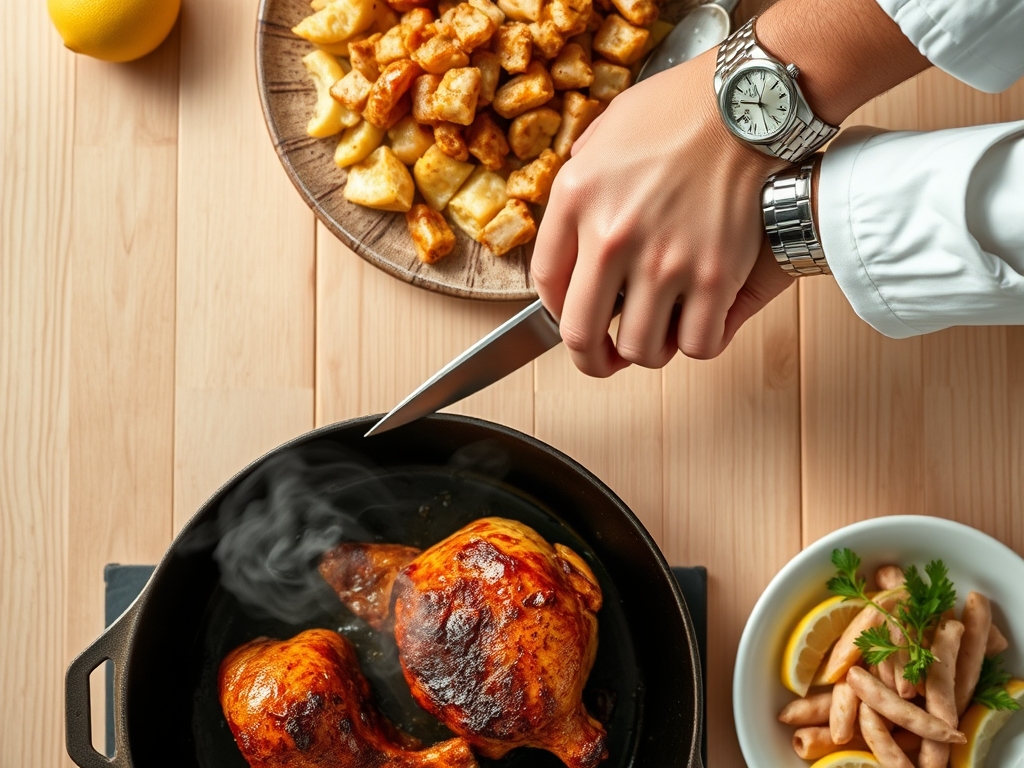
Place your chicken pieces skin-side down in a hot skillet. Pour the glaze over the top. Use tongs to move the pieces slightly so they do not stick. You only need two to three minutes here. We are looking for the skin to go from soft to crackling.
Pro Tip: This is the Maillard reaction. The amino acids in the chicken react with the carbonyl groups in the keto sweetener under heat, creating hundreds of different flavor compounds and that characteristic brown color.
4. Aerating the Aromatics
Just before pulling the pan off the heat, toss in fresh thyme or rosemary. The heat of the oil will infuse the fat with the herbs' volatile compounds almost instantly. Do not do this too early, or the delicate herbs will carbonize and turn bitter.
Pro Tip: This is lipid-based infusion. Many flavor molecules in herbs are fat-soluble; by tossing them in the hot glaze, you are "unlocking" the scent and flavor and distributing it across the meat.
5. The Resting Phase
Transfer the chicken to a warm plate and let it sit for three minutes before serving. This allows the juices, which were pushed to the center during the sear, to redistribute throughout the meat.
Pro Tip: This manages thermal carryover. Even after the chicken leaves the pan, the residual heat continues to cook the interior slightly. Resting ensures the moisture stays locked within the protein matrix.
The Deep Dive
From a macro nutrition perspective, a standard serving of this honey and lemon chicken contains roughly 350 calories, 28g of protein, and only 4g of net carbs. By using a keto sweetener, you bypass the 20g of sugar found in traditional glazes. For my vegan friends, you can replicate this entire process using roasted cauliflower florets or oyster mushrooms; the porous texture of mushrooms is particularly excellent at absorbing the lemon-honey infusion.
If you run into trouble, let's talk about "The Fix-It." If your sauce is too thin, do not keep boiling it, or you will burn the sweeteners; instead, whisk in a tiny pinch of xanthan gum to aerate and thicken it instantly. If the chicken is too salty, add a teaspoon of apple cider vinegar to balance the sodium. If the skin is soggy, your pan wasn't hot enough; next time, pat the chicken bone-dry with paper towels before it hits the oil.
For meal prep, reheating is a science. Avoid the microwave, which turns chicken into rubber. Instead, use an air fryer or a toaster oven at 350 degrees. This recreates the dry-heat environment necessary to re-crisp the skin while gently warming the interior, maintaining that "day-one" succulent quality.
The Wrap-Up
You now have the technical prowess to turn a simple rotisserie bird into a high-end keto feast. By focusing on the science of emulsification and the Maillard reaction, these honey and lemon chicken recipes become more than just a meal; they are a demonstration of culinary intelligence. Go grab your microplane, get that skillet screaming hot, and show that grocery store chicken who is boss. You have got the tools, the tips, and the talent to make every bite count.
The Kitchen Table
Can I use real honey if I am not on Keto?
Yes, you can substitute real honey at a 1:1 ratio. Note that real honey burns faster than allulose, so reduce your skillet temperature slightly to avoid scorching the sugars and creating a bitter aftertaste on the chicken skin.
How do I keep the breast meat from drying out?
The key is minimizing secondary cook time. Since the chicken is pre-cooked, only sear the skin side to achieve texture. Use a digital thermometer to ensure the internal temperature does not exceed 165 degrees Fahrenheit during the reheating process.
What is the best way to store leftovers?
Store the chicken and the glaze separately in airtight glass containers. This prevents the acid in the lemon from breaking down the protein fibers too much overnight, which can lead to a mushy texture. Consume within three to four days.
Can I make this recipe in a slow cooker?
It is not recommended for pre-cooked rotisserie chicken. A slow cooker provides moist heat which will make the skin soggy and the meat overcooked. Stick to a heavy-bottomed skillet or an air fryer for the best textural results.