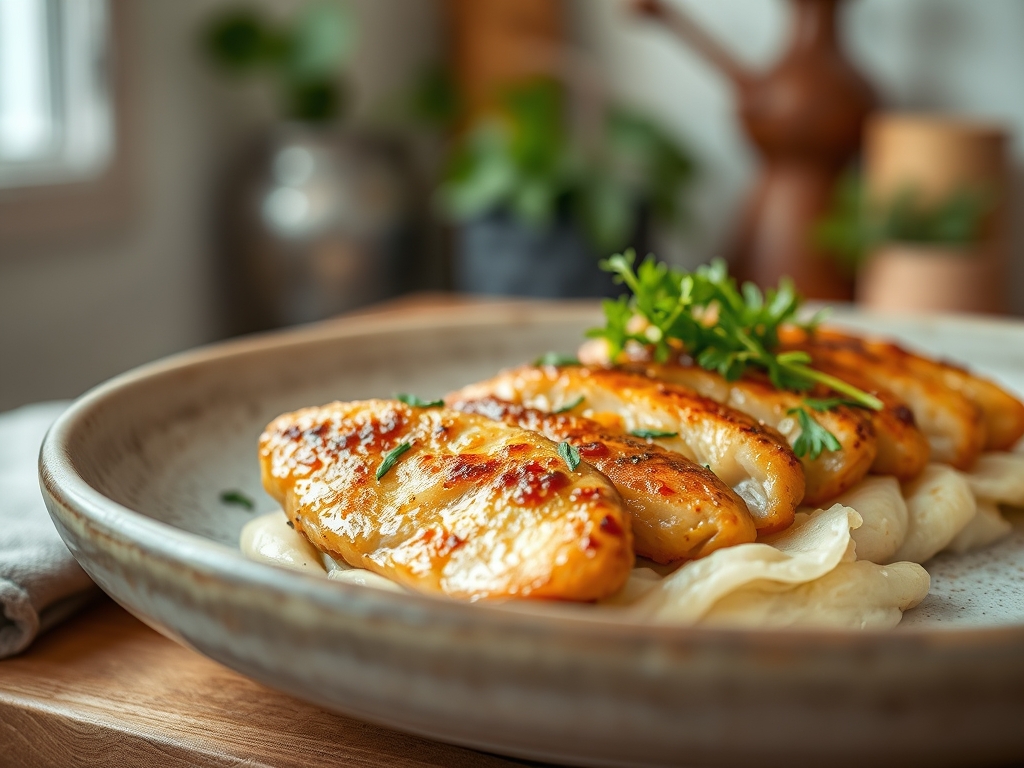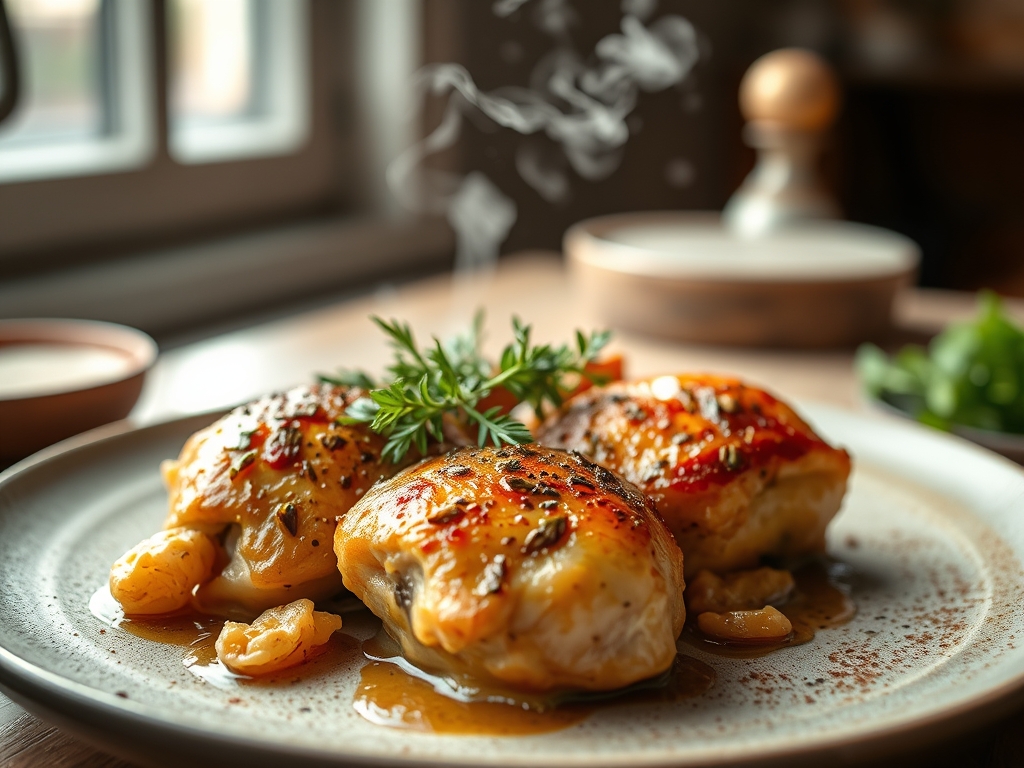
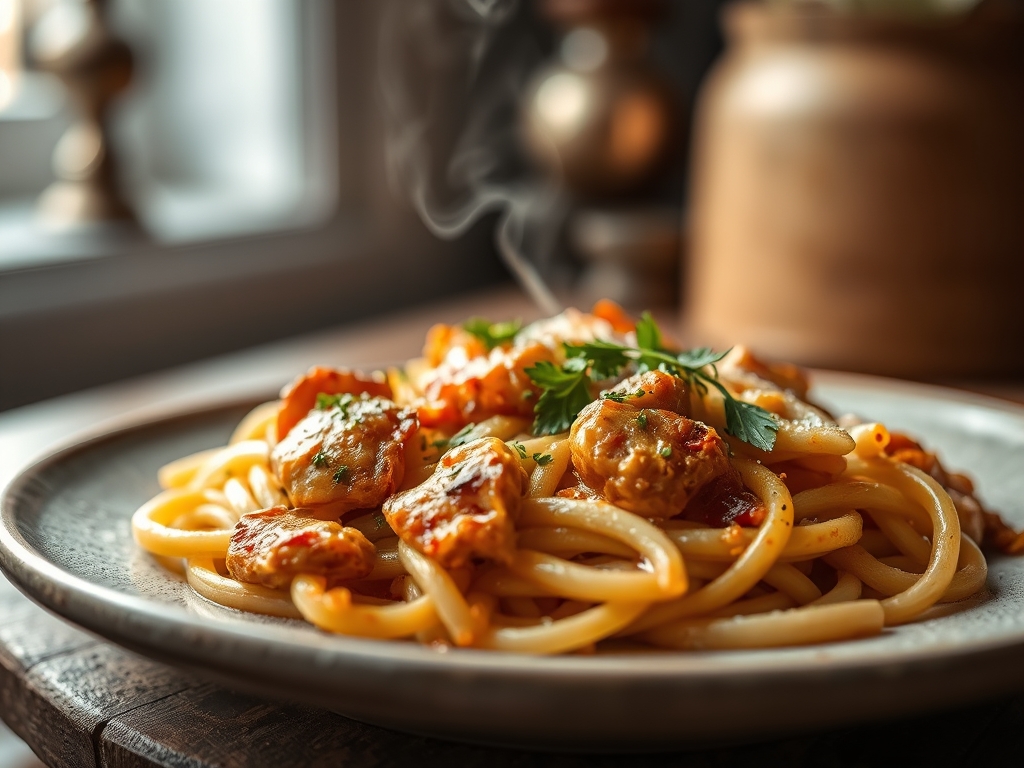
Picture this: a golden, crackling skin that shatters like glass under your knife, revealing meat so succulent it practically dissolves. While I usually advocate for the convenience of canned chicken recipes with pasta on hectic weeknights, there is a primal, unmatched joy in mastering a whole bird over an open flame. We are moving beyond basic backyard grilling into the realm of high-level culinary physics. Grilling a whole chicken is not just about heat; it is about managing the structural integrity of proteins and the delicate dance of moisture retention. Most home cooks fear the uneven cook times between the lean breast and the collagen-rich thighs, but we are going to solve that with strategic butchery and thermal zones. This is the ultimate "main character" meal that makes you look like a Michelin-starred pro while you casually sip a crisp Sauvignon Blanc. We are going to harness the power of conductive and convective heat to transform a humble bird into a centerpiece that smells like woodsmoke and victory. Forget everything you know about dry, scorched poultry. We are diving deep into the chemistry of the perfect char.
The Gathers:
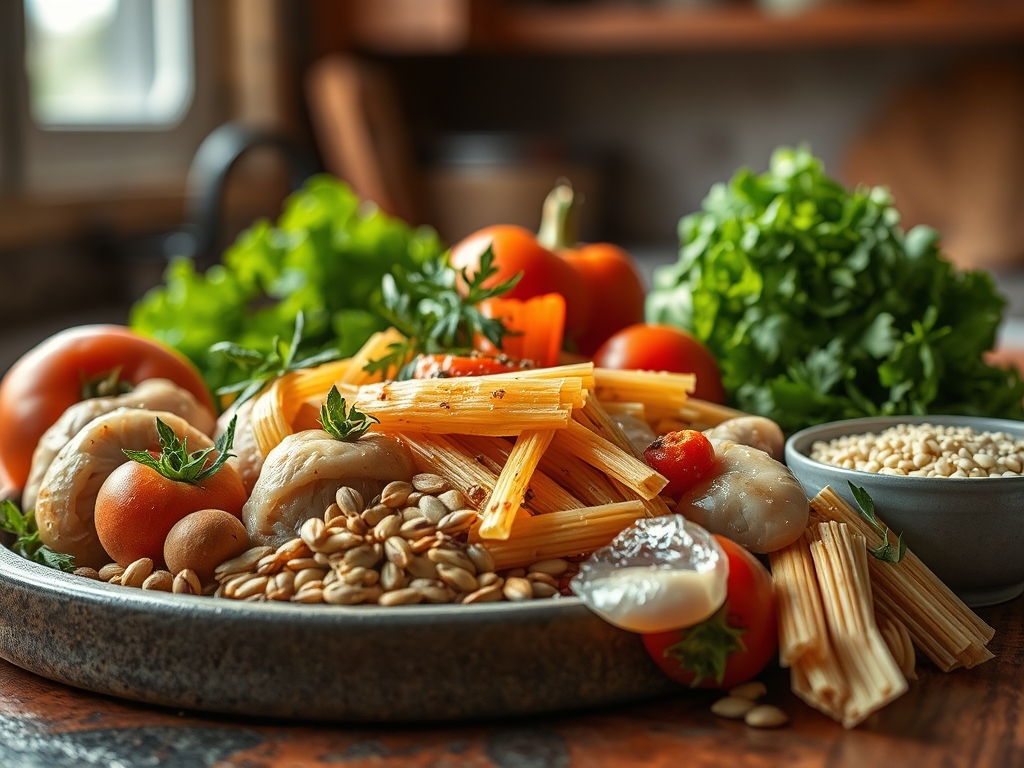
The mise-en-place for a perfect bird requires more than just salt and pepper; it requires a toolkit designed for precision. Start with a four to five-pound organic fryer chicken. You will need a digital scale to confirm the weight, as this dictates your fuel consumption and timing. For the dry brine, gather high-quality kosher salt, smoked paprika, and dried oregano. The salt is non-negotiable because its coarse grain allows for even distribution and osmotic penetration. You will also need a microplane for zesting fresh lemons and grating garlic into a viscous paste with olive oil.
Smart Substitutions: If you lack a traditional charcoal grill, a heavy-bottomed cast iron skillet on a gas range can mimic the heat retention, though you will miss the woodsy infusion. Instead of olive oil, use clarified butter (ghee) for a higher smoke point and a more piquant, nutty finish. If you are watching your sodium, replace half the salt with nutritional yeast to maintain a savory, umami-rich profile without the bloat. Always keep a bench scraper nearby to clear your station of poultry trimmings and vegetable debris; it keeps the workflow surgical and sanitary.
The Clock: Chef's Flow
Efficiency in the kitchen is about overlapping tasks to minimize "dead time." Your total active prep time is 25 minutes, but the passive time is where the magic happens.
- The Dry Brine (12 to 24 hours): This is the most critical phase. Salt needs time to denature the protein strands.
- The Temper (45 minutes): Bringing the bird to room temperature ensures even heat penetration.
- The Grill (50 to 65 minutes): This depends on the ambient temperature and your airflow management.
- The Rest (15 minutes): Essential for moisture redistribution.
The Chef's Flow dictates that you prepare your side dishes while the chicken is in its final 20 minutes of cooking. This ensures everything hits the table at the peak of its sensory profile.
The Masterclass:
1. The Spatchcock Maneuver
Using sharp poultry shears, remove the backbone by cutting along both sides of the spine. Flip the bird over and press firmly on the breastbone until it cracks. This flattens the chicken, ensuring the legs and breasts sit on the same horizontal plane.
Pro Tip: This increases the surface area for the Maillard reaction, allowing for faster cooking and more consistent browning across the entire bird.
2. The Osmotic Dry Brine
Generously coat the skin and the underside with kosher salt and your spice blend. Place the chicken on a wire rack over a sheet pan and refrigerate uncovered.
Pro Tip: Leaving the bird uncovered in the fridge uses the refrigerator's fan to dehydrate the skin. This creates a parchment-like texture that becomes exceptionally crispy when it hits the heat.
3. Tempering the Protein
Remove the chicken from the fridge at least 45 minutes before grilling. Use a saucier to melt a bit of butter and garlic to brush on just before the bird hits the grates.
Pro Tip: Cold meat causes the muscle fibers to contract violently when exposed to high heat, squeezing out moisture. Tempering ensures a gentle transition and a juicier result.
4. Establishing Two-Zone Heating
Set up your grill with coals on one side and an empty space on the other. This creates a direct heat zone for searing and an indirect zone for roasting.
Pro Tip: Using two zones allows you to manage thermal carryover. If the skin is browning too fast but the internal temperature is low, you can move it to the "cool" side to finish.
5. The Initial Sear
Place the chicken skin-side down over the direct heat for 5 to 7 minutes. Use heavy-duty tongs to check for sticking; if it sticks, the proteins haven't fully released yet.
Pro Tip: This stage initiates enzymatic browning. The sugars and amino acids react to create hundreds of different flavor compounds that define "grilled" taste.
6. The Indirect Roast
Flip the chicken and move it to the indirect heat side. Close the grill lid to turn the unit into a convection oven.
Pro Tip: Closing the lid allows hot air to aerate and circulate around the bird, cooking the thickest parts of the thighs without burning the delicate breast meat.
7. Monitoring Internal Temps
Insert a digital meat thermometer into the thickest part of the thigh, avoiding the bone. You are looking for 160 degrees Fahrenheit.
Pro Tip: Bone conducts heat differently than flesh. Touching the bone with your probe will give you a false high reading, potentially leading to undercooked meat near the joints.
8. The Final Glaze
During the last 5 minutes, brush on any remaining herb butter or a light vinegar-based mop sauce.
Pro Tip: Adding fats or sugars at the very end prevents them from burning and becoming bitter while adding a beautiful viscous sheen to the finished product.
9. The Sacred Rest
Transfer the bird to a warm platter and tent loosely with foil. Wait 15 minutes before carving.
Pro Tip: Resting allows the muscle fibers to relax and reabsorb the juices. If you cut it immediately, the moisture will flood the board, leaving the meat dry and fibrous.
The Deep Dive:
From a Macro Nutrition perspective, a grilled whole chicken is a powerhouse. It provides high-density lean protein and essential B vitamins. By grilling rather than frying, you allow excess fat to render out and drip away, reducing the overall caloric load while maintaining flavor.
Dietary Swaps: For a Keto-friendly version, ensure your rub contains zero sugar. For a Vegan alternative, this same 9-step method works beautifully on a large "steak" of cauliflower or a head of cabbage, though the cook times will be halved. If you are Gluten-Free, simply verify that your spice blends do not use flour as an anti-caking agent.
The Fix-It:
- Skin is burning but meat is raw: Move the bird to the indirect heat zone immediately and lower the grill lid to reduce oxygen flow.
- Skin is rubbery: You likely skipped the dry brine or didn't get the grill hot enough. Finish the bird under a high broiler for 2 minutes.
- Meat is dry: You overshot the internal temperature. Slice the meat and toss it in a light emulsification of chicken stock and butter to restore moisture.
Meal Prep: To reheat leftovers with "day-one" quality, avoid the microwave. Use a toaster oven at 325 degrees with a splash of water in the pan to create steam, which prevents the proteins from toughening.
The Wrap-Up:
Mastering the grilled whole chicken is a rite of passage for any serious home cook. It is a lesson in patience, heat management, and the beauty of simple ingredients handled with scientific precision. Whether you are serving this alongside a fresh salad or using the leftovers for canned chicken recipes with pasta, the depth of flavor you have created is incomparable. Now, grab those tongs, fire up the coals, and prepare to be the hero of your next dinner party. You have the tools, the tech, and the talent.
The Kitchen Table:
How do I keep the breast meat from drying out?
Spatchcocking is the most effective method. By flattening the bird, the legs shield the breasts from excessive heat. Additionally, pulling the bird at 160 degrees Fahrenheit allows carryover cooking to reach the safe 165 mark without over-extending the delicate white meat.
Can I use frozen chicken for this recipe?
Never grill a whole chicken from frozen. The exterior will char and burn long before the core reaches a safe temperature. Always thaw completely in the refrigerator for 24 to 48 hours to ensure a safe, even heat distribution during grilling.
What is the best wood for smoking chicken?
Fruitwoods like apple or cherry are ideal for poultry. They provide a mild, sweet smoke that complements the delicate flavor of the bird without overpowering it. Avoid heavy woods like mesquite, which can turn the skin bitter and overly pungent.
Why is my chicken skin not crispy?
Crispy skin requires the removal of moisture. If your skin is soft, you likely didn't dry-brine it long enough or your grill temperature was too low. Ensure the skin is bone-dry before it touches the grates to encourage immediate fat rendering.